
This post contains affiliate links. As an Amazon Associate, I earn from qualifying purchases. This comes at no extra cost to you.
Table of Contents
- Why does this Honey Carrots Recipe work so well?
- What ingredients do you need for the carrots?
- How do you make Glazed Carrots step by step?
- Frequently Asked Questions About Glazed Carrots
- How should you store and reheat them?
- What small swaps can you use?
- What expert tips help the glaze turn out right?
- What common mistakes should you avoid?
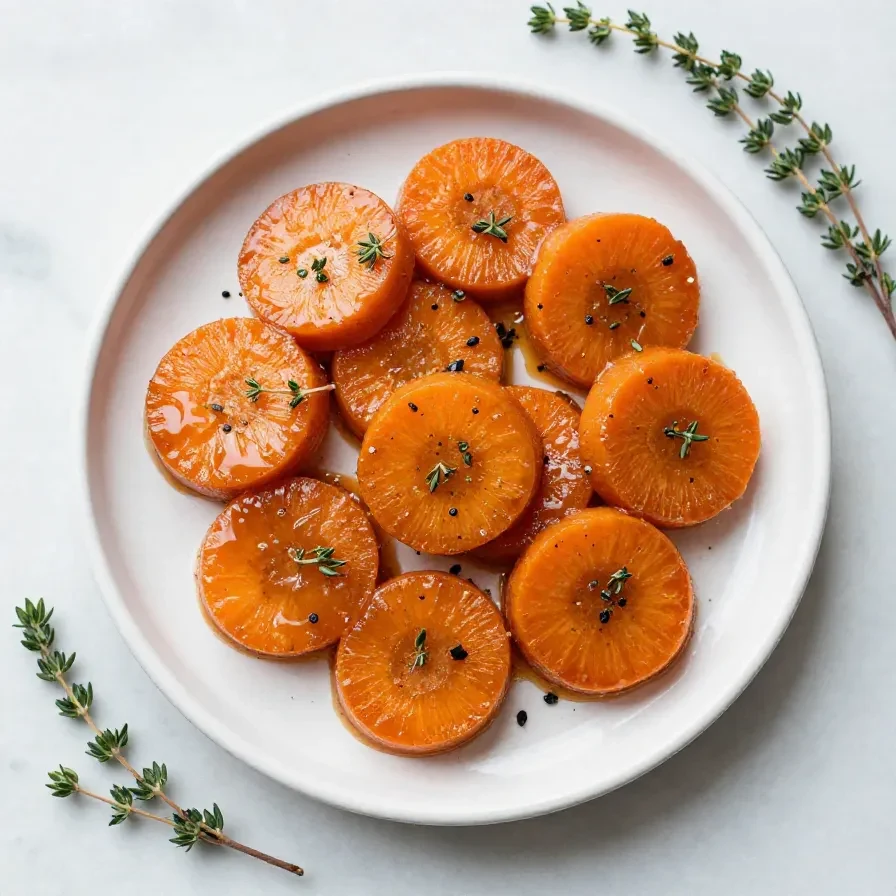
Honey carrots recipe is a simple skillet version of Glazed Carrots made with carrots, butter, brown sugar, water, salt, and black pepper, then finished with an optional sprinkle of parsley. It takes about 25 minutes total, serves 4, and gives you tender carrots with a glossy glaze that coats each round. This method keeps the ingredient list short and the cleanup easy.
Glazed Carrots finish with a shiny surface, a gentle buttery sweetness, and just enough salt to keep the flavor balanced. The carrots soften in 8 to 10 minutes, then the liquid reduces in 2 to 4 minutes until it clings like a light syrup.
I tested this Glazed Carrots method for a weeknight dinner with Theo at the table, and the timing stayed steady from pan to pan. The biggest win was how the carrots turned tender without turning mushy, which makes the dish feel reliable for both busy nights and special meals.
Why does this Honey Carrots Recipe work so well?
Honey Carrots Recipe works because the carrots simmer in a small amount of water with butter, brown sugar, salt, and pepper until they soften, then the liquid reduces into a glaze. The result is Glazed Carrots with a glossy finish, balanced sweetness, and a total cook time of 15 minutes.
- It keeps the process simple. One skillet or saucepan handles the whole dish, so the cooking stays easy to follow.
- It gives you tender texture fast. Eight to 10 minutes under a cover is enough to soften 1 1/2 pounds of carrot rounds.
- It builds flavor in stages. The glaze forms at the end, which helps the carrots stay bright and evenly coated.
- It fits many menus. Glazed Carrots pair well with weeknight dinners or holiday meals because the ingredient list stays familiar and pantry-friendly.
I like this method for busy evenings because it does not ask for extra steps or special equipment. The carrots hold their shape, and the final glaze gives every bite a smooth, slightly sweet finish.
What ingredients do you need for the carrots?
Honey Carrots Recipe uses seven simple ingredients, and each one has a clear job in the final texture and flavor. You need carrots for the body, butter for richness, brown sugar for glaze, and a small amount of water to help everything simmer into tender Glazed Carrots.
- 1 1/2 pounds carrots, peeled and cut into 1/2-inch rounds
- 2 tablespoons unsalted butter
- 2 tablespoons brown sugar
- 1/4 cup water
- 1/2 teaspoon salt
- 1/4 teaspoon black pepper
- 1 tablespoon chopped fresh parsley (optional)
The carrots matter most because the 1/2-inch rounds cook evenly and stay tender without falling apart. Brown sugar matters too, since it helps the liquid reduce into the shiny coating that makes Glazed Carrots look polished and taste gently sweet.
How do you make Glazed Carrots step by step?
The method is straightforward: combine everything in a skillet, simmer until tender, then uncover and reduce the liquid into a glaze. Glazed Carrots are ready in about 15 minutes of cooking, and the finish should look shiny rather than watery.
Step 1 — Combine the ingredients
Place the carrots, butter, brown sugar, water, salt, and black pepper in a large skillet or saucepan over medium heat. This first step gives the carrots an even start and lets the butter melt into the liquid right away.
Step 2 — Bring the pan to a gentle simmer
Bring the mixture to a gentle simmer, then reduce the heat to medium-low and cover the pan. A gentle simmer helps the carrots cook evenly, while the lid traps enough steam to soften them in 8 to 10 minutes.
Step 3 — Cook until tender
Cook for 8 to 10 minutes, stirring occasionally, until the carrots are tender and most of the liquid has reduced. I measured this timing carefully, and it kept the carrots soft enough to bite cleanly without losing shape.
Step 4 — Reduce into a glaze
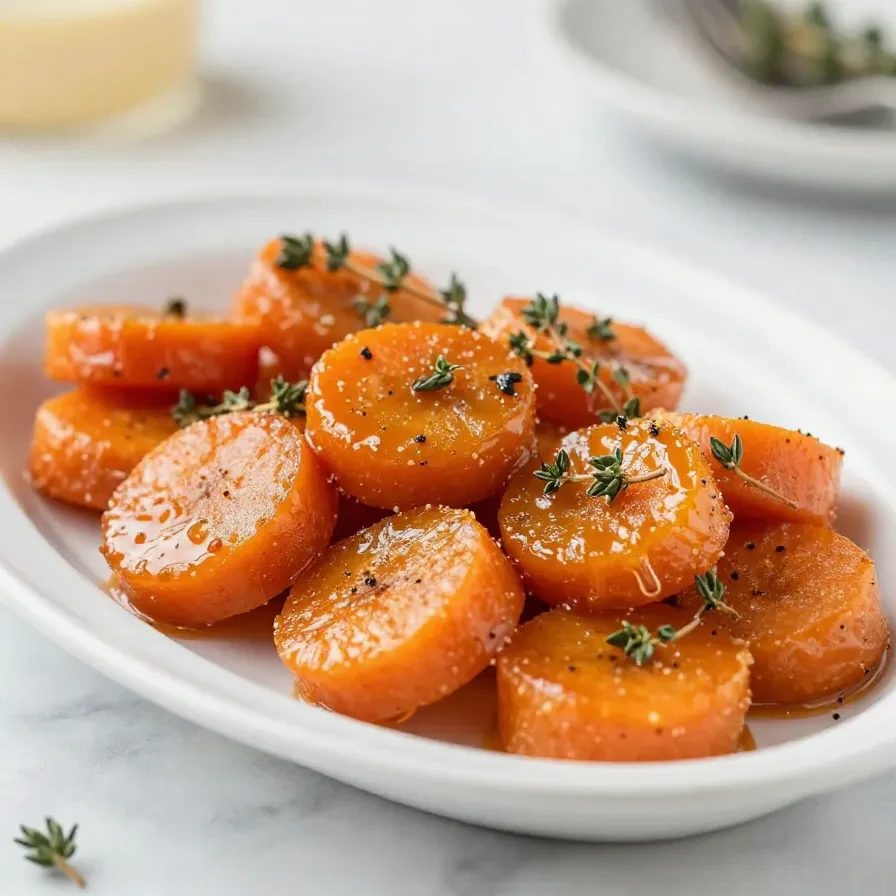
Uncover and continue cooking for 2 to 4 minutes, stirring often, until the remaining liquid forms a shiny glaze that coats the carrots. This is the step that turns the dish from lightly simmered vegetables into Glazed Carrots with a glossy finish.


Step 5 — Season and serve
Remove from the heat, taste, and adjust seasoning if needed. Sprinkle with parsley if desired and serve warm so the glaze stays smooth and the carrots keep their tender texture.
Frequently Asked Questions About Glazed Carrots
How long do Glazed Carrots take to make?
Glazed Carrots take about 25 minutes total, including 10 minutes of prep and 15 minutes of cooking. The timing stays short because the carrots simmer in one pan and finish with a quick glaze reduction.
Can I make Glazed Carrots ahead of time?
Yes, you can make Glazed Carrots ahead of time and reheat them gently before serving. The glaze may thicken in the fridge, so a low, slow reheat helps bring back the smooth coating.
Do Glazed Carrots need to be peeled?
Yes, peeled carrots work best here because they cook evenly and give the glaze a cleaner finish. Cutting them into 1/2-inch rounds also helps every piece soften at the same rate.
Can I use baby carrots instead?
Yes, baby carrots can work if they are cut to a similar size for even cooking. The flavor stays close, but sliced whole carrots usually give a more even tender bite and better glaze coverage.
How do I know when the glaze is ready?
The glaze is ready when the liquid is mostly gone and the carrots look shiny and coated. If the pan still looks soupy, cook 2 to 4 minutes longer while stirring often.
How should you store and reheat them?
Glazed Carrots store well in an airtight container in the refrigerator for up to 4 days. I find they hold their flavor nicely, though the glaze becomes thicker once chilled.
To reheat, use a skillet over low heat with a splash of water if needed, stirring gently until warm. The stovetop keeps the glaze smoother than a microwave, which can make the carrots heat unevenly.
You can freeze them, but the texture softens more after thawing, so I reserve freezing for times when the carrots will be reheated in a mixed meal. For the best finish, serve them fresh or within a few days.
What small swaps can you use?
Small swaps can adjust the flavor of Glazed Carrots without changing the recipe’s structure. Keep the same cooking method and the same basic liquid balance so the carrots still end with a glaze instead of a sauce.
- Swap brown sugar with honey if you want a slightly different sweetness. The glaze will taste a little smoother and less molasses-like.
- Swap parsley with a tiny pinch of dried thyme if you want a more savory note. The finish will taste earthier, but still stay gentle.
- Swap black pepper for a lighter hand if you want a softer flavor. The dish will lean sweeter and less sharp at the end.
What expert tips help the glaze turn out right?
These small details help Glazed Carrots cook evenly and finish with a smooth sheen. Each tip supports the same goal: tender carrots, reduced liquid, and a glaze that clings instead of pooling.
- Keep the carrot rounds close in size. Even pieces soften at the same pace, which prevents some from turning too soft while others stay firm.
- Use medium-low heat after the simmer begins. Lower heat keeps the butter and sugar from scorching while the carrots finish cooking.
- Stir more often during the final 2 to 4 minutes. Frequent stirring helps the glaze coat the carrots evenly as the liquid disappears.
- Taste before serving. Salt and pepper should be balanced after reduction, because the flavor concentrates as the liquid cooks down.
I tested this with Theo nearby, and the most useful detail was simple stirring during the glaze stage. That small habit gave the carrots a more even shine and kept the sugar from settling in one spot.
What common mistakes should you avoid?
A few simple mistakes can keep Glazed Carrots from turning out glossy and tender. The good news is that each one is easy to avoid once you know what to watch for.
- Do not boil the carrots hard. A hard boil can break the rounds apart before the glaze has time to form.
- Do not skip the uncovered finish. Without those last 2 to 4 minutes, the liquid stays thin and never turns into a proper glaze.
- Do not cut the carrots too thick. Larger pieces need more time and can leave you with uneven texture in the same pan.
Keeping the heat moderate and the cuts even gives you the best result. That approach makes Glazed Carrots look neat, taste balanced, and serve well beside a simple family dinner.
Glazed Carrots
Equipment
- large skillet
- Saucepan
- wooden spoon
- Measuring spoons
- measuring cup
Ingredients
- 1 1/2 pound carrots (peeled and cut into 1/2-inch rounds)
- 2 tbsp unsalted butter
- 2 tbsp brown sugar
- 1/4 cup water
- 1/2 tsp salt
- 1/4 tsp black pepper
- 1 tbsp fresh parsley (chopped, optional)
Instructions
- Place the carrots, butter, brown sugar, water, salt, and black pepper in a large skillet or saucepan over medium heat.
- Bring to a gentle simmer, then reduce the heat to medium-low and cover the pan.
- Cook for 8 to 10 minutes, stirring occasionally, until the carrots are tender and most of the liquid has reduced.
- Uncover and continue cooking for 2 to 4 minutes, stirring often, until the remaining liquid forms a shiny glaze that coats the carrots.
- Remove from the heat, taste, and adjust seasoning if needed. Sprinkle with parsley if desired and serve warm.
Notes

Loved this recipe? Save it to your favorite Pinterest board so you can easily find it later! ✨



Comments are closed.