
This post contains affiliate links. As an Amazon Associate, I earn from qualifying purchases. This comes at no extra cost to you.
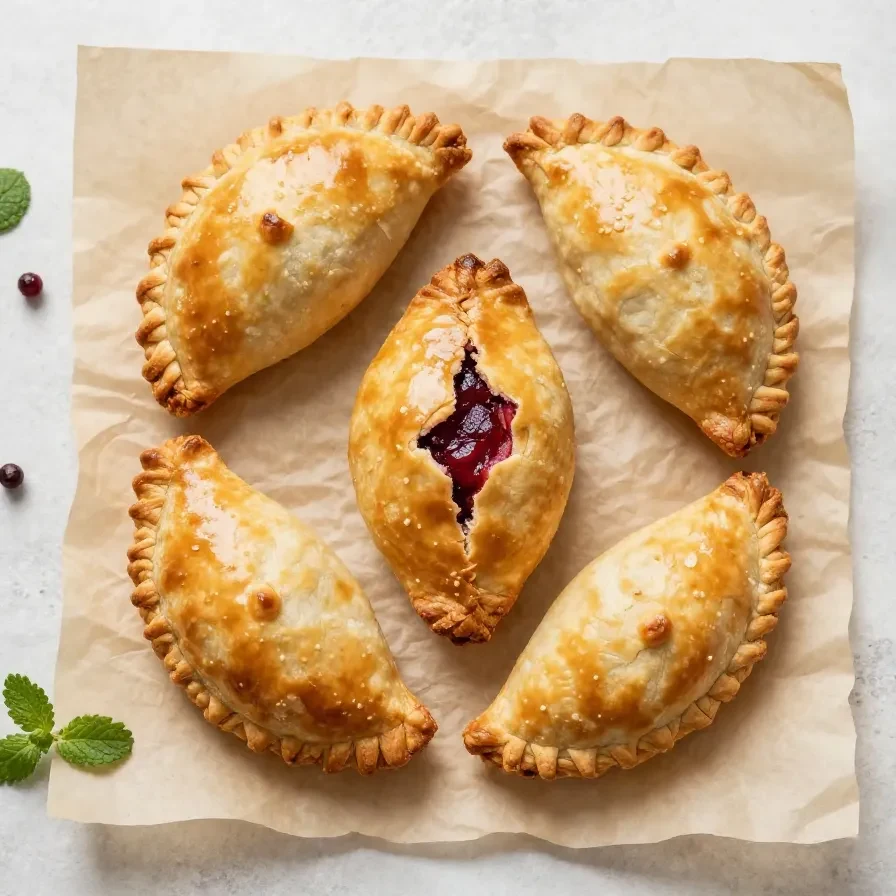
Mini face pies are flaky hand pies filled with sweet fruit jam or pie filling and baked until golden in 20 to 25 minutes total. This easy recipe makes 8 mini pies, uses refrigerated pie crust for speed, and finishes with playful cut-out faces that bake into crisp, tender tops. I tested this kind of pie for Theo on a busy afternoon, and the simple shape made the whole tray feel fun without adding extra work.
The crust turns crisp at the edges while the filling stays soft and glossy inside. A light egg wash helps the tops brown evenly, and a small sprinkle of sugar adds a delicate sparkle if you want a little extra crunch.
Table of Contents
- Why do these little pies work so well?
- What ingredients do you need for these little pies?
- How do you make them step by step?
- Frequently Asked Questions About Mini Face Pies
- What tips help you get the best results?
Why do these little pies work so well?
Mini Face Pies work so well because they use refrigerated pie crust, a small amount of filling, and a fast 400°F bake to create a crisp, neat treat in about 35 minutes total. The face cutouts also make each one look playful without changing the simple, reliable method.
- They bake quickly. The 12 to 15 minute bake time keeps the crust from overbrowning. That short bake also helps the filling stay tucked inside instead of spreading too much.
- They are easy to portion. Each pie uses about 1 teaspoon of jam or pie filling, so the finished hand pies stay sealed and tidy. That smaller amount also makes the centers set neatly as they bake.
- They are flexible for different occasions. The face cutouts make them fit right in with Scary Face Pies, Halloween Food Ideas Scary, Summerween Baking Ideas, Empanadas Halloween, Horror Movie Snack Ideas, Russian Halloween, and Weird Looking Food themes. The same simple dough and filling can look festive without any complicated decorating.
- They are friendly for beginner bakers. The steps are clear: cut, fill, seal, brush, and bake. I like that kind of recipe because it gives a nice result even on a regular weekday.
The biggest reason this recipe succeeds is balance. The crust stays flaky because the dough is handled just enough to cut and seal, while the fruit filling gives a sweet center that contrasts with the crisp exterior.
What ingredients do you need for these little pies?
You only need a short list of ingredients to make Mini Face Pies, and the recipe depends on simple pantry-style items plus refrigerated pie crust for speed. The egg wash helps the tops brown, while the optional sugar adds a little sparkle and crunch after baking.
- 2 sheets refrigerated pie crust, thawed
- 1 cup fruit jam or pie filling (such as strawberry, apple, or cherry)
- 1 egg, beaten
- 1 tablespoon water
- 1 tablespoon granulated sugar, optional
- Flour for dusting the work surface
The pie crust matters most because it gives these pies their flaky shell without extra mixing or chilling. The jam or pie filling also needs to be thick enough to stay centered, which is why a modest 1 teaspoon portion works so well in each pie.
How do you make them step by step?
The method is straightforward: cut the crust into circles, add filling, seal the tops, and bake at 400°F until golden. I measured this process to fit neatly into a 20-minute prep window, which makes it practical for an after-school baking project or a quick themed dessert tray.
Step 1 — Heat the oven and prepare the pan
Preheat the oven to 400°F (200°C) and line a baking sheet with parchment paper. This temperature helps the crust set quickly so the pies keep their shape.
Step 2 — Cut out the circles
Lightly flour a clean work surface and roll out the pie crust sheets if needed. Use a round cutter or glass to cut out 16 small circles, re-rolling scraps as necessary.
You might also enjoy our pancake mini muffins.
Step 3 — Make the face tops
On half of the circles, use a small knife or piping tip to cut out simple facial features such as eyes and a mouth, creating the top pieces. Keep the cuts simple so the tops hold together while baking.
Step 4 — Add the filling
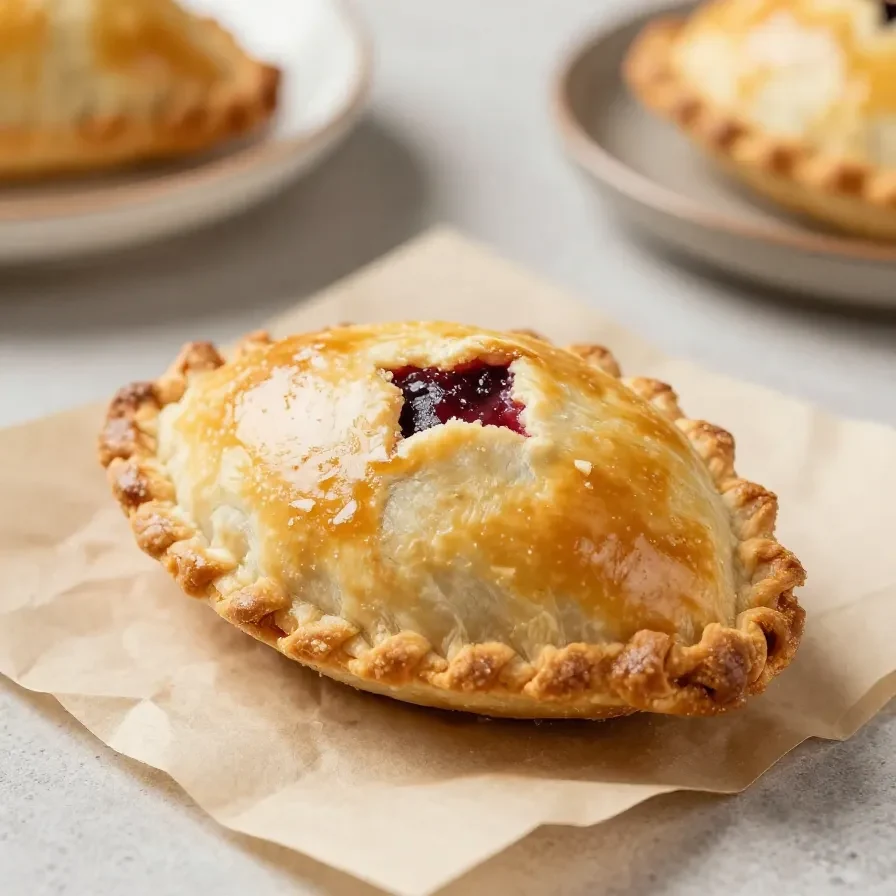
Place about 1 teaspoon of jam or pie filling in the center of the remaining whole circles, leaving a small border around the edge. The border gives you room to seal the pies cleanly.

Step 5 — Seal the pies
Brush the edges of the filled circles lightly with the beaten egg mixed with water, then top each with a face-cut circle. Press the edges gently with a fork to seal.
Step 6 — Brush and bake
Transfer the pies to the prepared baking sheet. Brush the tops with more egg wash and sprinkle with sugar if desired, then bake for 12 to 15 minutes, or until the pies are golden brown and the filling is bubbling slightly.
For more ideas, check out our pecan pumpkin spice cut out.
Step 7 — Cool before serving
Let the mini face pies cool on the baking sheet for 5 to 10 minutes before serving. That short rest helps the filling settle so the centers do not spill when you bite in.
Frequently Asked Questions About Mini Face Pies
Can I use any fruit filling for these pies?
Yes, you can use fruit jam or pie filling such as strawberry, apple, or cherry. Choose a thicker filling so it stays inside the crust and does not leak during the 12 to 15 minute bake.
Do I need special cutters for the face shapes?
No, you do not need special cutters. A small knife or piping tip works for simple eyes and a mouth, and that is enough to make clear pie faces.
Why do the edges need egg wash?
Egg wash helps the crusts seal and brown evenly. The beaten egg mixed with 1 tablespoon water also gives the tops a glossy finish after baking.
Looking for something similar? Try our mini peach and cream cheese tarts.
How do I keep the filling from spilling out?
Use about 1 teaspoon of filling per pie and leave a border around the edge. Pressing the rims with a fork after brushing with egg wash gives the pies a tighter seal.
Are these good for party trays?
Yes, these are ideal for party trays because each pie is small, neat, and easy to serve. The 8 mini pies also fit well with fun themes like Halloween Food Ideas Scary and Horror Movie Snack Ideas.
What tips help you get the best results?
Small details make a big difference with Mini Face Pies, especially when you want clean edges and a crisp finish. I rely on a few practical habits to keep the crust flaky and the faces readable after baking.
- Keep the crust lightly floured. Too much flour can dry the dough, but a thin dusting prevents sticking while you cut the circles. That balance helps the pastry stay tender.
- Do not overfill the centers. One teaspoon is enough for each pie, and more than that can push out the seams. A smaller amount also bakes more evenly in the middle.
- Seal before moving the pies. Pressing the edges with a fork while the pies are still on the work surface helps protect the seams. This is especially useful if the dough has softened slightly while you work.
- Use sugar only if you want extra texture. The optional tablespoon adds a light crunch, but the pies still bake beautifully without it. That makes the recipe easy to adjust for a softer finish.
When I make these for a themed snack table, I keep the face cuts simple and bold. Clear openings bake more cleanly than tiny details, and that makes each pie look defined even after the crust puffs.
Mini Face Pies
Equipment
- Oven
- baking sheet
- parchment paper
- Rolling Pin
- round cutter or glass
- fork
Ingredients
- 2 sheet refrigerated pie crust, thawed
- 1 cup fruit jam or pie filling (such as strawberry, apple, or cherry)
- 1 egg, beaten
- 1 tbsp water
- 1 tbsp granulated sugar (optional)
- flour (for dusting the work surface)
Instructions
- Preheat the oven to 400°F (200°C) and line a baking sheet with parchment paper.
- Lightly flour a clean work surface and roll out the pie crust sheets if needed. Use a round cutter or glass to cut out 16 small circles, re-rolling scraps as necessary.
- On half of the circles, use a small knife or piping tip to cut out simple facial features such as eyes and a mouth, creating the top pieces.
- Place about 1 teaspoon of jam or pie filling in the center of the remaining whole circles, leaving a small border around the edge.
- Brush the edges of the filled circles lightly with the beaten egg mixed with water, then top each with a face-cut circle. Press the edges gently with a fork to seal.
- Transfer the pies to the prepared baking sheet. Brush the tops with more egg wash and sprinkle with sugar if desired.
- Bake for 12 to 15 minutes, or until the pies are golden brown and the filling is bubbling slightly.
- Let the mini face pies cool on the baking sheet for 5 to 10 minutes before serving.
Notes

Loved this recipe? Save it to your favorite Pinterest board so you can easily find it later! ✨



Comments are closed.