
This post contains affiliate links. As an Amazon Associate, I earn from qualifying purchases. This comes at no extra cost to you.
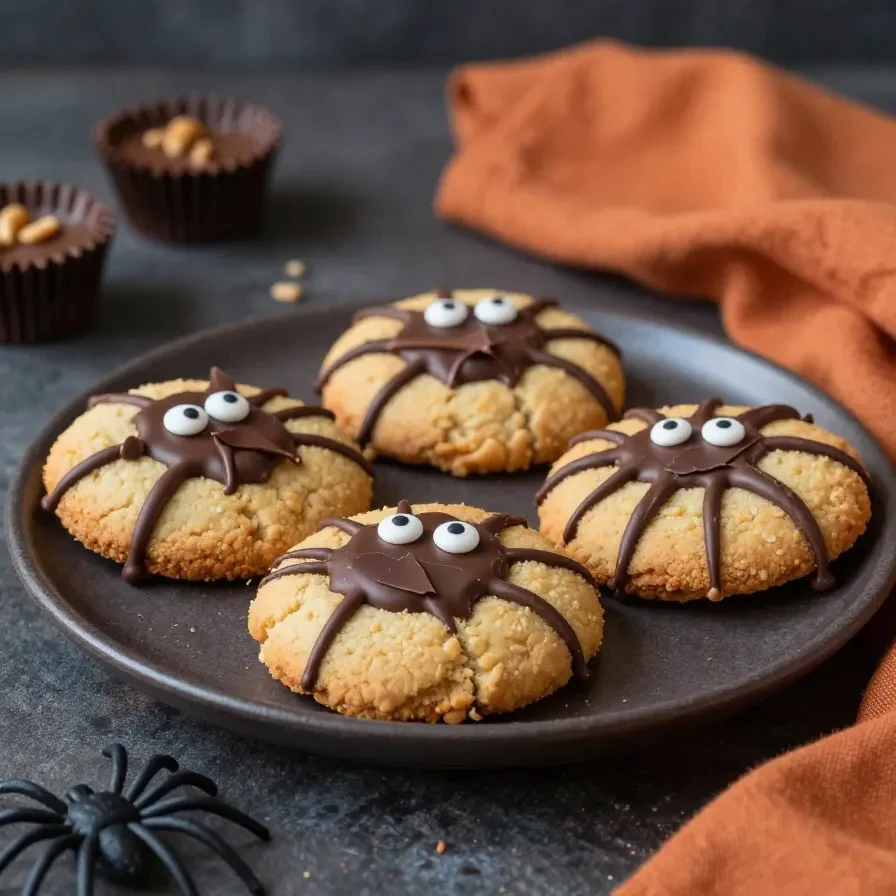
Halloween peanut butter cookies are soft peanut butter cookies topped with a chocolate candy spider, and this Peanut Butter Spider Cookies recipe is baked at 350°F for 10 to 12 minutes, then finished with candy eyes and chocolate legs. It makes 36 cookies in about 32 minutes total, including prep and baking. The result is a tender cookie with a crisp edge, creamy peanut butter flavor, and a playful Halloween look.
I tested this batch for my kitchen at EmpireFoodie.com and checked it again while Theo helped me count the candy eyes, so I know the decorating step stays simple and manageable.
The cookie base stays soft because the butter and peanut butter are creamed with both granulated sugar and brown sugar, which helps trap air for a lighter texture. The candy spider body goes on right after baking, so it settles into the warm center without sinking too far.
Table of Contents
- What makes these cookies special?
- What ingredients do you need?
- How do you make them step by step?
- Frequently Asked Questions About Peanut Butter Spider Cookies
- How should you store and make them ahead?
- Where did this cookie style come from?
- What swaps work best?
- What pro tips help most?
What makes these cookies special?
Peanut Butter Spider Cookies are a fast, festive cookie with a soft peanut butter base and a simple chocolate-candy spider on top. They bake in 10 to 12 minutes, serve 36, and work well for Halloween tables that need something polished enough for adults but still fun to decorate.
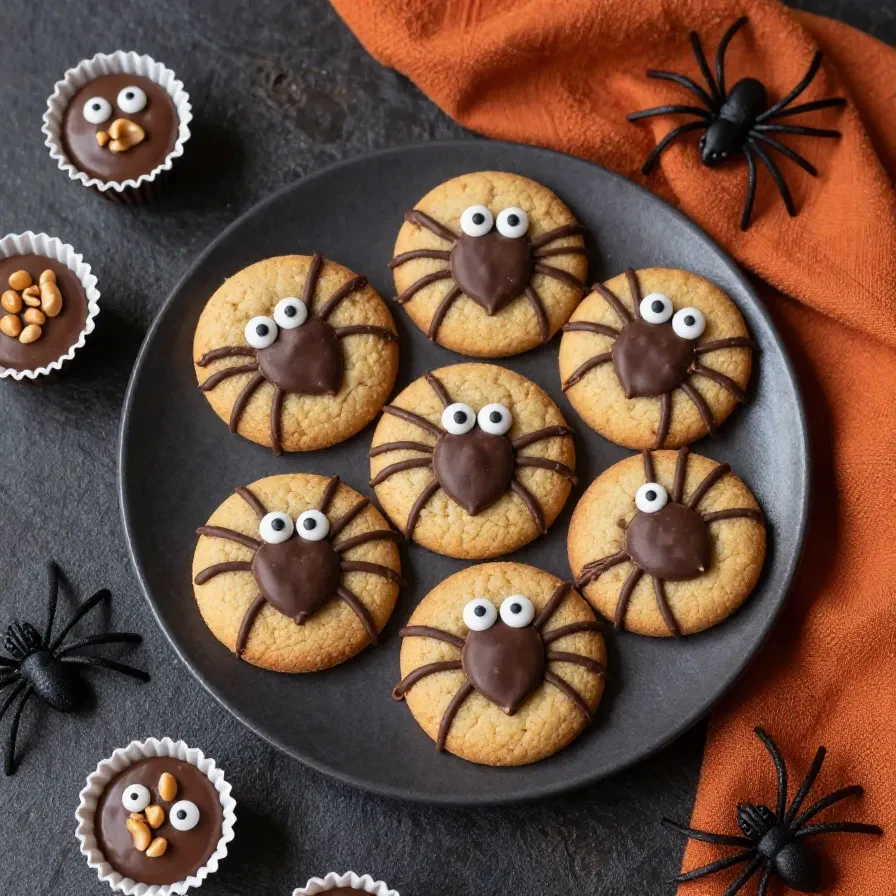
- They look playful without needing complicated decoration. The spider body, eyes, and legs turn one basic cookie into a themed dessert with very little extra effort. That makes these Halloween Peanut Butter Cookies easy to style for a party tray or a dessert board.
- The flavor stays balanced and familiar. The peanut butter gives the cookie a creamy, nutty base, while the chocolate candy adds a sweet finish. That combination keeps the cookies tasting richer than a plain sugar cookie.
- The texture is soft in the center with lightly golden edges. That contrast comes from the 350°F bake and the short 10 to 12 minute time. I checked the timing in my own oven, and that window gave me the best set without drying out the crumb.
- They travel well for gatherings. Once the chocolate sets, the cookies hold their shape better than softer frosted desserts. For a grown-up Halloween party, I like to plate them on a dark tray so the candy details stand out without looking childish.
The recipe is also flexible in presentation. Peanut Butter Spider Cookies can look whimsical for kids, but they can also feel neat and refined if you keep the spider legs thin and the candy eyes evenly placed.
What ingredients do you need?
Peanut Butter Spider Cookies use simple pantry baking ingredients plus candy for the spider tops. The dough comes together with butter, peanut butter, sugar, egg, vanilla, flour, baking soda, and salt, then the decorations use 36 candy bodies, 72 candy eyes, and melted chocolate for the legs.
- 1/2 cup unsalted butter, softened
- 1/2 cup creamy peanut butter
- 1/2 cup granulated sugar
- 1/2 cup packed brown sugar
- 1 large egg
- 1 teaspoon vanilla extract
- 1 1/4 cups all-purpose flour
- 1/2 teaspoon baking soda
- 1/4 teaspoon salt
- 36 chocolate-covered peanut butter candies or chocolate candies for spider bodies
- 72 small candy eyes
- 1/2 cup semisweet chocolate chips, melted or 1/2 cup melted chocolate for spider legs
The softened butter matters because it creams smoothly with the peanut butter and sugars, which helps the cookies bake up tender instead of dense. The melted chocolate also matters because it acts as edible glue for the eyes and legs, so the decoration stays attached once it sets.
How do you make them step by step?
The method for Peanut Butter Spider Cookies is straightforward: mix the dough, bake the cookies, press in the candy bodies, and finish with eyes and chocolate legs. You only need one bowl for the wet ingredients, one bowl for the dry ingredients, and a total bake time of 10 to 12 minutes.
Step 1 — Heat the oven and prepare the pans
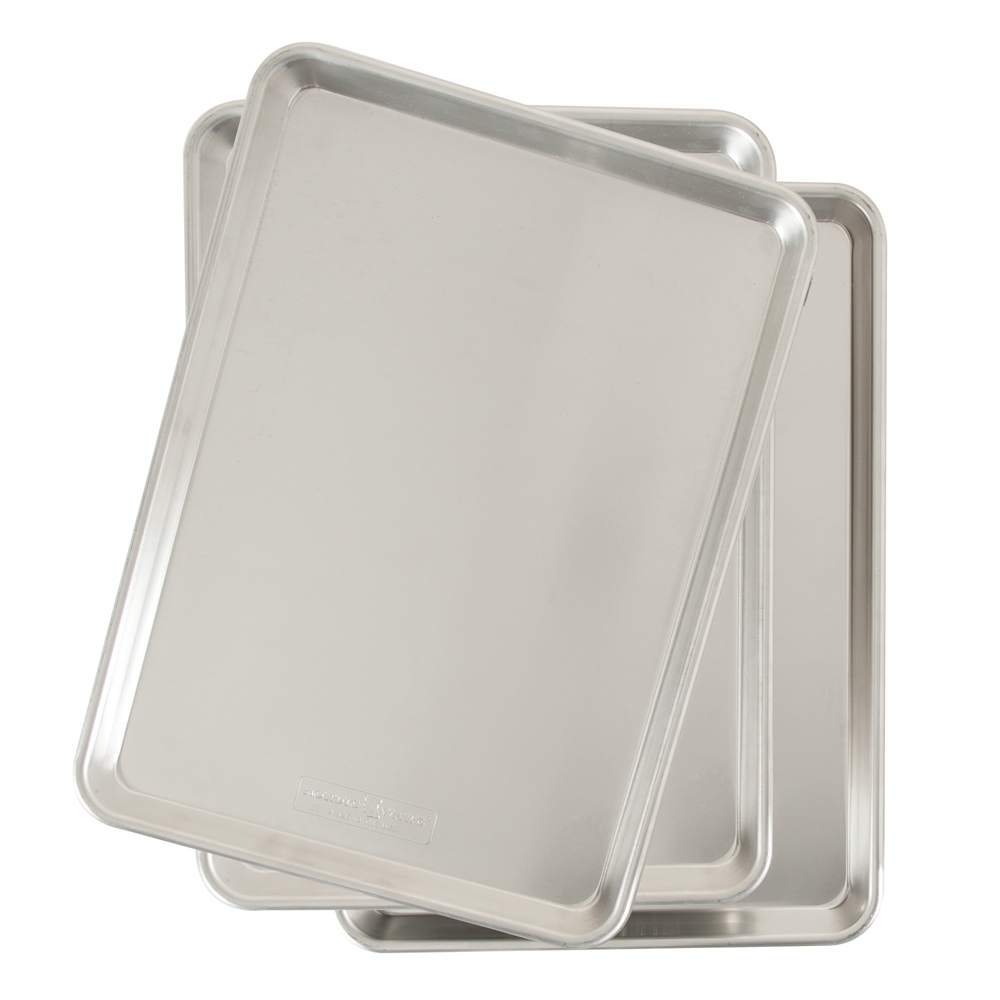
Preheat the oven to 350°F (175°C) and line two baking sheets with parchment paper. This keeps the cookies from sticking and helps the bottoms bake evenly.
You might also enjoy our peanut butter chocolate chip cookies.
Step 2 — Cream the base ingredients
In a large bowl, cream together the butter, peanut butter, granulated sugar, and brown sugar until light and fluffy. I look for a paler color and a smoother texture, because that tells me the mixture has enough air for a better cookie crumb.
Step 3 — Add the egg and vanilla
Beat in the egg and vanilla extract until fully combined. This step should make the mixture glossy and cohesive, not streaky, so the dough bakes evenly.
Step 4 — Mix in the dry ingredients
In a separate bowl, whisk together the flour, baking soda, and salt. Gradually mix the dry ingredients into the wet ingredients until a soft dough forms, which keeps the dough from overworking and turning tough.

---Silver.jpg?imwidth=714&impolicy=medium&carousel=true)
Step 5 — Shape and space the dough
Scoop tablespoon-sized portions of dough and roll them into balls. Place them about 2 inches apart on the prepared baking sheets so they have room to spread without merging.
Step 6 — Bake until just set
Bake for 10 to 12 minutes, or until the edges are lightly golden and the centers are set. Pull them at this stage, because a slightly underbaked center helps keep Peanut Butter Spider Cookies soft after cooling.
Step 7 — Add the spider body, eyes, and legs
Immediately after removing the cookies from the oven, gently press one chocolate-covered peanut butter candy into the center of each cookie. Let the cookies cool on the baking sheet for 5 minutes, then transfer to a wire rack, attach two candy eyes with melted chocolate, and pipe four thin legs on each side with the remaining melted chocolate.
For more ideas, check out our peanut butter oatmeal cookies recipe.
Frequently Asked Questions About Peanut Butter Spider Cookies
Can I make these cookies ahead of time?
Yes, you can bake the cookie base ahead and decorate it later. Store the undecorated cookies tightly covered for 1 to 2 days, then add the candy body, eyes, and legs before serving for the cleanest look.
Do these work for a Halloween party tray?
Yes, they hold up well on a party tray once the chocolate sets. I like to arrange Peanut Butter Spider Cookies on a flat platter with parchment between layers so the candy details stay neat during transport.
Can I make them less kid-centric for adults?
Yes, keep the decoration minimal and let the peanut butter and chocolate flavors lead. A darker serving plate and evenly piped legs make Peanut Butter Spider Cookies feel more polished for an adult gathering.
What if I need a nut-free version?
Use a seed butter that bakes well and choose nut-free chocolate candies if needed. The texture may be slightly softer or more fragile, so chill the dough briefly if it feels too sticky.
Can I freeze the baked cookies?
Yes, freeze the baked cookies before decorating for the best result. Thaw them at room temperature, then add the candy body and chocolate details once they are fully dry and cool.
How should you store and make them ahead?
Store Peanut Butter Spider Cookies in an airtight container at room temperature for short-term keeping, and separate layers with parchment if the chocolate is fully set. If you need them longer, freeze the undecorated cookies and finish the decorations after thawing.
Looking for something similar? Try our air fryer peanut butter cookies.
For transport, keep the cookies in a single layer or stack them only after the chocolate legs have hardened. That protects the candy eyes and keeps the spider shape intact, which matters when you are bringing them to a Halloween gathering or office table.
If you want to make them ahead for a party, bake the cookies first and decorate them on the day you serve them. That keeps the candy bodies shiny and the chocolate legs sharp, which looks best on a dessert platter.
Where did this cookie style come from?
Peanut Butter Spider Cookies fit into the larger tradition of decorating simple drop cookies for seasonal events. The recipe uses a familiar peanut butter cookie base, then adds candy details that turn a classic baked good into a themed dessert without changing the structure.
That style is one reason Halloween Peanut Butter Cookies show up so often in home kitchens: the base is reliable, the decoration is fast, and the finished cookie can move easily from playful to elegant with just a small change in presentation. Spider Peanut Butter Cookies also work well because the candy topping adds visual interest without requiring frosting.
What swaps work best?
Small swaps can help you fit these cookies to what you already have, but the goal is to keep the dough structure the same. I tested the classic version first, and the best swaps stayed close to the original flavor and texture.
- Use chocolate candies instead of chocolate-covered peanut butter candies. This keeps the spider body neat and firm, but the center tastes less peanut-forward. It is a good choice if you want a cleaner chocolate note in the middle.
- Use melted semisweet chocolate chips instead of plain melted chocolate. Both options work for the legs, but semisweet chocolate gives a deeper flavor and sets with a slightly firmer finish. It also looks a little darker on the plate, which can suit adult Halloween tables.
- Keep the flour measurement exact if you need the softest texture. Adding extra flour makes the cookies drier and less tender, while the written amount keeps the dough easy to scoop. For a gluten-free version, use a tested 1:1 baking blend, since the texture will change slightly.
What pro tips help most?
These small details help Peanut Butter Spider Cookies bake evenly and decorate cleanly. I use them whenever I want the cookies to look neat enough for a party and still taste soft the next day.
- Soften the butter, but do not melt it. Soft butter creams properly with the peanut butter and sugars, while melted butter can make the dough greasy and flatter. The right texture should press easily but still hold its shape.
- Mix the dry ingredients just until combined. Overmixing develops more gluten in the flour, which can make the cookies tougher. Stop as soon as the dough forms a soft, even mass.
- Press the candy body in immediately after baking. The warm cookie top softens the chocolate candy just enough to anchor it. Waiting too long makes the center less receptive, and the candy may not sit as neatly.
- Pipe the legs after the cookies cool mostly completely. If the surface is too warm, the chocolate can spread and lose its thin spider-leg shape. A few minutes on the wire rack gives you a better hold for the decoration.
When I made this for Theo, the cleanest finish came from using a small dab of melted chocolate for each eye and keeping the legs thin and even. That simple approach made the cookies look tidy without slowing down the decorating process.
Peanut Butter Spider Cookies
Equipment
- Mixing bowl
- Whisk
- baking sheet
- parchment paper
- Wire rack
- spoon or piping bag
Ingredients
- 1/2 cup unsalted butter (softened)
- 1/2 cup creamy peanut butter
- 1/2 cup granulated sugar
- 1/2 cup packed brown sugar
- 1 large egg
- 1 tsp vanilla extract
- 1 1/4 cups all-purpose flour
- 1/2 tsp baking soda
- 1/4 tsp salt
- 36 chocolate-covered peanut butter candies or chocolate candies (for spider bodies)
- 72 small candy eyes
- 1/2 cup semisweet chocolate chips (melted, or 1/2 cup melted chocolate for spider legs)
Instructions
- Preheat the oven to 350°F (175°C) and line two baking sheets with parchment paper.
- In a large bowl, cream together the butter, peanut butter, granulated sugar, and brown sugar until light and fluffy.
- Beat in the egg and vanilla extract until fully combined.
- In a separate bowl, whisk together the flour, baking soda, and salt. Gradually mix the dry ingredients into the wet ingredients until a soft dough forms.
- Scoop tablespoon-sized portions of dough and roll into balls. Place them about 2 inches apart on the prepared baking sheets.
- Bake for 10 to 12 minutes, or until the edges are lightly golden and the centers are set.
- Immediately after removing the cookies from the oven, gently press one chocolate-covered peanut butter candy into the center of each cookie.
- Let the cookies cool on the baking sheet for 5 minutes, then transfer to a wire rack.
- Once the cookies are mostly cool, attach two candy eyes to each candy body using a small dab of melted chocolate.
- Use the melted chocolate to pipe four thin legs on each side of the candy body to create spider legs. Allow the chocolate to set before serving.
Notes

Loved this recipe? Save it to your favorite Pinterest board so you can easily find it later! ✨




Comments are closed.