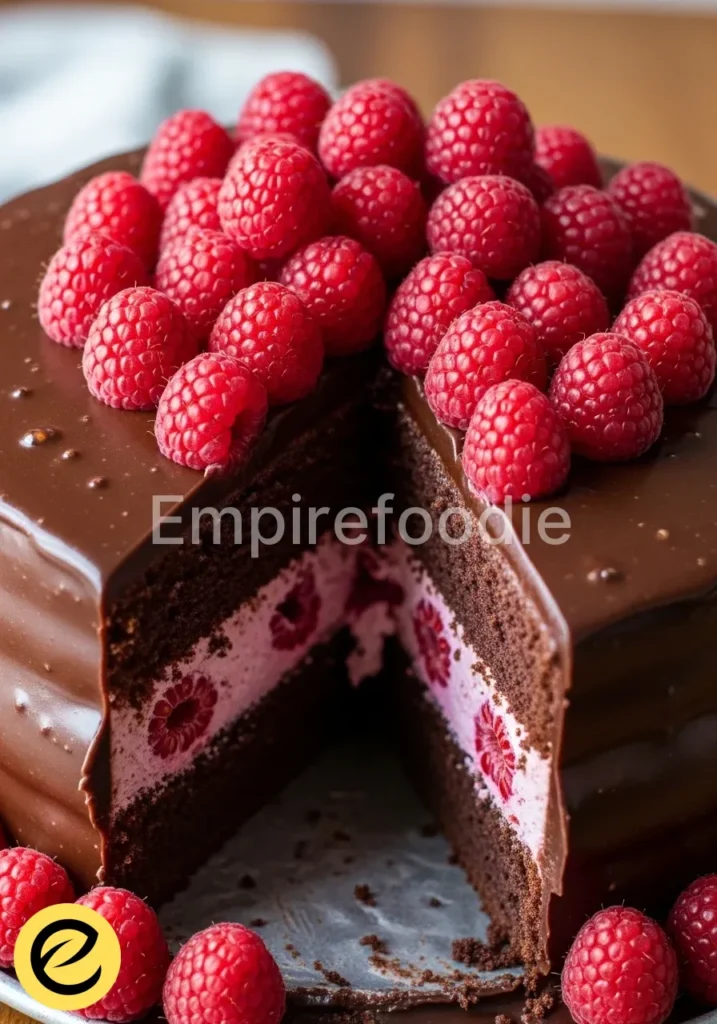
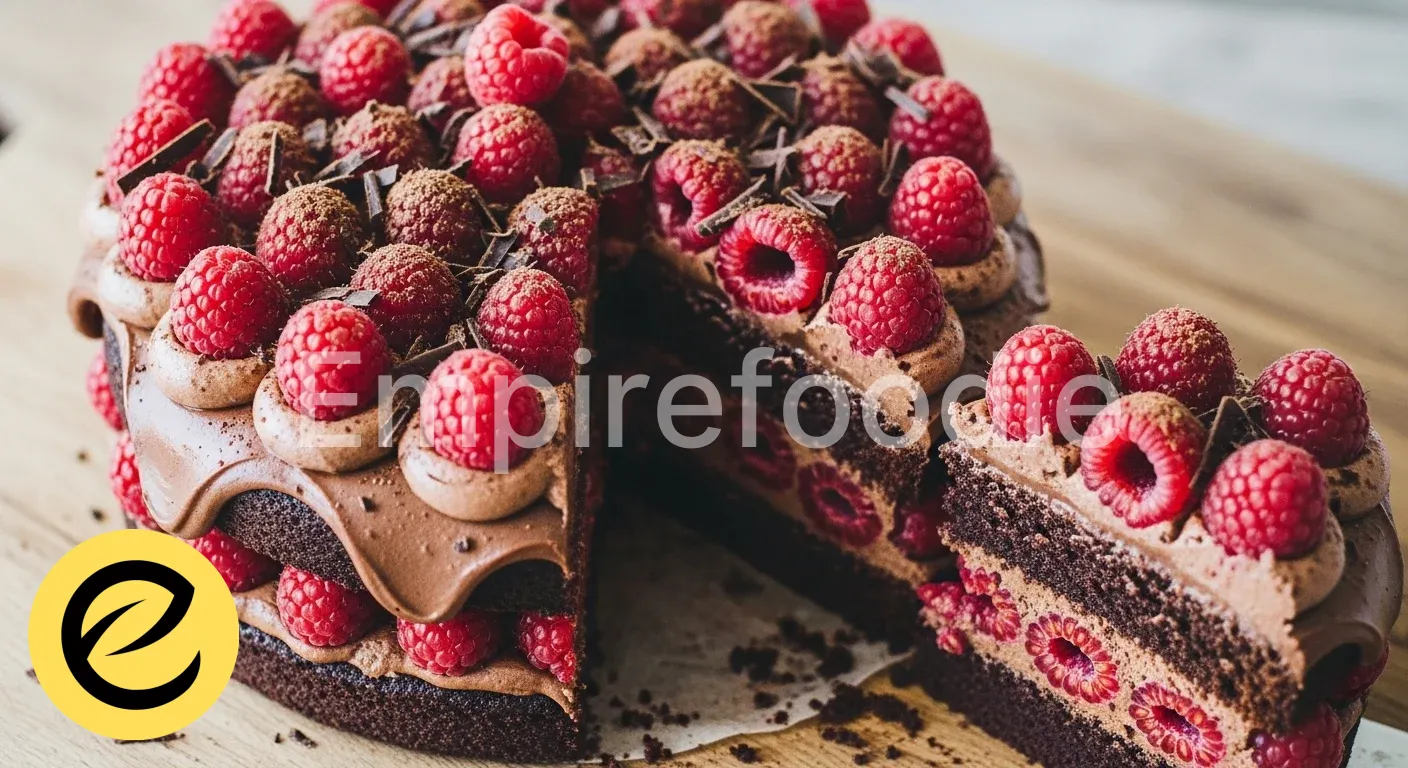
Indulge in the sublime harmony of rich, dark chocolate and vibrant, tart raspberries with this exquisite raspberry chocolate cake. This recipe delivers a moist, tender crumb infused with intense cocoa flavor, beautifully complemented by pockets of fresh raspberries. Prepare to impress with a dessert that balances elegance and irresistible taste, making every slice a truly memorable experience. This exceptional raspberry chocolate cake elevates any occasion, promising a delightful treat for everyone.
Table of Contents
Why You’ll Love This Raspberry Chocolate Cake Recipe
- Decadent Flavor Profile: Experience the perfect balance of deep cocoa and bright, fruity raspberries in every bite of this sensational raspberry chocolate cake.
- Surprisingly Simple Preparation: Despite its gourmet appeal, this raspberry chocolate cake recipe is straightforward, guiding you to impressive results effortlessly.
- Crowd-Pleasing & Versatile: Ideal for celebrations or a comforting weeknight treat, this raspberry chocolate cake always delights, earning rave reviews.
- Nutrient-Rich Additions: Enjoy the antioxidants from dark chocolate and the vitamins from fresh raspberries, making this a delightful indulgence.
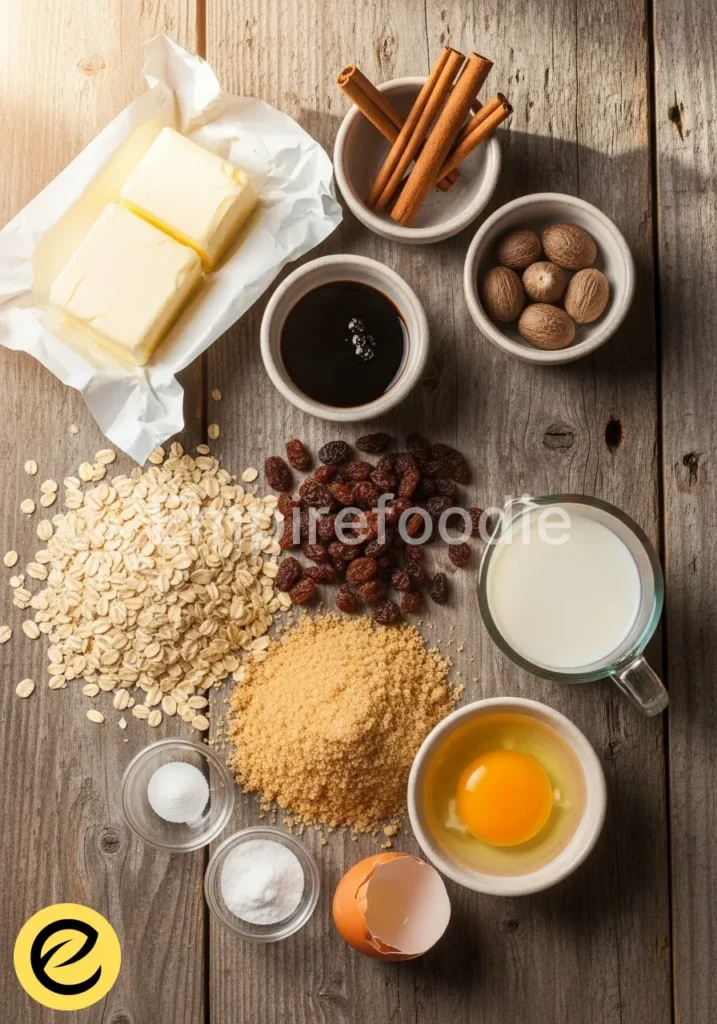
Ingredients You’ll Need

Crafting an exceptional raspberry chocolate cake begins with high-quality ingredients. Sourcing the best components ensures a truly professional and delicious result, bridging the gap between home baking and pastry art. Every ingredient plays a crucial role in the texture and flavor of this remarkable raspberry chocolate cake.
- For the Cake:
- 2 ½ cups (300g) all-purpose flour, sifted
- 1 cup (100g) unsweetened cocoa powder, high-quality Dutch-processed for deep color and flavor
- 1 ½ teaspoons baking soda
- ½ teaspoon baking powder
- 1 teaspoon salt
- 1 ½ cups (340g) unsalted butter, softened
- 2 cups (400g) granulated sugar
- 4 large eggs, room temperature
- 1 ½ teaspoons vanilla extract, pure
- 1 cup (240ml) buttermilk, room temperature
- ¾ cup (180ml) hot strong coffee (or hot water), for intensifying chocolate flavor
- 1 ½ cups (225g) fresh raspberries, gently tossed in 1 tablespoon flour to prevent sinking
- For the Chocolate Ganache Frosting:
- 12 oz (340g) high-quality dark chocolate (60-70% cocoa solids), finely chopped
- 1 ½ cups (360ml) heavy cream
- 2 tablespoons unsalted butter, softened
- 1 teaspoon vanilla extract
- ¼ cup (60ml) seedless raspberry jam, warmed (optional, for a layer)
- For Garnish:
- 1 cup (150g) fresh raspberries
- Chocolate shavings or curls (optional)
Substitutions & Variations
[ra_display_video url=”https://www.youtube.com/watch?v=LGci4cSbNFI”]
While this raspberry chocolate cake recipe is perfect as is, you can certainly make healthy adjustments and variations to suit your dietary needs. For a slightly lighter version of the raspberry chocolate cake, consider substituting half of the butter with applesauce in the cake batter. You can also use almond flour or a gluten-free blend for a gluten-free raspberry chocolate cake, though adjust liquid content as needed.
Swap granulated sugar for coconut sugar or a sugar alternative like erythritol, reducing quantities based on sweetness preference. Enhance the fruitiness by adding a layer of thinly sliced fresh raspberries directly onto the ganache before the next cake layer for an extra burst of flavor in your raspberry chocolate cake. For a vegan raspberry chocolate cake, use plant-based butter, non-dairy milk (like almond or oat milk + 1 tbsp vinegar for “buttermilk”), and flax eggs (1 tbsp ground flaxseed + 3 tbsp water per egg).
While this raspberry chocolate cake recipe is perfect as is, you can certainly make healthy adjustments and variations to suit your dietary needs. For a delightful twist, consider trying our raspberry white chocolate cookies for a lighter, sweet treat.
Equipment You’ll Need
- Two 8-inch round cake pans
- Parchment paper
- Large mixing bowls
- Electric stand mixer or hand mixer
- Rubber spatula
- Whisk
- Measuring cups and spoons
- Sifter (for flour and cocoa)
- Small saucepan (for ganache)
- Wire cooling rack
- Offset spatula or palette knife (for frosting)
- Sharp serrated knife (for leveling cakes, optional)
Step-by-Step Instructions

Achieving a professional-quality raspberry chocolate cake at home is entirely within reach with these precise steps. Follow them diligently, and you will bake an exquisite raspberry chocolate cake.
- Prepare Your Pans: Preheat your oven to 350°F (175°C). Grease and flour two 8-inch round cake pans. Line the bottoms with parchment paper circles. This ensures your raspberry chocolate cake layers release perfectly.
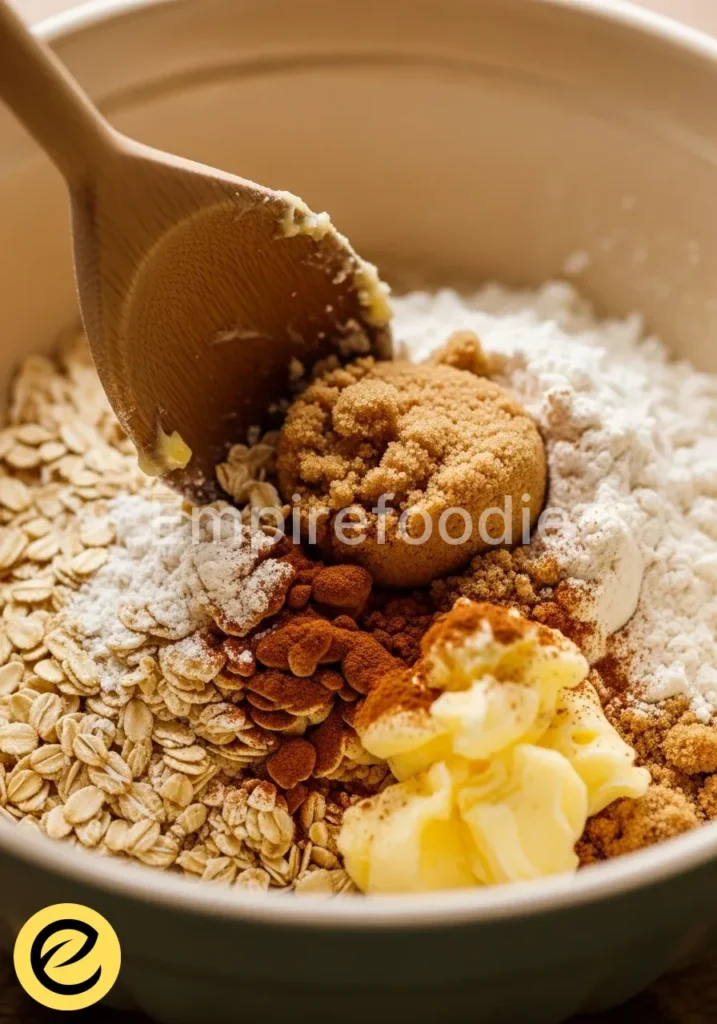
- Combine Dry Ingredients: In a large bowl, whisk together the sifted flour, cocoa powder, baking soda, baking powder, and salt. Set aside.
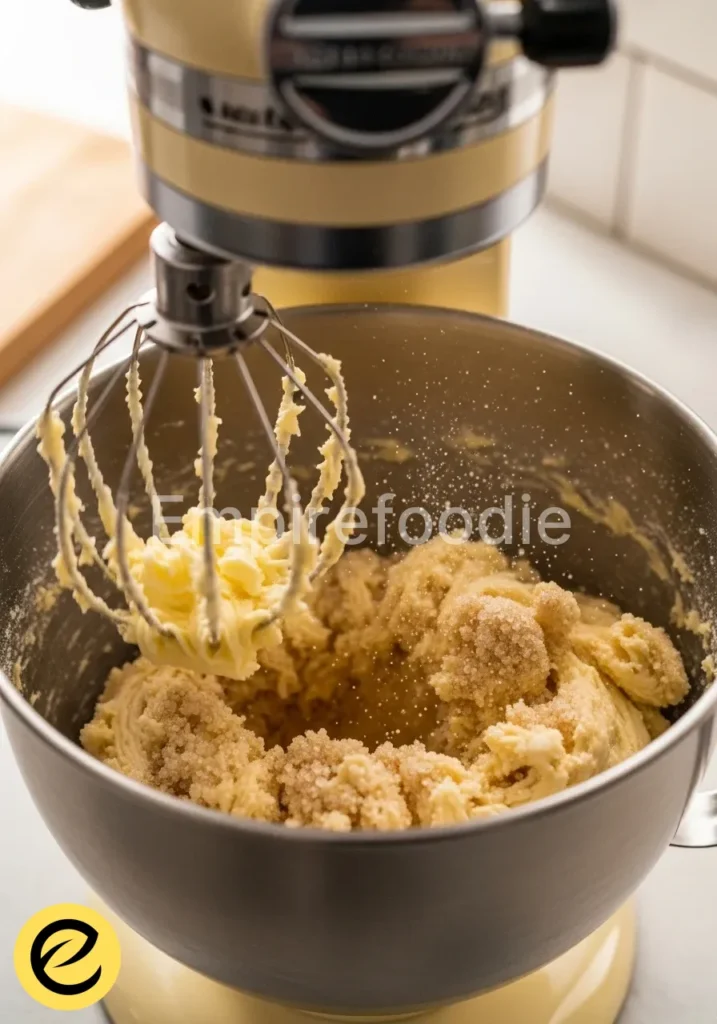
- Cream Butter and Sugar: In the bowl of an electric mixer fitted with the paddle attachment, cream the softened butter and granulated sugar on medium-high speed until light and fluffy, about 3-5 minutes. Scrape down the sides of the bowl as needed.
- Add Eggs and Vanilla: Beat in the eggs one at a time, ensuring each is fully incorporated before adding the next. Mix in the vanilla extract. The mixture will be rich and creamy, perfect for your raspberry chocolate cake.
- Alternate Dry and Wet Ingredients: With the mixer on low speed, gradually add the dry ingredients to the wet ingredients in three additions, alternating with the buttermilk in two additions. Begin and end with the dry ingredients. Mix until just combined; do not overmix.
- Incorporate Coffee: Slowly pour in the hot coffee (or hot water) and mix until the batter is smooth. The batter for this raspberry chocolate cake will be thin, which helps create its incredibly moist texture.
- Fold in Raspberries: Gently fold in the flour-tossed fresh raspberries by hand using a rubber spatula. Be careful not to crush them.
- Bake the Cakes: Divide the batter evenly between the prepared cake pans. Bake for 30-35 minutes, or until a wooden skewer inserted into the center comes out with moist crumbs, not wet batter.
- Cool Completely: Let the cake layers cool in the pans for 10-15 minutes before inverting them onto a wire cooling rack to cool completely. Ensure they are entirely cool before frosting your raspberry chocolate cake.
- Make the Ganache: Place the finely chopped dark chocolate in a heatproof bowl. Heat the heavy cream in a small saucepan over medium heat until it just begins to simmer (do not boil). Pour the hot cream over the chopped chocolate and let it sit for 5 minutes. Whisk gently from the center outwards until smooth and glossy. Stir in the softened butter and vanilla extract. Let the ganache cool at room temperature for at least 1-2 hours, or until it reaches a spreadable consistency.
- Assemble and Frost: Once the cake layers are completely cool, level them if necessary. Place one cake layer on your serving plate. If using, spread a thin layer of warmed raspberry jam. Then, spread a generous amount of chocolate ganache over the first layer. Place the second layer on top and cover the entire raspberry chocolate cake with the remaining ganache.
- Garnish: Decorate your raspberry chocolate cake with fresh raspberries and chocolate shavings or curls, if desired.
Achieving a professional-quality raspberry chocolate cake at home is entirely within reach with these precise steps. Once you’ve mastered this cake, you might want to explore making classic sugar cookies as another of your go-to desserts.
Pro Tips for Success
Elevating your raspberry chocolate cake from good to extraordinary requires attention to detail. Firstly, ensure all cold ingredients, especially butter and eggs, are at room temperature. This allows them to emulsify properly, creating a smoother, more uniform batter and a lighter texture for your raspberry chocolate cake.
Sifting your dry ingredients is non-negotiable; it prevents lumps and ensures even distribution of leavening agents. Do not overmix the batter once the flour is added; overmixing develops gluten, leading to a tough cake. Mix until just combined.
For the ganache, use high-quality chocolate; it makes a significant difference in flavor and texture. If your ganache is too thin, chill it briefly in the refrigerator, stirring every 10-15 minutes, until it thickens to a spreadable consistency. If too thick, gently warm it over a double boiler for a few seconds. Finally, for clean slices of your raspberry chocolate cake, use a warm, sharp knife, wiping it clean between each cut.
Storage & Reheating Tips
To keep your raspberry chocolate cake fresh and delicious, proper storage is key. Store the cake in an airtight container at room temperature for up to 2-3 days. If your kitchen is particularly warm, or for longer storage, refrigerate the cake for up to 5-7 days.
However, the refrigeration tends to dry out the cake slightly. To counteract this, bring slices of the raspberry chocolate cake back to room temperature for about 30 minutes before serving. This allows the cake and ganache to soften, restoring their ideal texture and flavor.
You can also individually wrap slices of raspberry chocolate cake in plastic wrap and then foil, freezing them for up to 2-3 months. Thaw frozen slices overnight in the refrigerator, then bring them to room temperature before enjoying.
To keep your raspberry chocolate cake fresh and delicious, proper storage is key. If you’re looking for a more straightforward yet satisfying dessert, check out our easy chocolate cake recipe that’s perfect for any occasion.
What to Serve With This Raspberry Chocolate Cake
While this raspberry chocolate cake is a showstopper on its own, thoughtful pairings can enhance the experience without overshadowing its rich flavors. For a balanced meal, consider serving a light, crisp salad beforehand, perhaps a mixed green salad with a citrus vinaigrette. A beautifully roasted chicken or a delicate pan-seared salmon could serve as a delightful main course.
For dessert, a small scoop of raspberry sorbet or a dollop of fresh whipped cream can beautifully complement the richness of the raspberry chocolate cake. A simple fruit salad featuring berries and stone fruits also offers a refreshing contrast. Beverages like a robust espresso or a glass of dry red wine (like a Cabernet Sauvignon or Zinfandel) can truly highlight the deep chocolate notes of this raspberry chocolate cake.
Frequently Asked Questions (FAQ)
Can I use frozen raspberries for this raspberry chocolate cake?
Yes, you can use frozen raspberries for this raspberry chocolate cake. Do not thaw them before adding to the batter; toss them directly in a tablespoon of flour as you would with fresh berries. Be aware that frozen berries might release more moisture during baking, so your raspberry chocolate cake might require an extra few minutes in the oven.
What makes the coffee essential in a raspberry chocolate cake recipe?
The hot coffee in this raspberry chocolate cake recipe doesn’t make the cake taste like coffee. Instead, it significantly deepens and intensifies the chocolate flavor, making it richer and more robust. It also helps to thin the batter to the perfect consistency, contributing to the moist texture of the final raspberry chocolate cake.
Can I prepare the ganache frosting ahead of time?
Absolutely. You can prepare the chocolate ganache frosting up to 2 days in advance. Store it in an airtight container in the refrigerator.
When you’re ready to use it for your raspberry chocolate cake, let it come to room temperature and whisk it vigorously until it’s smooth and spreadable. If it’s too firm, gently warm it over a double boiler for a few moments, stirring constantly.
Raspberry chocolate cake is a delectable dessert that combines rich chocolate flavors with the tartness of fresh raspberries. This cake is not only a visually stunning centerpiece but also offers a delightful balance of flavors that appeals to chocolate lovers and fruit enthusiasts alike, as seen in discussions of various cake types.
Final Thoughts
This raspberry chocolate cake recipe embodies the joy of baking and the art of flavor. It’s a testament to how simple, quality ingredients can transform into an unforgettable dessert, creating moments of pure indulgence and shared happiness. Take pride in mastering this beautiful raspberry chocolate cake; it will surely become a cherished family favorite.
Nutrition Information (per serving)
(Approximate values based on 12 servings)
| Nutrient | Amount |
|---|---|
| Calories | 490 kcal |
| Total Fat | 32g |
| Saturated Fat | 19g |
| Cholesterol | 110mg |
| Sodium | 280mg |
| Total Carbohydrates | 50g |
| Dietary Fiber | 4g |
| Total Sugars | 35g |
| Protein | 7g |
raspberry chocolate cake
Ingredients
- 2 ½ cups (300g) all-purpose flour, sifted
- 1 cup (100g) unsweetened cocoa powder, high-quality Dutch-processed
- 1 ½ teaspoons baking soda
- ½ teaspoon baking powder
- 1 teaspoon salt
- 1 ½ cups (340g) unsalted butter, softened
- 2 cups (400g) granulated sugar
- 4 large eggs, room temperature
- 1 ½ teaspoons vanilla extract, pure
- 1 cup (240ml) buttermilk, room temperature
- ¾ cup (180ml) hot strong coffee or hot water
- 1 ½ cups (225g) fresh raspberries, gently tossed in 1 tablespoon flour
- 12 oz (340g) high-quality dark chocolate, finely chopped for ganache
- 1 ½ cups (360ml) heavy cream for ganache
- 2 tablespoons unsalted butter for ganache
- 1 teaspoon vanilla extract for ganache
- ¼ cup (60ml) seedless raspberry jam, warmed (optional)
- 1 cup (150g) fresh raspberries for garnish
- Chocolate shavings or curls (optional)
Instructions
- Preheat your oven to 350°F (175°C). Grease and flour two 8-inch round cake pans. Line the bottoms with parchment paper circles.
- In a large bowl, whisk together the sifted flour, cocoa powder, baking soda, baking powder, and salt. Set aside.
- In the bowl of an electric mixer fitted with the paddle attachment, cream the softened butter and granulated sugar on medium-high speed until light and fluffy, about 3-5 minutes.
- Beat in the eggs one at a time, ensuring each is fully incorporated before adding the next. Mix in the vanilla extract.
- With the mixer on low speed, gradually add the dry ingredients to the wet ingredients in three additions, alternating with the buttermilk in two additions.
- Slowly pour in the hot coffee (or hot water) and mix until the batter is smooth. Fold in the flour-tossed fresh raspberries by hand using a rubber spatula.
- Divide the batter evenly between the prepared cake pans and bake for 30-35 minutes, until a wooden skewer comes out with moist crumbs.
- Let the cake layers cool in the pans for 10-15 minutes, then invert them onto a wire rack to cool completely.
- For the ganache, place the finely chopped dark chocolate in a heatproof bowl. Heat the heavy cream until it just begins to simmer, and pour it over the chocolate. Let it sit for 5 minutes, then whisk until smooth. Stir in the softened butter and vanilla extract. Let cool until spreadable.
- Once the cake layers are cool, level them if necessary. Place one layer on a serving plate, optionally spread a layer of warmed raspberry jam, and then a generous amount of ganache. Place the second layer on top and frost the entire cake with the remaining ganache.
- Garnish with fresh raspberries and chocolate shavings if desired.