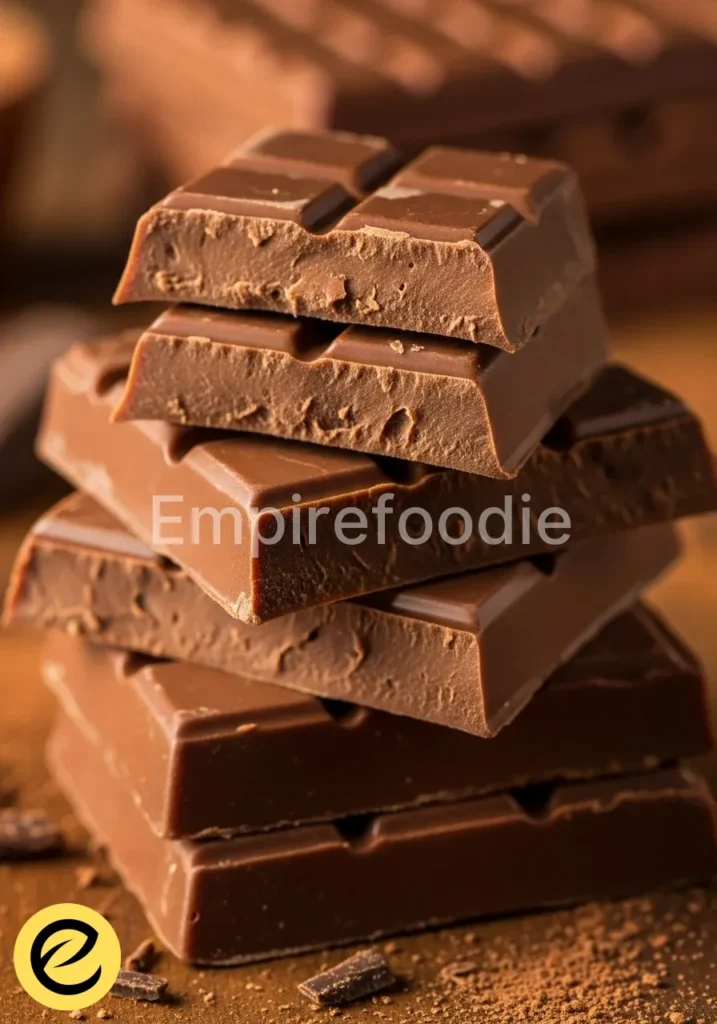
Crafting your own dark chocolate bars offers an unparalleled experience in rich flavor and satisfying texture. This precise recipe guides you through the scientific principles behind achieving perfectly tempered, glossy chocolate with a satisfying snap. Discover the nuances of ingredient interaction and temperature control that elevate simple ingredients into exquisite homemade dark chocolate bars, ensuring a deeply gratifying treat.
Table of Contents
Why You’ll Love This Recipe
- Experience the profound, complex flavor profile of truly high-quality dark chocolate.
- Achieve a professional-grade glossy finish and satisfying snap, demystifying the art of tempering.
- Customize your homemade dark chocolate bars with healthful inclusions, tailoring taste and texture.
- Benefit from the inherent antioxidant properties of dark chocolate, making indulgence guilt-free.
Ingredients You’ll Need

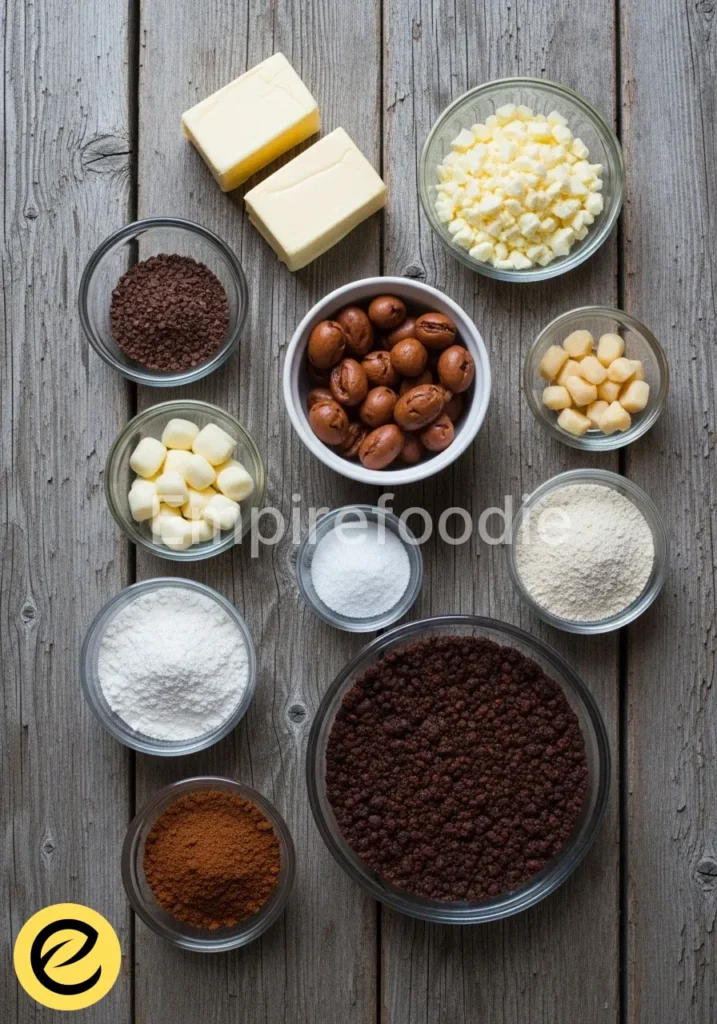
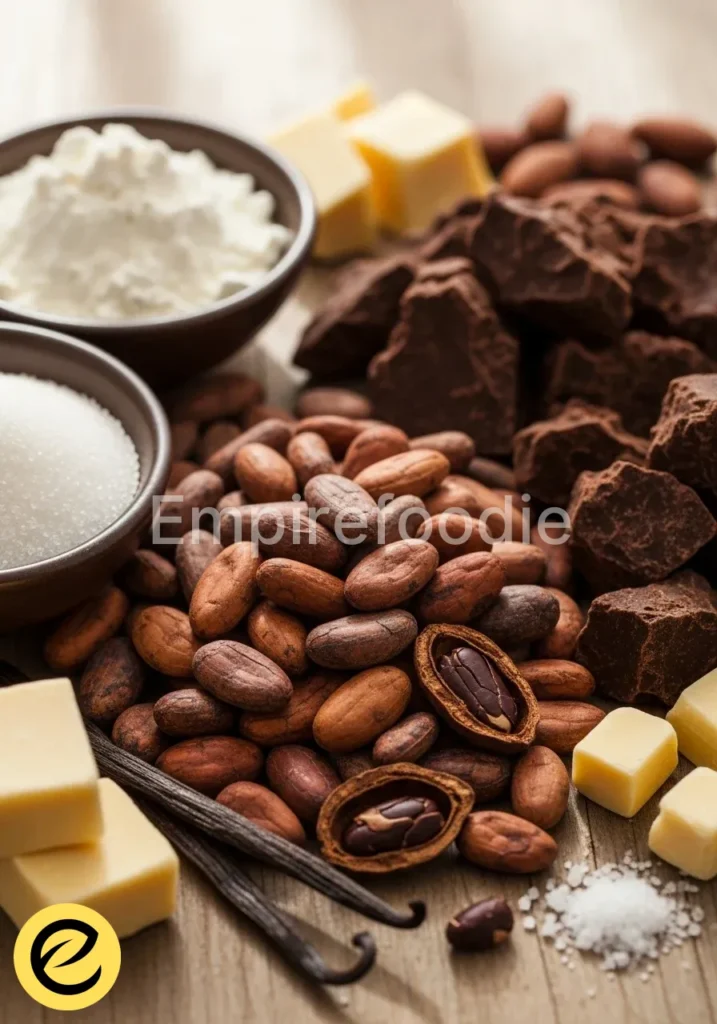
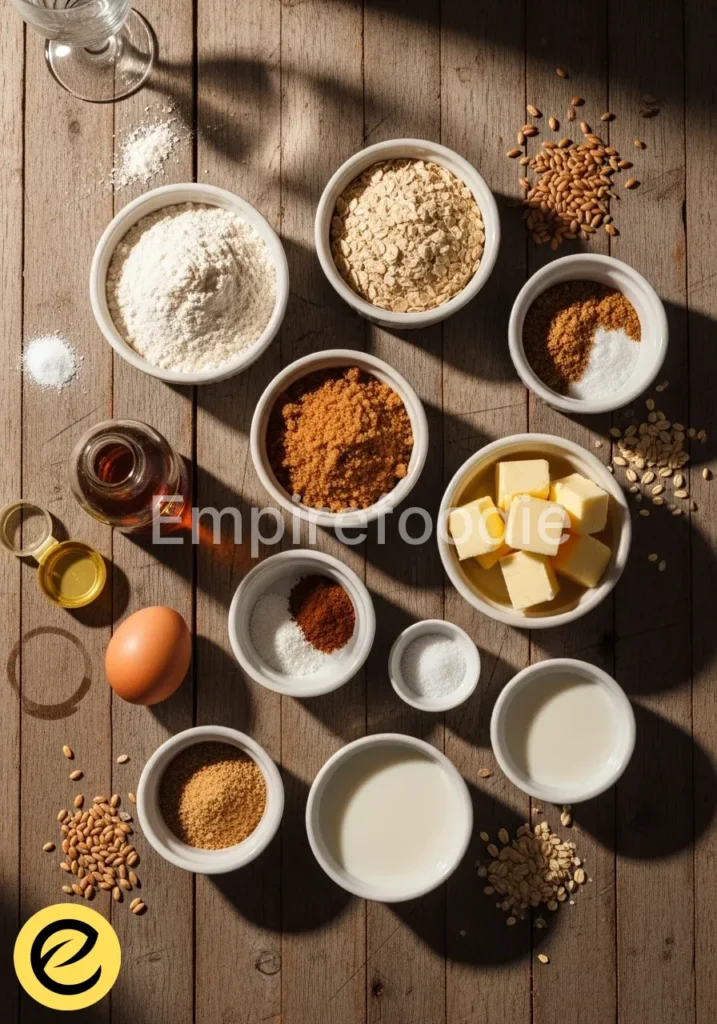
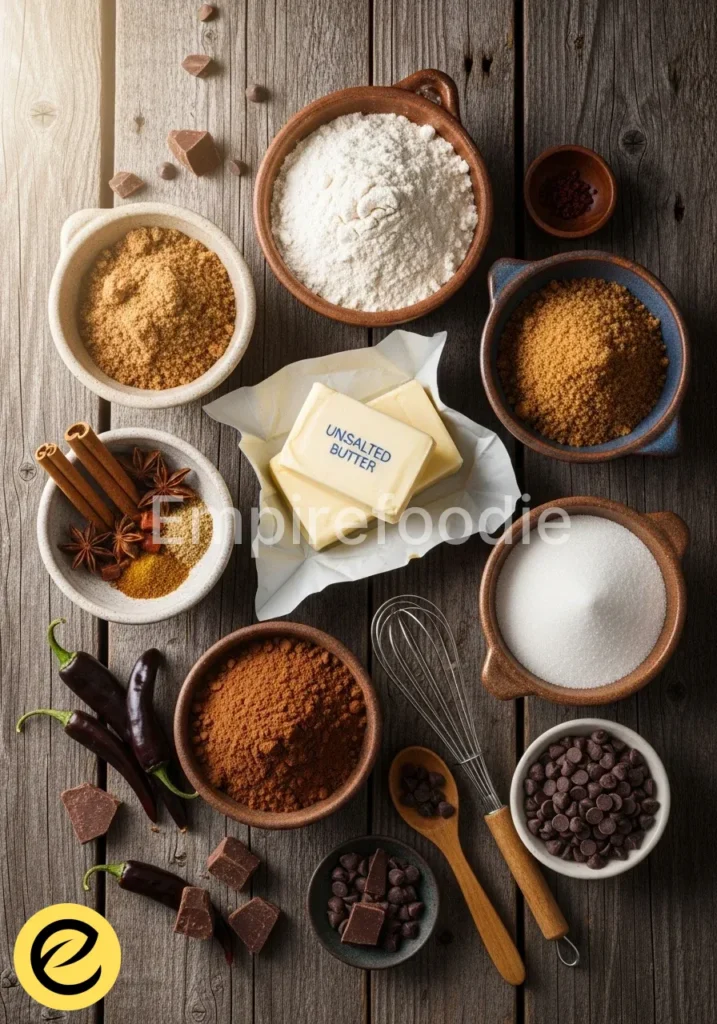
The foundation of exceptional dark chocolate bars lies in the quality of your raw materials. Each ingredient plays a specific role in texture, flavor, and stability. Selecting premium components is not merely a suggestion; it is a critical directive for achieving superior results.
- High-Quality Dark Chocolate: Approximately 1.5 pounds (680g) of couverture dark chocolate, ideally 70-80% cacao. Couverture chocolate contains a higher percentage of cocoa butter, which facilitates easier tempering and results in a smoother texture and superior melt. This precise fat composition allows for stable crystal formation.
- Cocoa Butter (Optional, but Recommended): 1 tablespoon (15g) pure cocoa butter, if working with a chocolate not specifically labelled as couverture or if you desire an even silkier mouthfeel. Cocoa butter contributes to the chocolate’s flow properties and aids in achieving a stable temper.
- Vanilla Extract: 1 teaspoon (5ml) pure vanilla extract. Vanilla enhances the existing chocolate notes, adding depth and complexity without overpowering the primary flavor of the dark chocolate bars. It works as a natural flavor enhancer.
- Pinch of Sea Salt: Approximately 1/4 teaspoon fine sea salt. Salt acts as a powerful flavor potentiator, balancing the bitterness of the dark chocolate and bringing forward its inherent sweetness and complex undertones. It’s a crucial element in achieving a well-rounded flavor profile for your dark chocolate bars.
Substitutions & Variations
[ra_display_video url=”https://www.youtube.com/watch?v=E5apNtufWa8″]
Understanding the fundamental chemistry allows for intelligent substitutions and variations without compromising the structural integrity or flavor balance of your dark chocolate bars. Maintain a focus on healthy and beneficial additions.
- Sweetener Adjustment: While high-quality dark chocolate requires minimal additional sweetness, you can incorporate a small amount of a natural, unrefined sweetener. For instance, finely ground erythritol or stevia powder (ensure it’s a pure extract) can be added sparingly to adjust the perceived sweetness. However, be aware that any powder can slightly alter the chocolate’s texture if not thoroughly incorporated.
- Nut & Seed Inclusions: Boost the nutritional profile and add textural contrast by folding in activated raw almonds, pistachios, or pumpkin seeds. Ensure nuts are roasted and cooled if desired for deeper flavor, but avoid adding them while still warm, as residual heat can disrupt the chocolate’s temper. The crunch of these additions complements the smooth dark chocolate bars.
- Dried Fruit: For a tangy counterpoint, consider adding finely chopped, unsweetened dried cranberries or goji berries. Always ensure fruits are completely dry to prevent moisture introduction, which can cause the chocolate to seize.
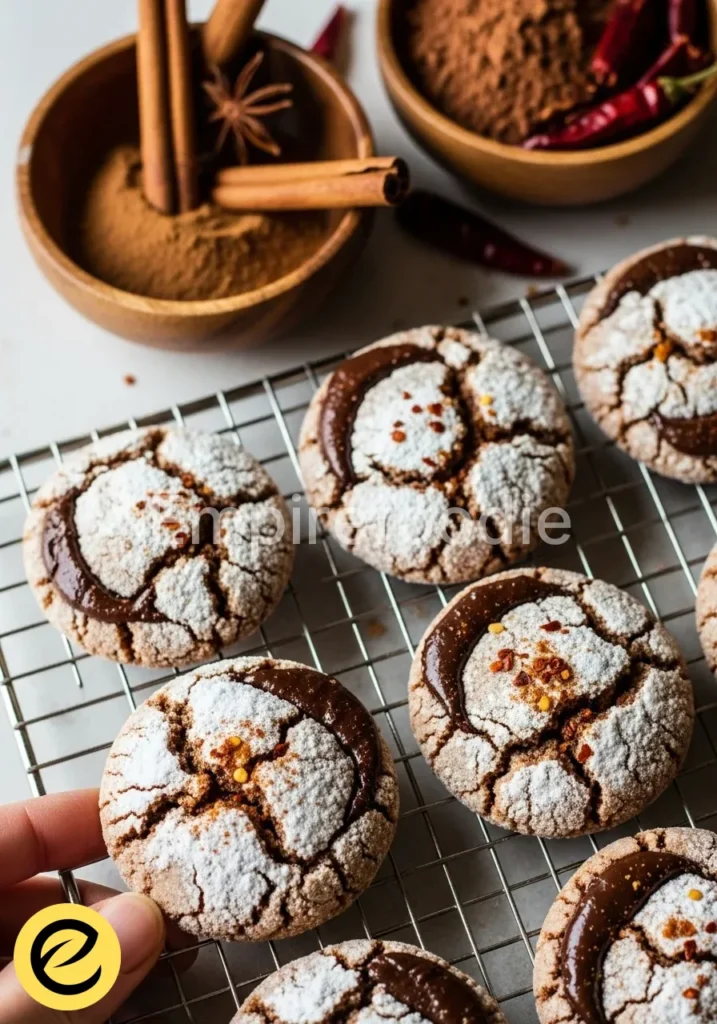
- Spices: Experiment with a subtle hint of Ceylon cinnamon, a tiny pinch of cayenne pepper for a warming kick, or a touch of cardamom. These spices should be finely ground and introduced judiciously to complement, not dominate, the rich flavor of the dark chocolate.
- Flavor Extracts: Beyond vanilla, explore a few drops of pure peppermint extract (ensure it’s oil-based, not water-based) for a refreshing twist, or orange extract to highlight citrus notes in your dark chocolate bars. Less is often more with concentrated extracts.
When experimenting with your dark chocolate bars, you might want to explore variations in your sweeteners. Check out this chocolate biscuits recipe for inspiration on natural sweetener substitutions.
Equipment You’ll Need
- Double Boiler Setup: A heatproof bowl (stainless steel or glass) that fits snugly over a saucepan containing simmering water, ensuring the bowl does not touch the water. This provides gentle, indirect heat, crucial for melting chocolate without scorching.
- Digital Thermometer: A precise instant-read thermometer is absolutely non-negotiable for accurate tempering. Temperature control dictates the crystalline structure of your dark chocolate bars.
- Rubber Spatula: For gentle folding and scraping, preventing air incorporation.
- Chocolate Molds: Food-grade silicone molds specifically designed for chocolate bars or candy, ensuring easy release and a professional finish.
- Offset Spatula or Bench Scraper: For spreading chocolate evenly and achieving a clean finish on the bars.
- Parchment Paper or Silicone Mat: For a clean workspace and easy cleanup.
Step-by-Step Instructions
Achieving perfectly tempered dark chocolate bars involves precise temperature management and careful handling. Follow these steps meticulously to ensure a stable, glossy, and snappy product.
- Prepare Your Workspace: Ensure all equipment is meticulously clean and completely dry. Any moisture can cause the chocolate to seize. Set up your double boiler and have your digital thermometer readily accessible.
- Melt the Chocolate (Initial Phase): Roughly chop the dark chocolate into small, uniform pieces. This promotes even melting. Place two-thirds of the chopped chocolate (approximately 1 pound or 450g) into the heatproof bowl set over simmering water. Ensure the water is simmering gently, not boiling vigorously, and does not touch the bottom of the bowl.
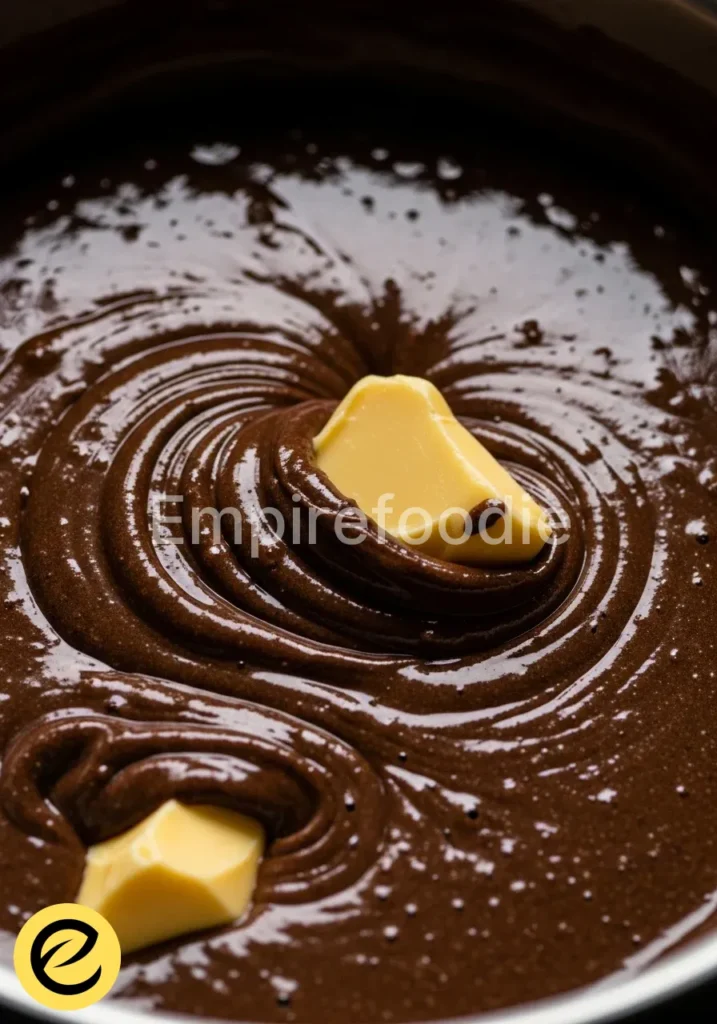
- Achieve Melting Temperature: Stir the chocolate constantly with a rubber spatula, allowing it to melt gradually. Heat the chocolate to 113-120°F (45-49°C). This temperature ensures all cocoa butter crystals are melted, resetting the chocolate’s crystalline structure. For precise dark chocolate bars, monitor this carefully.
- Remove from Heat & “Seed”: Once the target temperature is reached, immediately remove the bowl from the double boiler. Wipe any condensation from the bottom of the bowl. Add the remaining one-third of the chopped dark chocolate (the “seed” chocolate) to the melted chocolate.
- Temper the Chocolate: Stir continuously and vigorously with your spatula. The solid chocolate pieces will cool down the melted chocolate and introduce stable cocoa butter crystals. Continue stirring until the chocolate cools to the working temperature range of 88-91°F (31-33°C). This specific temperature range is crucial for forming Type V beta crystals, responsible for gloss, snap, and heat resistance in your dark chocolate bars.
- Test the Temper: Dip the tip of an offset spatula or a piece of parchment paper into the tempered chocolate. If properly tempered, the chocolate should set within 3-5 minutes at room temperature, appearing glossy and streak-free. If it doesn’t set or appears dull, you may need to re-temper.
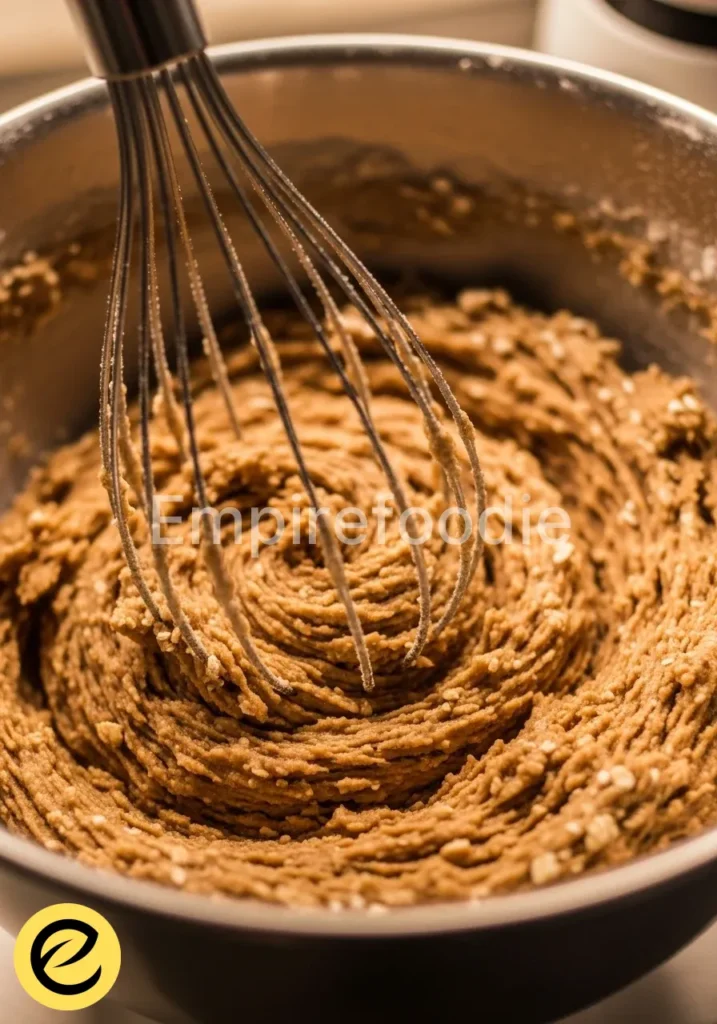
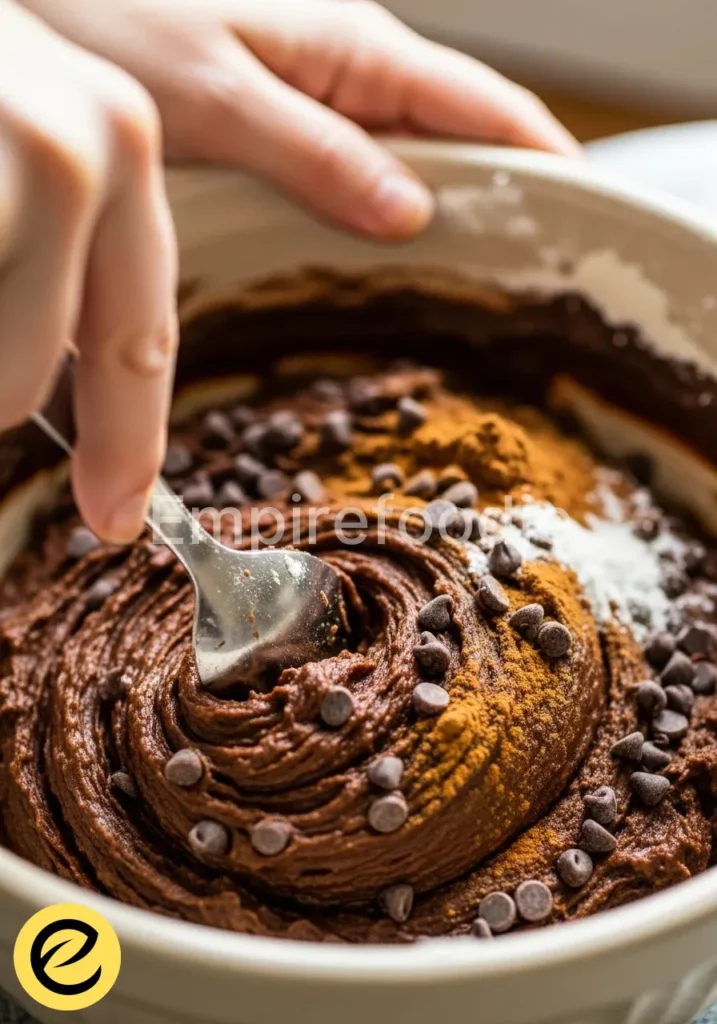
- Add Flavorings: Once tempered, stir in the vanilla extract and sea salt. If adding any optional inclusions like nuts or dried fruit, fold them in gently at this stage. Avoid over-mixing to prevent air bubbles in your dark chocolate bars.
- Fill the Molds: Carefully pour the tempered chocolate into your prepared silicone molds. Use the offset spatula or bench scraper to spread it evenly and scrape off any excess from the top, ensuring flat, professional-looking dark chocolate bars.
- Tap to Remove Air Bubbles: Gently tap the molds several times on your countertop. This helps release any trapped air bubbles, ensuring a smooth, dense final product.
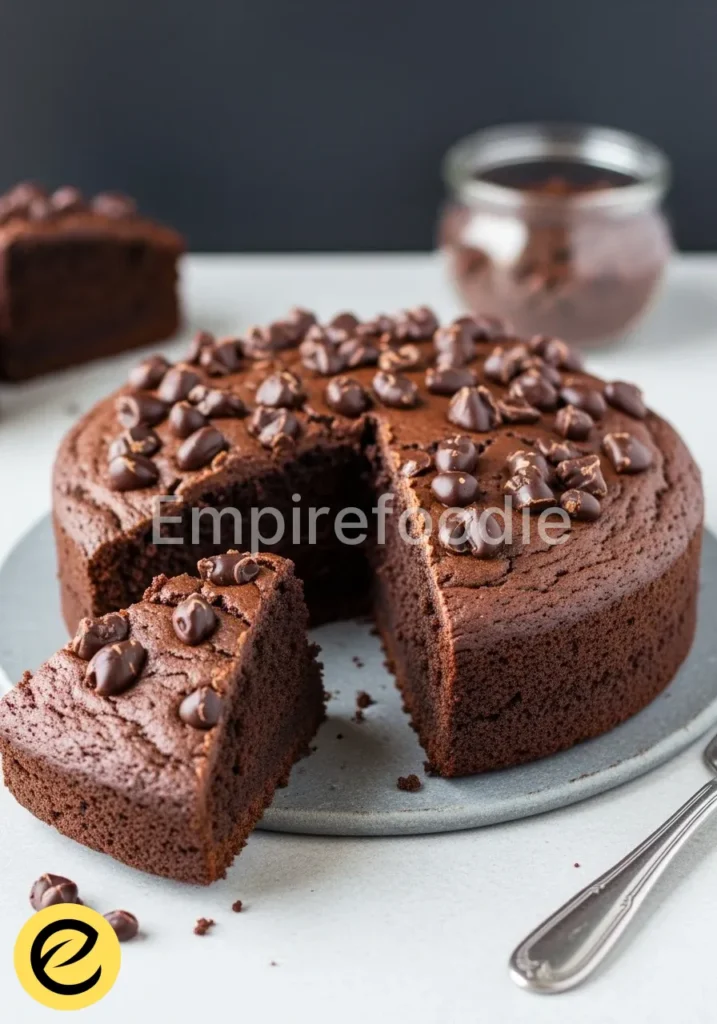
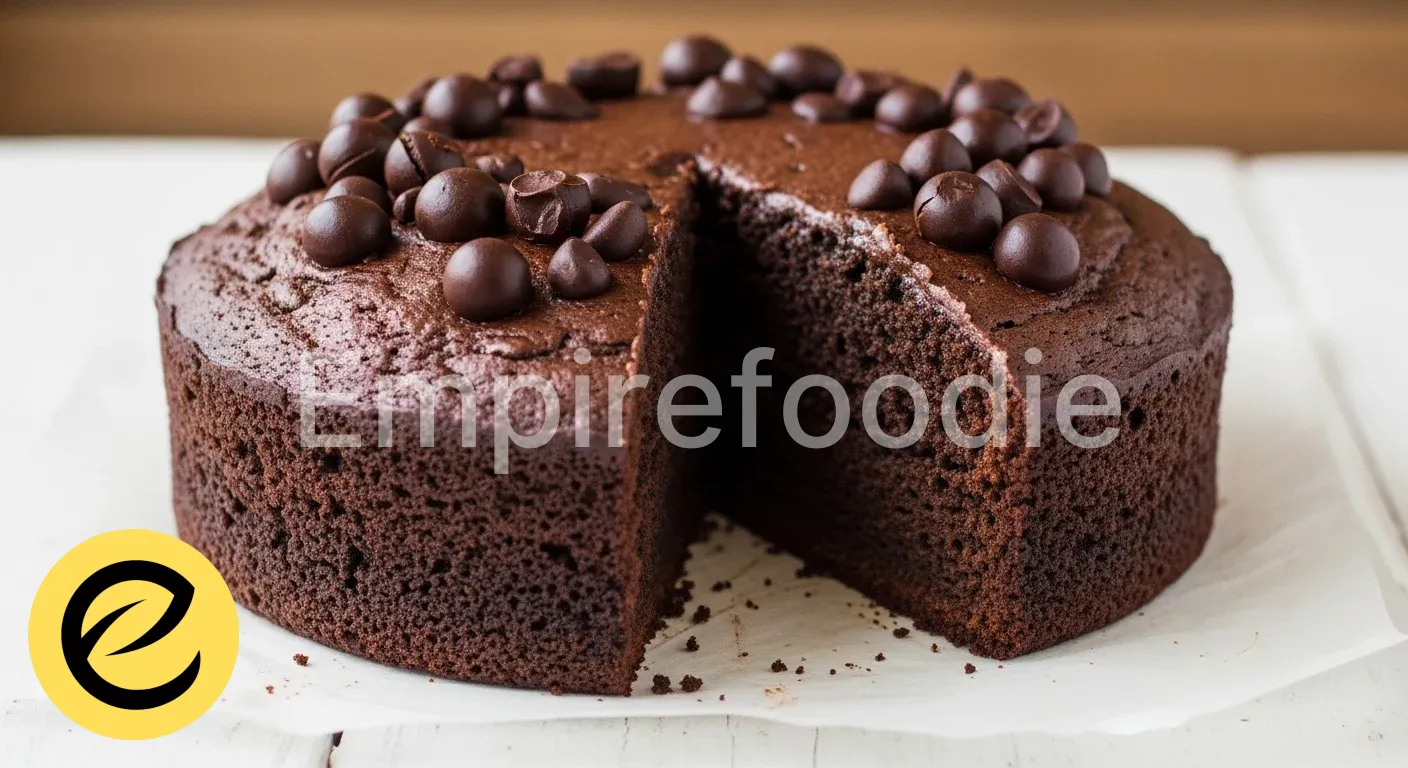
- Chill and Set: Place the filled molds in the refrigerator for 20-30 minutes, or until the dark chocolate bars are completely firm and easily release from the molds. Over-chilling is not necessary and can sometimes lead to condensation.
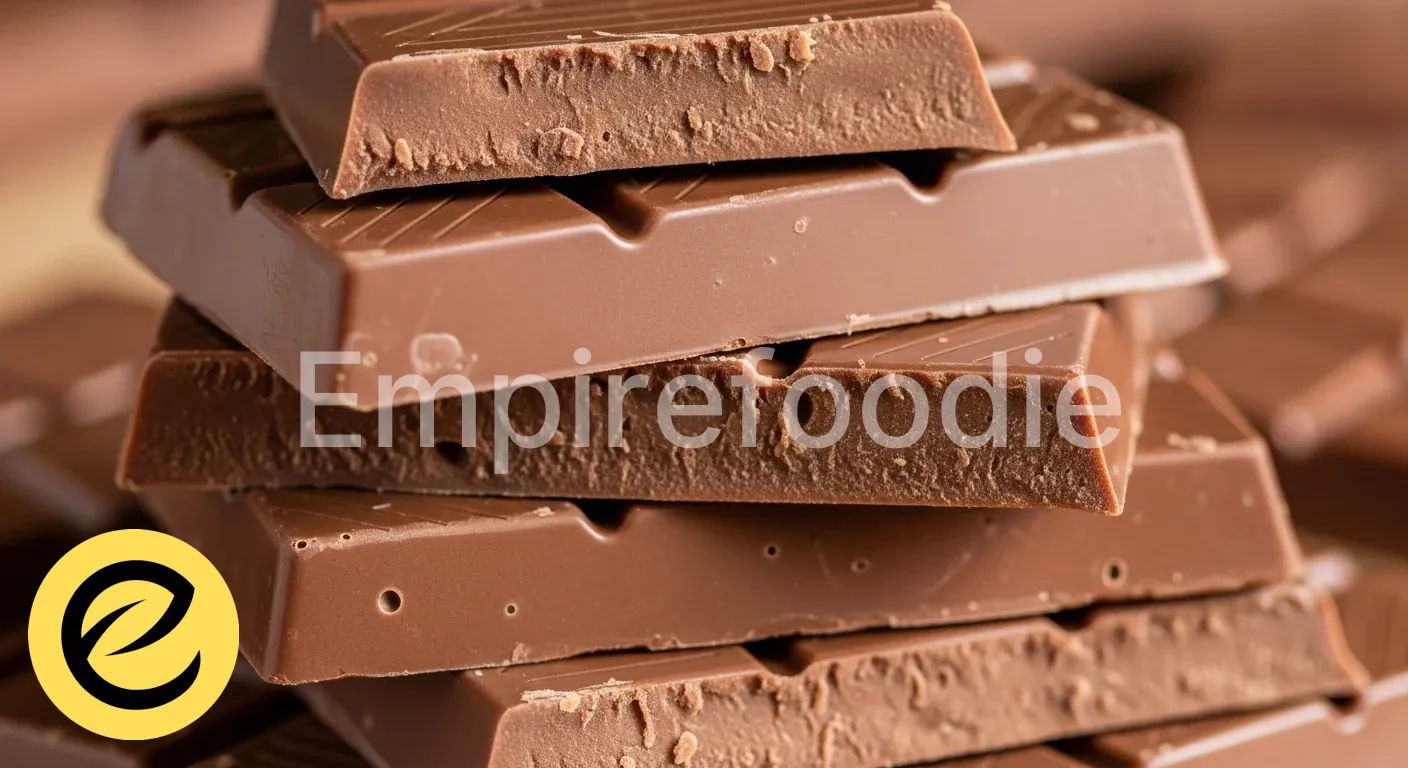
- Unmold and Store: Carefully unmold the dark chocolate bars. They should pop out easily if properly tempered and set.
Tempering your chocolate correctly is pivotal for achieving that perfect snap. Ensure your skills are sharp by learning additional techniques through our guide to chocolate chip biscuits.
Pro Tips for Success
Understanding the science behind chocolate work elevates a recipe from a simple guide to a masterclass in confectionary. Adam Dino’s approach emphasizes precision and knowledge.
- Understanding the Temper: Tempering is a process of controlled crystallization. Chocolate, specifically cocoa butter, can crystallize in six different forms. Only Type V crystals (beta crystals) provide the desired snap, gloss, and melt characteristics for stable dark chocolate bars. Heating and cooling cycles manipulate these crystals. The initial melt at 113-120°F (45-49°C) eliminates all existing crystal forms. The subsequent cooling and seeding process at 88-91°F (31-33°C) encourages the formation of desirable Type V crystals. Without proper tempering, your homemade dark chocolate bars will be soft, dull, and prone to “bloom” (white streaks caused by unstable fat crystallization).
- Moisture is the Enemy: Even a single drop of water can cause chocolate to “seize,” turning it from a smooth liquid into a thick, gritty paste. Water causes the sugar crystals in chocolate to clump together. Ensure all bowls, spatulas, and tools are impeccably dry. When using a double boiler, prevent steam from entering the chocolate.
- Ingredient Temperature: If adding inclusions like nuts or dried fruits, ensure they are at room temperature, or even slightly warmed, before incorporating them into the tempered chocolate. Introducing cold ingredients can rapidly drop the chocolate’s temperature below its working range, causing it to go out of temper.
- Don’t Rush the Cooling: While chilling in the refrigerator helps set the dark chocolate bars quickly, avoid putting freshly poured, warm chocolate directly into a very cold environment. A rapid temperature drop can sometimes cause minor fat separation or dullness. A gentle chill is preferable.
- Working with Cacao Percentage: Higher cacao percentage dark chocolate (e.g., 80%+) often has a slightly higher working temperature range for tempering due to less sugar content. Always refer to the manufacturer’s recommendations for precise tempering temperatures if provided. Adjustments for specific dark chocolate bars are sometimes necessary.
Storage & Reheating Tips
Proper storage is essential to maintain the temper, flavor, and integrity of your dark chocolate bars. Reheating is generally not applicable, as these are meant to be enjoyed at a stable, cool temperature.
Store your finished dark chocolate bars in an airtight container at a cool, dry room temperature, ideally between 60-68°F (15-20°C). Humidity and fluctuating temperatures are detrimental to tempered chocolate. Humidity can cause sugar bloom (a white, powdery layer), while temperature fluctuations can lead to fat bloom (a white, streaky appearance).
Both are harmless but affect aesthetics. Avoid refrigeration if possible, as it can cause condensation when the chocolate returns to room temperature, potentially leading to bloom. If you must refrigerate in very warm climates, place the airtight container in a paper bag before refrigerating, and allow it to come to room temperature slowly within the bag to minimize condensation. These dark chocolate bars maintain their quality for several weeks when stored correctly.
Proper storage of your finished dark chocolate bars is crucial to maintain their quality. To understand more about chocolate storage techniques, visit our page on chocolate cookies with white chips.
What to Serve With This Recipe

While these dark chocolate bars are a decadent treat on their own, pairing them with specific items can enhance the experience, providing balance and promoting healthier consumption patterns.
- Fresh Fruit Platter: The natural sweetness and acidity of berries (strawberries, raspberries), orange segments, or sliced apples offer a refreshing counterpoint to the rich bitterness of the dark chocolate. This pairing highlights the fruit’s freshness against the deep chocolate notes.
- Nut & Seed Butter: A dollop of unsweetened almond butter or cashew butter can be a surprisingly harmonious accompaniment. The creamy texture and healthy fats complement the chocolate’s intensity, creating a more substantial and satisfying snack.
- Strong Coffee or Herbal Tea: A well-brewed cup of black coffee or a robust herbal tea (like peppermint or chamomile) can cleanse the palate between bites, allowing the complex flavors of the dark chocolate bars to shine through. The bitterness of coffee often enhances the chocolate’s undertones.
- Greek Yogurt: A small serving of plain Greek yogurt, perhaps with a drizzle of honey, provides a protein-rich, tangy, and creamy backdrop that can balance the sweetness and richness of these specific dark chocolate bars.
Frequently Asked Questions (FAQ)
Why did my dark chocolate bars appear dull and streaky?
A dull or streaky appearance, often referred to as “bloom,” typically indicates that your chocolate was not properly tempered. Tempering is the process of precisely controlling the temperature of the chocolate to encourage the formation of stable cocoa butter crystals (Type V).
Without this, the cocoa butter can crystallize randomly, leading to a soft, crumbly texture, poor snap, and a grayish, streaky surface. Ensuring strict adherence to the temperature ranges (melting, cooling, and working temperatures) is paramount for glossy dark chocolate bars.
Can I use chocolate chips instead of couverture chocolate?
While technically possible, it is not recommended for achieving high-quality dark chocolate bars. Chocolate chips, especially baking chips, often contain stabilizers and less cocoa butter (or different fats) to help them maintain their shape during baking. This altered fat composition makes them much harder to temper correctly and results in a less fluid melt, a thicker consistency, and a less desirable texture and snap in your final dark chocolate bars. For best results, invest in good quality couverture chocolate.
How can I add different flavors to my dark chocolate bars without affecting the temper?
To infuse additional flavors without disrupting the temper, use fat-soluble flavorings or dry ingredients. Pure, oil-based extracts (like peppermint or orange oil) are ideal; water-based extracts can cause seizing.
For dry inclusions like spices (cinnamon, chili powder), ensure they are finely ground and added after the tempering process, just before molding. When adding nuts, seeds, or dried fruit, ensure they are at room temperature and completely dry to prevent temperature shock or moisture introduction, which can destabilize the perfectly crafted dark chocolate bars.
Dark chocolate bars are crafted from high-quality cocoa solids, cocoa butter, and sugar, providing a rich flavor profile that is both indulgent and healthful. Discover more about the composition and benefits of dark chocolate by exploring this dark chocolate link.
Final Thoughts
Crafting these dark chocolate bars transcends simple cooking; it’s an exercise in precision and understanding culinary science. The gratifying snap and profound flavor are direct results of meticulous technique and quality ingredients. Enjoy the process and the exceptional outcome.
Nutrition Information (per serving)
(Estimated per 1-ounce/28g serving of 70% dark chocolate bar, without inclusions)
| Nutrient | Amount |
|---|---|
| Calories | 160 kcal |
| Total Fat | 12g |
| Saturated Fat | 7g |
| Cholesterol | 0mg |
| Sodium | 2mg |
| Total Carbohydrates | 13g |
| Dietary Fiber | 3g |
| Total Sugars | 7g |
| Protein | 2g |

dark chocolate bars
Ingredients
- 1.5 pounds (680g) high-quality dark chocolate (70-80% cacao)
- 1 tablespoon (15g) cocoa butter (optional)
- 1 teaspoon (5ml) vanilla extract
- 1/4 teaspoon fine sea salt
Instructions
- Prepare your workspace, ensuring all equipment is clean and dry.
- Melt two-thirds of the chopped dark chocolate in a double boiler to 113-120°F (45-49°C).
- Remove from heat and add the remaining chocolate to seed.
- Stir continuously until cooled to 88-91°F (31-33°C).
- Test the temper and add vanilla and salt.
- Pour into molds, tap to remove bubbles, then chill for 20-30 minutes.
- Unmold the bars and store properly.