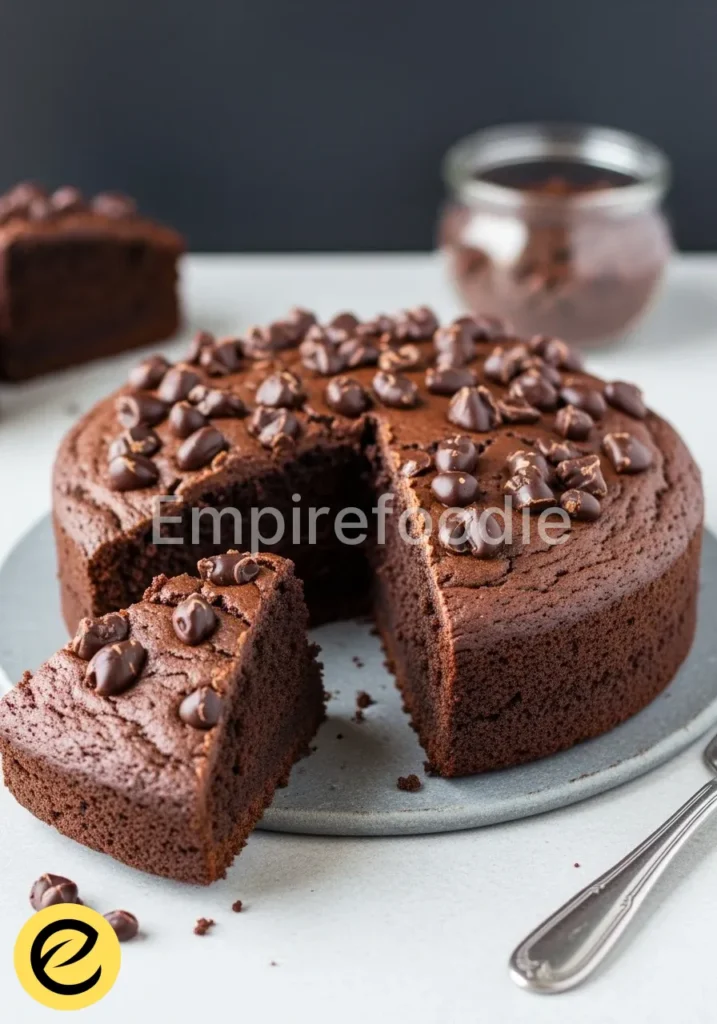
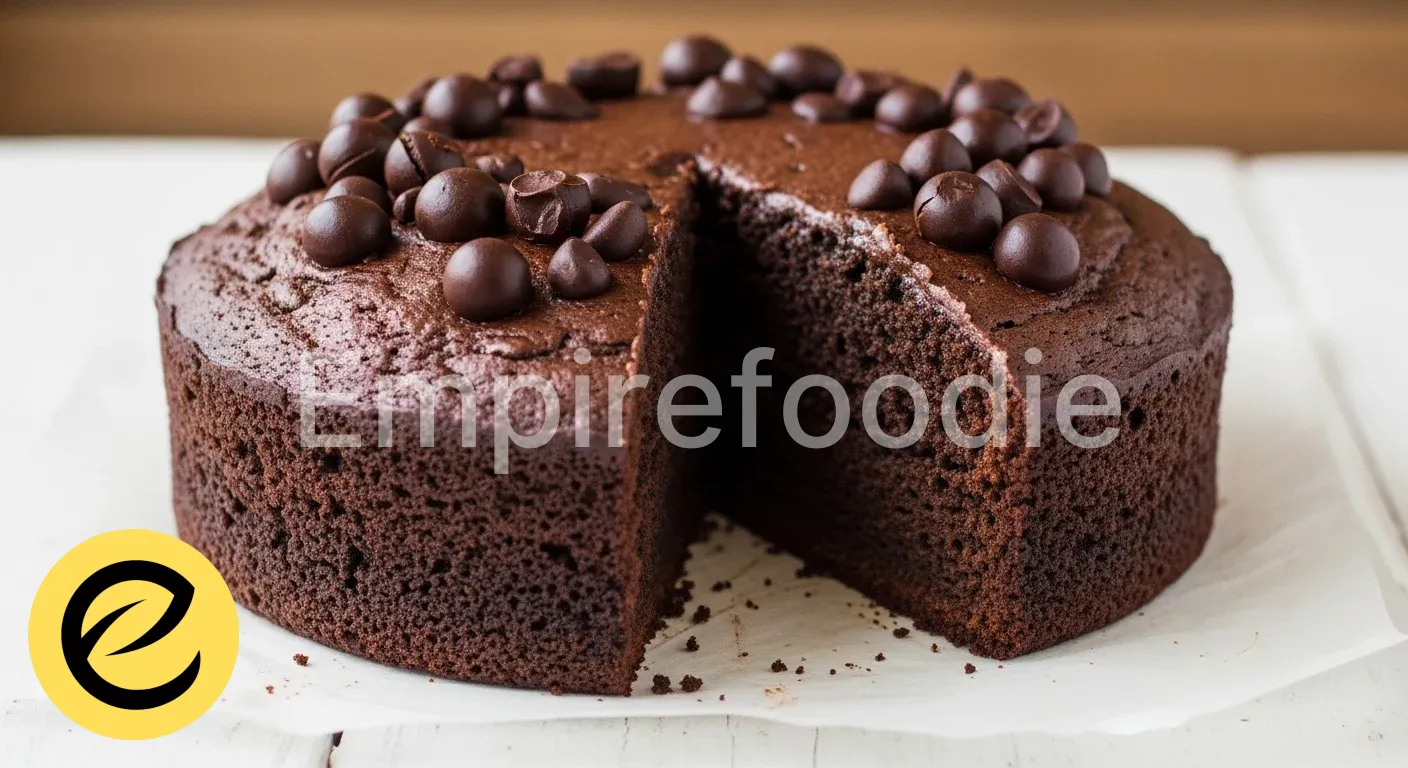
Experience the rich, decadent flavor of chocolate combined with an unbelievably moist, tender crumb in every bite. This isn’t just a dessert; it’s a testament to how truly delicious and satisfying a truly healthy chocolate cake can be. Forget dry, crumbly alternatives often associated with healthier baking.
We have scientifically engineered this recipe to deliver maximum pleasure without compromising nutritional integrity. Discover the precise principles behind crafting this perfect, wholesome healthy chocolate cake.
Table of Contents
Why You’ll Love This Recipe
This recipe transforms the concept of indulgent dessert into a guilt-free pleasure. Its meticulous design ensures every slice offers profound satisfaction.
- Unrivaled Flavor Profile: Achieve deep chocolate notes without excessive sugar.
- Remarkable Moistness: Experience a tender, fudgy texture often elusive in healthy chocolate cake recipes.
- Nutrient-Dense Ingredients: Each component is selected for its health benefits, enhancing overall well-being.
- Effortless Execution: Designed for simplicity, ensuring successful results even for novice bakers.
- Versatile & Adaptable: Easily customize to fit various dietary needs while maintaining quality.
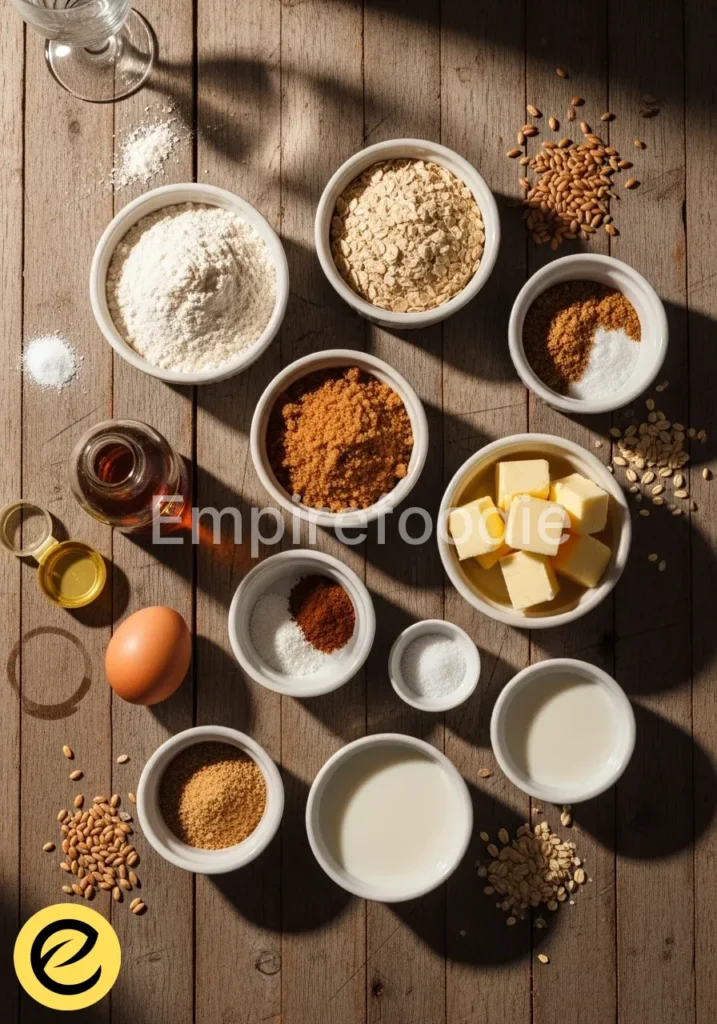
Ingredients You’ll Need
Ingredient selection is paramount to both the flavor and nutritional profile of any healthy chocolate cake. We prioritize whole, unprocessed items for optimal results, understanding their precise roles in the final structure and taste.
- Dry Ingredients:
- 1 ½ cups whole wheat pastry flour (or a 50/50 blend of whole wheat flour and all-purpose flour)
- ¾ cup unsweetened cocoa powder (Dutch-processed for darker color and smoother flavor)
- 1 teaspoon baking soda (sodium bicarbonate)
- ½ teaspoon baking powder (double-acting)
- ½ teaspoon fine sea salt
- Wet Ingredients:
- 1 cup unsweetened almond milk (or other plant-based milk)
- ½ cup maple syrup (pure, Grade A amber)
- ¼ cup unsweetened applesauce (no sugar added)
- ¼ cup extra virgin olive oil (mild flavor)
- 1 tablespoon vanilla extract (pure)
- 1 teaspoon apple cider vinegar (reacts with baking soda)
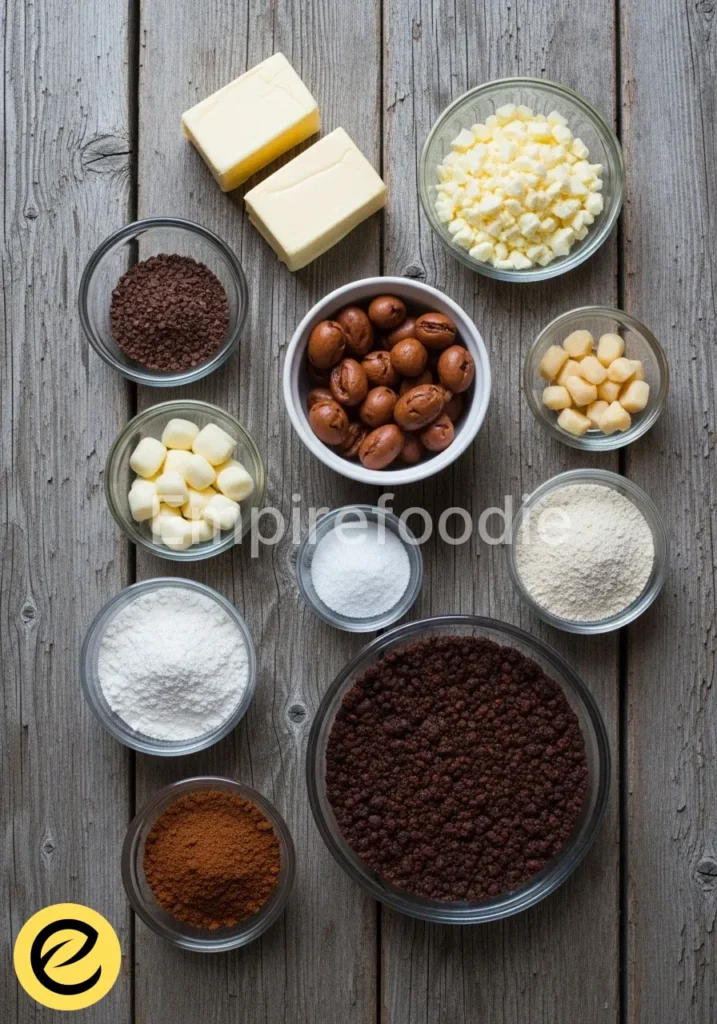
- Optional Mix-ins/Toppings:
- ½ cup dark chocolate chips (70% cacao or higher)
- Fresh berries for garnish
Substitutions & Variations
[ra_display_video url=”https://www.youtube.com/watch?v=xLZWQ1nDOiY”]
Understanding the function of each ingredient allows for intelligent substitutions without compromising the integrity of your healthy chocolate cake. These swaps are carefully chosen to maintain nutritional value and textural quality.
- Flour: For a gluten-free healthy chocolate cake, substitute the whole wheat pastry flour with a 1:1 gluten-free baking blend that contains xanthan gum. This gum provides the necessary structure and elasticity often missing in gluten-free flours, preventing a crumbly texture.
- Sweetener: If you prefer a different natural sweetener, agave nectar or date syrup can replace maple syrup at a 1:1 ratio. Adjust sweetness to taste, understanding that these can alter the final moisture content slightly due to their varying water activity.
- Fat: Avocado oil or melted coconut oil (ensure it’s liquid when measuring) can be used instead of olive oil. Avocado oil offers a neutral flavor profile, while coconut oil imparts a subtle tropical note, impacting the overall sensory experience of this healthy chocolate cake.
- Milk: Any plant-based milk (soy, oat, cashew) works perfectly. The protein and fat content in various milks can slightly influence the crumb structure, but for a healthy chocolate cake, the impact is minimal.
- Add-ins: Incorporate a pinch of instant espresso powder (½ teaspoon) to enhance the chocolate flavor without adding a coffee taste. For textural variety, add chopped nuts like walnuts or pecans, providing healthy fats and satisfying crunch.
Understanding the function of each ingredient allows for intelligent substitutions without compromising the integrity of your healthy chocolate cake. For a delicious twist, consider checking out this chocolate bundt cake recipe which utilizes similar ingredients for a rich flavor.
Equipment You’ll Need
Having the correct tools ensures precision and efficiency in your baking process, critical for achieving the desired results for your healthy chocolate cake.
- 9-inch round cake pan (with parchment paper lining)
- Large mixing bowl
- Medium mixing bowl
- Whisk
- Rubber spatula
- Measuring cups and spoons
- Cooling rack
Step-by-Step Instructions

Precision in execution ensures the chemical reactions within your healthy chocolate cake batter proceed optimally, leading to a perfectly risen and moist product.
- Preheat & Prepare: Preheat your oven to 350°F (175°C). Lightly grease and flour a 9-inch round cake pan, then line the bottom with parchment paper. This preparation prevents sticking and ensures an easy release, crucial for delicate cakes.
- Combine Dry Ingredients: In a large mixing bowl, whisk together the whole wheat pastry flour, cocoa powder, baking soda, baking powder, and sea salt. Thorough whisking disperses the leavening agents evenly, preventing pockets of unmixed ingredients and ensuring uniform rise in your healthy chocolate cake.
- Combine Wet Ingredients: In a separate medium bowl, whisk together the almond milk, maple syrup, unsweetened applesauce, olive oil, vanilla extract, and apple cider vinegar. The vinegar reacts immediately with the baking soda when combined, producing carbon dioxide gas for lift.
- Integrate Wet into Dry: Pour the wet ingredient mixture into the dry ingredients. Use a rubber spatula to mix until just combined. Overmixing develops gluten, leading to a tough, dense healthy chocolate cake, so stop as soon as no dry streaks remain.
- Fold in Chocolate Chips (Optional): If using, gently fold in the dark chocolate chips. Ensure even distribution without overworking the batter.
- Bake: Pour the batter into the prepared cake pan. Bake for 30-35 minutes, or until a wooden skewer inserted into the center comes out clean. Baking time may vary slightly depending on your oven’s calibration.
- Cool: Allow the healthy chocolate cake to cool in the pan for 10-15 minutes on a wire rack. This initial cooling period allows the cake structure to set, preventing crumbling when inverted.
- Invert & Finish Cooling: Carefully invert the cake onto the wire rack, remove the parchment paper, and let it cool completely before slicing. Cooling completely ensures the crumb structure fully stabilizes, enhancing flavor and texture.
Precision in execution ensures the chemical reactions within your healthy chocolate cake batter proceed optimally, leading to a perfectly risen and moist product. You might also enjoy exploring the intricacies of baking with these brown butter cookies that emphasize the importance of technique.
Pro Tips for Success
Elevate your baking prowess with these insights into the scientific principles behind a perfect healthy chocolate cake. Understanding the ‘why’ transforms cooking from mere instruction following to informed craftsmanship.
- Ingredient Temperature: Ensure all wet ingredients are at room temperature. This promotes better emulsification, creating a smoother batter and a more uniform, tender crumb in your healthy chocolate cake. Cold ingredients can cause fats to solidify and prevent proper mixing.
- Accurate Measurement: Baking is a precise science. Use a kitchen scale for flour and cocoa powder to ensure exact measurements by weight, rather than volume, for consistent results. Variations in density can significantly alter the dry-to-wet ratio.
- Don’t Overmix: Overmixing flour develops gluten, leading to a tough, chewy texture. Mix only until the ingredients are just combined. This preserves the delicate, moist crumb characteristic of a superior healthy chocolate cake.
- Dutch-Processed Cocoa: Opt for Dutch-processed cocoa powder. Its neutral pH results in a darker color and a smoother, less acidic chocolate flavor, which harmonizes beautifully with the leavening agents, particularly the baking soda and apple cider vinegar in this healthy chocolate cake recipe.
- Parchment Paper: Always use parchment paper on the bottom of your cake pan. This acts as a non-stick barrier, guaranteeing your healthy chocolate cake releases cleanly every time, preserving its aesthetic and structural integrity.
Storage & Reheating Tips
Proper storage is crucial for maintaining the freshness, texture, and flavor of your healthy chocolate cake. Understanding moisture migration and oxidation helps prolong its deliciousness.
- Room Temperature: Store leftover healthy chocolate cake tightly wrapped in plastic wrap or in an airtight container at room temperature for up to 2-3 days. The airtight seal prevents moisture loss and protects against environmental odors, maintaining the cake’s tenderness.
- Refrigeration: For longer storage, refrigerate the healthy chocolate cake in an airtight container for up to 5 days. Chilling can slightly alter the texture, making it denser. Allow it to come to room temperature before serving for optimal flavor and softness.
- Freezing: To freeze, wrap individual slices or the entire healthy chocolate cake tightly in plastic wrap, then an additional layer of aluminum foil. Freeze for up to 3 months. The double wrapping prevents freezer burn, which is dehydration caused by exposure to cold, dry air.
- Reheating: Thaw frozen cake in the refrigerator overnight. To serve warm, individual slices can be gently heated in a microwave for 15-30 seconds. Be cautious not to overheat, as this can dry out the cake.
Proper storage is crucial for maintaining the freshness, texture, and flavor of your healthy chocolate cake. If you’re a fan of rich desserts, try storing it like a decadent lava cake to ensure maximum enjoyment.
What to Serve With This Recipe
Enhance the experience of this healthy chocolate cake by pairing it with complementary, health-conscious options. These pairings offer balance and additional nutritional benefits.
- Fresh Berry Medley: A vibrant bowl of mixed berries (strawberries, blueberries, raspberries) provides antioxidants and natural sweetness, cutting through the richness of the chocolate.
- Greek Yogurt Dollop: A spoonful of plain Greek yogurt adds a creamy tang and a boost of protein, making the dessert feel more substantial and balanced.
- Light Fruit Compote: A homemade, unsweetened fruit compote (apple, pear, or cherry) offers a soft, warm counterpoint and additional fiber.
- Nut Butter Drizzle: A light drizzle of almond or cashew butter introduces healthy fats and a nutty flavor dimension, complementing the chocolate perfectly.
- Herbal Tea: A soothing cup of mint, chamomile, or ginger tea provides a refreshing palate cleanser, rounding out the meal without adding extra calories or sugar.
Frequently Asked Questions (FAQ)
Can I make this healthy chocolate cake ahead of time?
Absolutely. This healthy chocolate cake recipe benefits from a day of rest, allowing the flavors to meld and deepen. Prepare it one day in advance, store it properly, and serve it fresh. Its structural integrity holds well, ensuring a delicious experience.
Is this healthy chocolate cake suitable for special diets?
Yes, this recipe is inherently dairy-free and can be easily adapted to be gluten-free by using a suitable 1:1 gluten-free flour blend. It is also naturally egg-free, making it a versatile option for various dietary needs and restrictions without significant modification.
Why is apple cider vinegar included in the recipe?
The apple cider vinegar is not for flavor but acts as a crucial acid to activate the baking soda. This acid-base reaction produces carbon dioxide gas, which creates air pockets, ensuring a light, fluffy, and tender crumb in your healthy chocolate cake. Without it, the cake would be dense and flat.
A healthy chocolate cake is a dessert that incorporates healthier ingredients, making it a nutritious yet indulgent option. By focusing on wholesome components, this cake offers a satisfying alternative that caters to those seeking better-for-you options in their diet, as detailed in the cake articles.
Final Thoughts
This healthy chocolate cake transcends mere dessert. It represents a mindful approach to indulgence, proving that rich flavor and nutritional value can harmoniously coexist. Its tender crumb and deep chocolate notes offer pure satisfaction, elevating the very concept of a wholesome treat.
Nutrition Information (per serving)
The following is an estimated nutritional breakdown for one serving of this healthy chocolate cake, based on 12 servings per cake. Values may vary based on exact ingredients and portion sizes.
| Nutrient | Amount |
|---|---|
| Calories | 250 kcal |
| Total Fat | 10g |
| Saturated Fat | 1.5g |
| Cholesterol | 0mg |
| Sodium | 210mg |
| Total Carbohydrates | 35g |
| Dietary Fiber | 4g |
| Total Sugars | 18g |
| Protein | 5g |
healthy chocolate cake
Ingredients
- 1 ½ cups whole wheat pastry flour (or 50/50 blend with all-purpose flour)
- ¾ cup unsweetened cocoa powder
- 1 teaspoon baking soda
- ½ teaspoon baking powder
- ½ teaspoon fine sea salt
- 1 cup unsweetened almond milk
- ½ cup pure maple syrup
- ¼ cup unsweetened applesauce
- ¼ cup extra virgin olive oil
- 1 tablespoon pure vanilla extract
- 1 teaspoon apple cider vinegar
- ½ cup dark chocolate chips (optional)
- Fresh berries for garnish (optional)
Instructions
- Preheat your oven to 350°F (175°C). Grease and flour a 9-inch round cake pan and line the bottom with parchment paper.
- In a large mixing bowl, whisk together the whole wheat pastry flour, cocoa powder, baking soda, baking powder, and sea salt.
- In a separate medium bowl, whisk together the almond milk, maple syrup, applesauce, olive oil, vanilla extract, and apple cider vinegar.
- Pour the wet ingredients into the dry ingredients and mix until just combined. Avoid overmixing.
- If using, gently fold in the dark chocolate chips.
- Pour the batter into the prepared cake pan. Bake for 30-35 minutes until a skewer comes out clean.
- Cool the cake in the pan for 10-15 minutes, then invert onto a wire rack to cool completely.