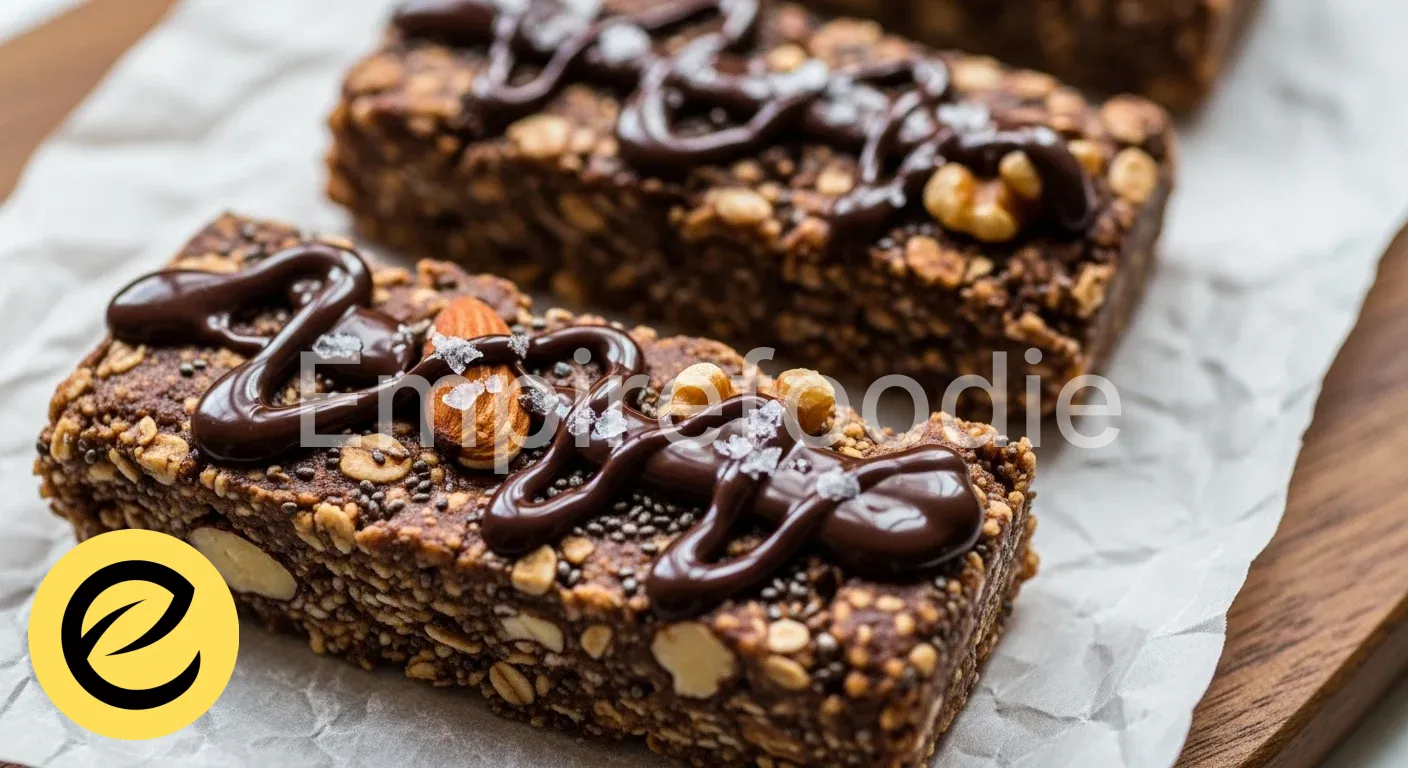
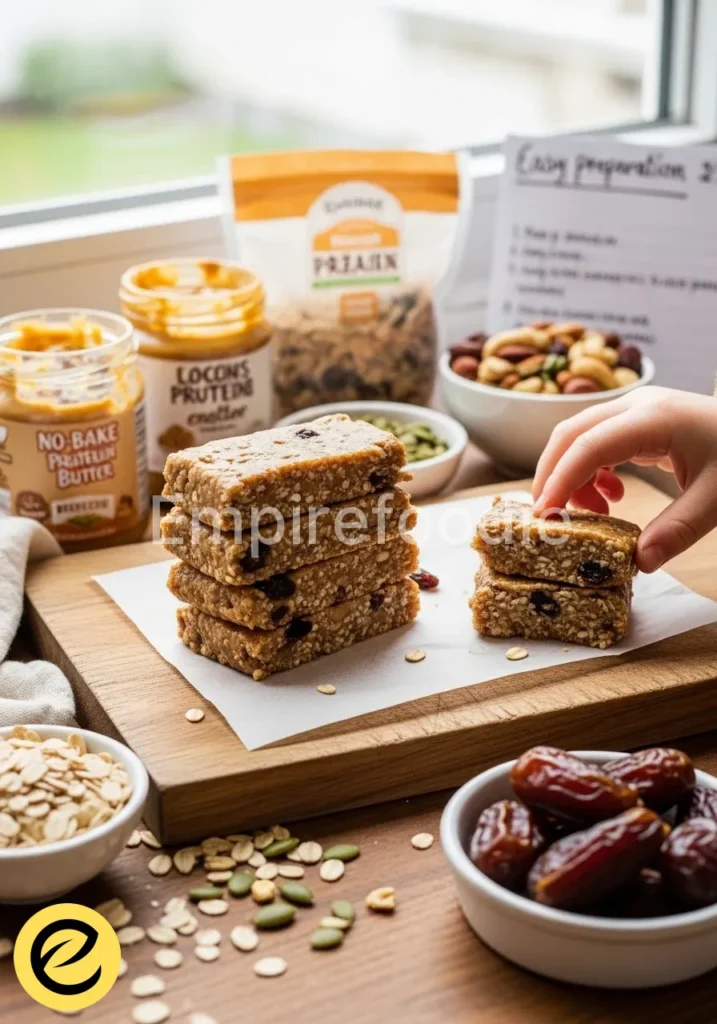
There’s something incredibly grounding about a wholesome snack made with love, much like the cherished recipes passed down through generations. These delightful no-bake protein bars bring a taste of home to your busy days, offering a perfect blend of rich, chewy texture and satisfying sweetness.
Crafted with simple, pure ingredients, these protein bars are not just a treat for your taste buds but a genuine boost for your well-being, keeping you energized throughout your day. Imagine a bite that transports you back to grandma’s kitchen, yet perfectly fits into your modern, active life.
Table of Contents
Why You’ll Love These Homemade Protein Bars
These truly exceptional protein bars offer everything you desire in a healthy, convenient snack. You will adore them for their:
- Unmatched Flavor & Texture: A delightful combination of nutty, sweet, and perfectly chewy, reminiscent of classic farmhouse treats.
- Effortless Preparation: No baking required! Just mix, press, and chill for quick, delicious protein bars.
- Wholesome Goodness: Packed with natural protein, fiber, and healthy fats to fuel your body and mind.
- Customizable Appeal: Easily adapt ingredients to suit your dietary needs and personal preferences, making these the best protein bars for everyone.
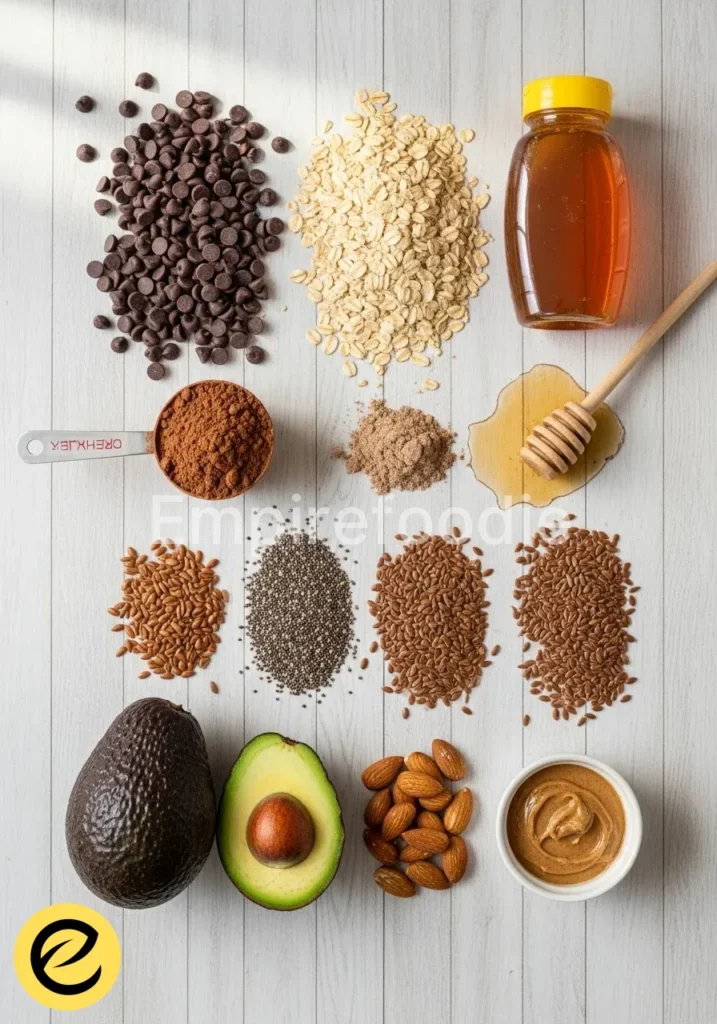
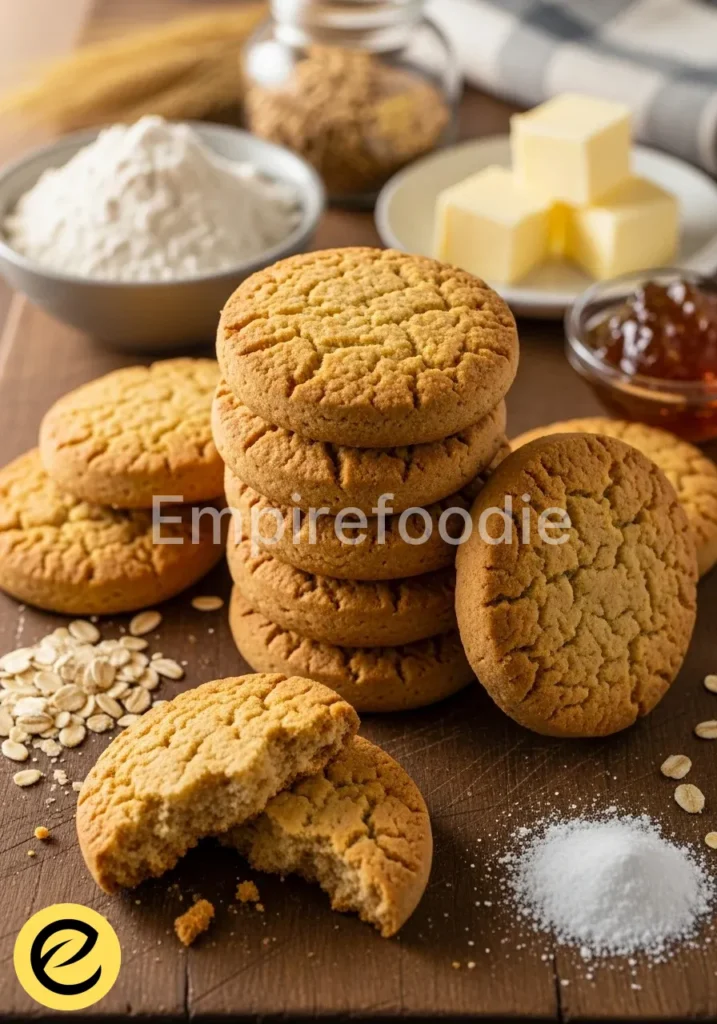
Ingredients You’ll Need

To create these wonderful protein bars, focusing on quality ingredients makes all the difference. Just like my grandmother always said, “Good food starts with good things from the earth.”
- 1 ½ cups (180g) Rolled Oats: Opt for old-fashioned rolled oats, not instant. They provide the perfect chewy texture and a boost of fiber.
- 1 cup (100g) Vanilla Protein Powder: Choose a high-quality whey or plant-based protein powder. This is the core of our protein bars.
- ½ cup (60g) Ground Flaxseed: A nutritional powerhouse, adding omega-3s, fiber, and helping to bind our protein bars.
- ½ cup (120g) Nut Butter: Creamy peanut butter or almond butter works beautifully. Ensure it’s natural, with no added sugars or oils.
- ½ cup (120g) Honey or Maple Syrup: For natural sweetness and binding. Adjust to your preferred sweetness level.
- ¼ cup (60ml) Almond Milk (or any milk): Use unsweetened milk to control sweetness. You might need a little more or less to achieve the right consistency.
- 1 teaspoon Vanilla Extract: A splash of good quality vanilla deepens the flavor profile, a trick my grandmother always used.
- ¼ cup (30g) Mini Chocolate Chips (optional): Dark chocolate chips add a lovely touch without overwhelming the healthy nature of these protein bars.
- Pinch of Sea Salt: Balances the sweetness and enhances all the other flavors.
Substitutions & Variations
[ra_display_video url=”https://www.youtube.com/watch?v=dB4zAA-pnAQ”]
Part of the joy of farmhouse baking is adapting to what you have on hand and tailoring recipes to fit every family member’s needs. These protein bars are incredibly versatile, allowing for many healthy swaps. If peanut allergies are a concern, swap peanut butter for sunflower seed butter or almond butter.
For a vegan option, ensure your protein powder is plant-based and use maple syrup instead of honey. You can also experiment with different nuts or seeds; try adding a handful of chopped walnuts or chia seeds for extra crunch and nutrients.
To boost the flavor and nutrient profile, consider incorporating a tablespoon of unsweetened shredded coconut or a sprinkle of cinnamon. These simple variations ensure your homemade protein bars always feel fresh and exciting, catering to all tastes while maintaining their wholesome integrity.
Experimenting with your protein bar ingredients can lead to fantastic results. If you’re looking for more ways to enjoy chocolate, don’t miss our delicious chocolate biscuits recipe that complements any sweet cravings.
Equipment You’ll Need
You won’t need anything fancy for these protein bars, just a few kitchen basics that every good home cook has.
- Large Mixing Bowl
- Sturdy Spatula or Wooden Spoon
- 8×8 inch (20×20 cm) Baking Dish or Casserole Dish
- Parchment Paper
- Measuring Cups and Spoons
Step-by-Step Instructions

Making these protein bars is a simple, satisfying process that yields delicious results every time. Just follow these steps, and you’ll have a batch of wholesome snacks ready to go.
- Prepare Your Dish: Line an 8×8 inch baking dish with parchment paper, leaving an overhang on the sides. This makes it much easier to lift out your finished protein bars later. A little preparation goes a long way, just like setting the table before a big family meal.
- Combine Dry Ingredients: In your large mixing bowl, combine the rolled oats, protein powder, ground flaxseed, and a pinch of sea salt. Use your spatula to mix everything thoroughly. You want all the dry ingredients evenly distributed to ensure every bite of your protein bars is perfectly balanced.
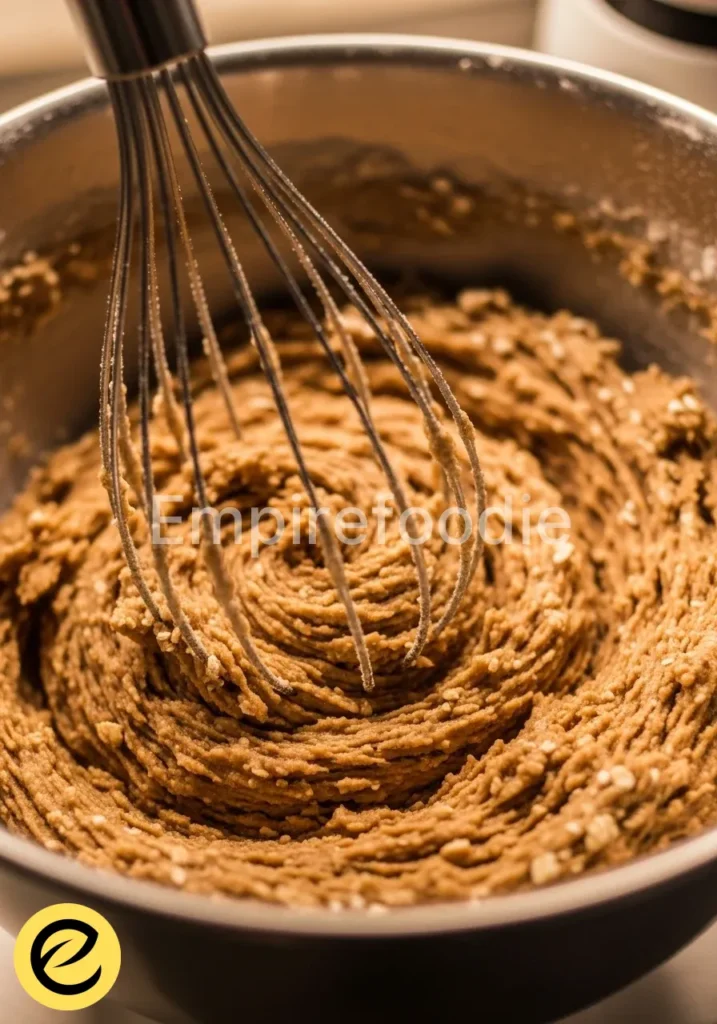
- Warm Wet Ingredients (Optional but Recommended): In a small saucepan or microwave-safe bowl, gently warm the nut butter and honey (or maple syrup) over low heat until just melted and smooth. This step makes mixing much easier and helps the protein bars bind better. My grandmother always said warming the fats helped everything come together more lovingly. Add the vanilla extract to this mixture.
- Combine Wet and Dry: Pour the warm wet ingredient mixture into the bowl with your dry ingredients. Add the almond milk. Mix vigorously with your sturdy spatula or wooden spoon until everything is thoroughly combined and forms a thick, cohesive dough. The mixture for these protein bars should be sticky and hold together when pressed. If it feels too dry, add a little more milk, one tablespoon at a time, until the desired consistency is reached.
- Fold in Chocolate Chips (Optional): If you’re using mini chocolate chips, fold them into the mixture now. Ensure they are evenly distributed throughout the protein bars.
- Press into Dish: Transfer the mixture into your prepared 8×8 inch dish. Using the back of your spatula or your clean hands, press the mixture down firmly and evenly into the pan. You want a compact, smooth layer for perfectly formed protein bars. Apply good, steady pressure, just like tamping down soil in a garden bed.
- Chill: Cover the dish with plastic wrap and refrigerate for at least 2 hours, or until the protein bars are firm enough to cut. Chilling is crucial for stability.
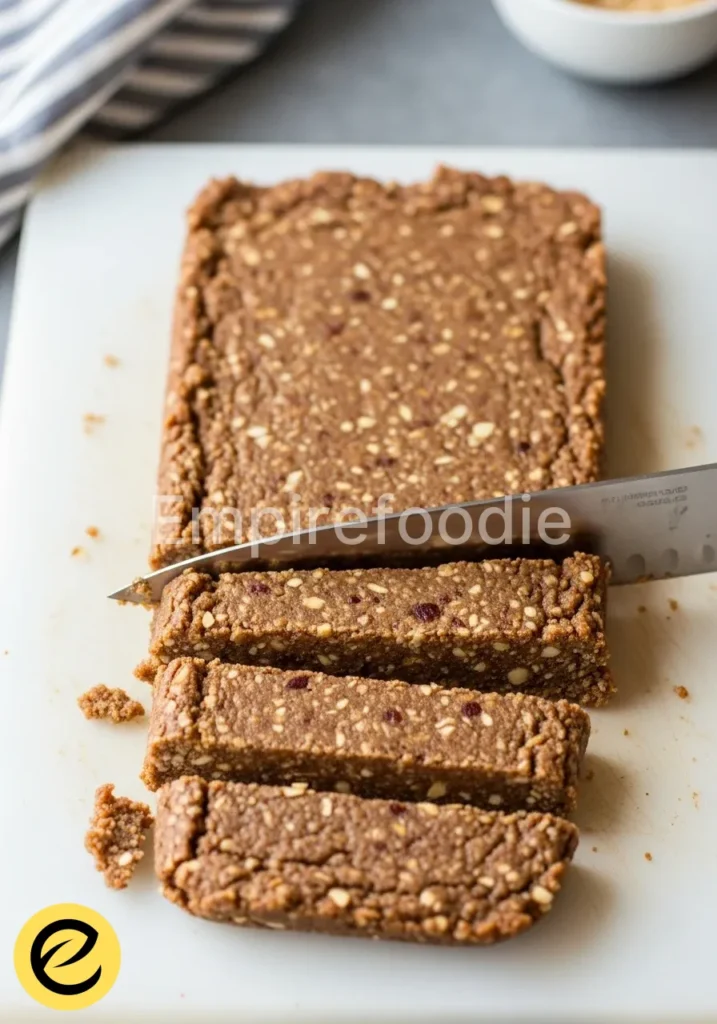
- Cut and Serve: Once firm, lift the parchment paper to remove the slab from the dish. Place it on a cutting board and cut it into 12-16 equally sized protein bars. Enjoy immediately or store for later!
Preparing your dish with care ensures a seamless baking experience and delightful results. For a similar treat, you might want to check out our simple and delicious chocolate chip biscuits recipe.
Pro Tips for Success
Achieving truly excellent protein bars often comes down to a few small, thoughtful details. These tips, gleaned from years in the kitchen, will elevate your snack game.
- Don’t Over-Process Oats: While some recipes call for pulsing oats, resist the urge. Keeping them whole provides superior texture and a satisfying chew in your protein bars.
- Achieve the Right Consistency: The mixture should be firm enough to press but not crumbly. If it’s too dry, add milk slowly. If too wet, a tablespoon of extra protein powder or ground flaxseed can help. Consistency is key for perfect protein bars.
- Press Firmly: When pressing the mixture into the pan, use significant pressure. This compacts the protein bars, preventing them from crumbling when cut and ensuring a dense, satisfying bite.
- Chill Thoroughly: Do not rush the chilling process. A minimum of 2 hours, or even overnight, in the refrigerator ensures the protein bars set properly and are easy to cut cleanly. This also improves their overall texture.
- Quality Ingredients Matter: Especially with protein powder and nut butter, invest in good quality brands. The flavor and texture of your finished protein bars directly reflect the quality of your ingredients.
Storage & Reheating Tips
Proper storage ensures your homemade protein bars stay fresh and delicious, ready for whenever hunger strikes. Keep them in an airtight container in the refrigerator for up to 1-2 weeks. You can also wrap individual protein bars in plastic wrap or parchment paper before storing them, which makes grabbing a quick snack even easier.
For longer storage, these protein bars freeze beautifully. Place them in a freezer-safe bag or container, separated by parchment paper, and they will keep for up to 3 months. Thaw frozen protein bars overnight in the refrigerator or simply let them sit at room temperature for about 15-30 minutes before enjoying. No reheating is necessary; these are perfect straight from the fridge or freezer.
To maintain the freshness and flavor of your protein bars, proper storage is key. For more indulgent ideas, explore our peanut butter bars, which are a perfect snack to grab on the go.
What to Serve With This Recipe
These protein bars are substantial enough to be a standalone snack, but they also pair wonderfully with other wholesome options to create a more complete meal or boost your energy further.
- Fresh Fruit: A crisp apple, a handful of berries, or a sliced banana complements the richness of the protein bars beautifully, adding natural sweetness and extra vitamins.
- Greek Yogurt: A dollop of plain Greek yogurt alongside your protein bar offers an additional protein punch and a creamy contrast.
- A Warm Beverage: Pair a protein bar with a steaming mug of herbal tea or a comforting cup of coffee for a perfect morning or afternoon pick-me-up.
- Smoothie: For an ultimate energy boost, enjoy your protein bars with a green smoothie packed with spinach, fruit, and plant-based milk.
- Nut Milk: A glass of almond milk or oat milk makes a simple, satisfying accompaniment to these protein bars.
Frequently Asked Questions (FAQ)
Can I use a different type of protein powder?
Absolutely! The type of protein powder you use can certainly impact the final texture and flavor of your protein bars. Whey protein tends to yield a chewier, denser bar, while plant-based proteins like pea or brown rice protein might result in a slightly drier or more crumbly texture.
You might need to adjust the amount of liquid (almond milk) slightly, adding a tablespoon at a time until the mixture for your protein bars reaches the desired consistency. Always choose a protein powder you enjoy the taste of, as it forms a significant part of the overall flavor profile of these protein bars.
How can I make these protein bars vegan?
Making these protein bars vegan is quite straightforward. First, ensure you select a plant-based protein powder, such as pea, soy, or brown rice protein. Next, substitute honey with an equal amount of pure maple syrup or agave nectar.
Both options provide excellent binding and sweetness. Finally, confirm your chocolate chips (if using) are dairy-free. With these simple adjustments, you can enjoy delicious, entirely plant-based protein bars that are just as satisfying and nutritious.
What if my mixture is too dry or too wet?
Achieving the perfect consistency for these no-bake protein bars is crucial for them to hold together well. If your mixture feels too dry and crumbly, slowly add more almond milk, one tablespoon at a time, mixing well after each addition until the mixture comes together and is firm enough to press without falling apart. Conversely, if the mixture is too wet and sticky, add a tablespoon or two of extra ground flaxseed or even a little more protein powder.
These ingredients absorb moisture and will help firm up your protein bars. Adjust gradually until you reach a consistency that is easy to press into your dish.
Protein bars are a popular nutritional snack that can provide a concentrated source of protein, making them ideal for athletes and busy individuals alike. These convenient bars are often made with a mixture of protein sources, oats, nuts, and other healthy ingredients, giving you fuel for your day, especially when you need a quick meal on the go. Learn more about their nutritional value through this resource.
Final Thoughts
These wholesome protein bars carry more than just nutrients; they hold a whisper of the past, a connection to the simple, honest nourishment my grandmothers championed. Each chewy bite is a testament to the power of pure ingredients and the enduring comfort of a homemade snack. Make them for your family, and share a taste of tradition, infused with love.
Nutrition Information (per serving)
Based on 12 servings (approximate values)
| Nutrient | Amount |
|---|---|
| Calories | 250 kcal |
| Protein | 15g |
| Total Fat | 12g |
| Saturated Fat | 3g |
| Carbohydrates | 22g |
| Fiber | 5g |
| Sugars | 10g |
| Sodium | 110mg |

protein bars
Ingredients
- 1 ½ cups (180g) Rolled Oats
- 1 cup (100g) Vanilla Protein Powder
- ½ cup (60g) Ground Flaxseed
- ½ cup (120g) Nut Butter
- ½ cup (120g) Honey or Maple Syrup
- ¼ cup (60ml) Almond Milk
- 1 teaspoon Vanilla Extract
- ¼ cup (30g) Mini Chocolate Chips (optional)
- Pinch of Sea Salt
Instructions
- Prepare Your Dish: Line an 8×8 inch baking dish with parchment paper, leaving an overhang on the sides.
- Combine Dry Ingredients: In a large mixing bowl, combine the rolled oats, protein powder, ground flaxseed, and a pinch of sea salt.
- Warm Wet Ingredients (Optional): Gently warm the nut butter and honey (or maple syrup) over low heat until just melted and smooth, then add vanilla extract.
- Combine Wet and Dry: Pour the warm wet mixture into the dry ingredients, adding almond milk, and mix vigorously until a thick dough forms.
- Fold in Chocolate Chips (Optional): If using, fold in mini chocolate chips until distributed evenly.
- Press into Dish: Transfer the mixture into the prepared dish, pressing down firmly and evenly.
- Chill: Cover with plastic wrap and refrigerate for at least 2 hours until firm.
- Cut and Serve: Once firm, lift out of the dish using the parchment paper, cut into bars, and enjoy.