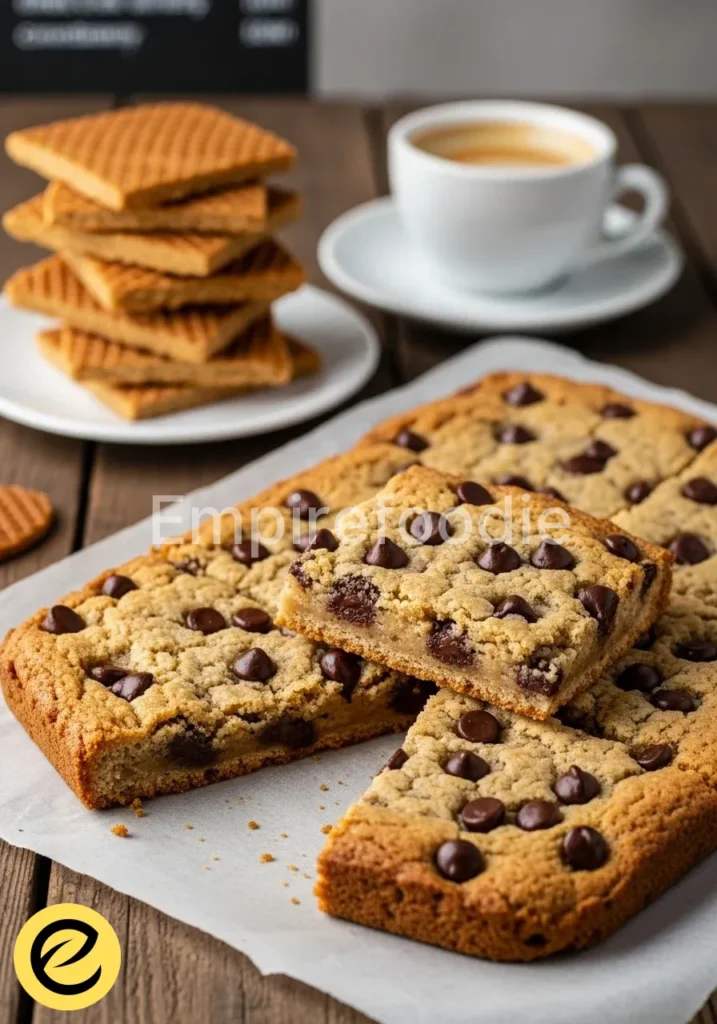
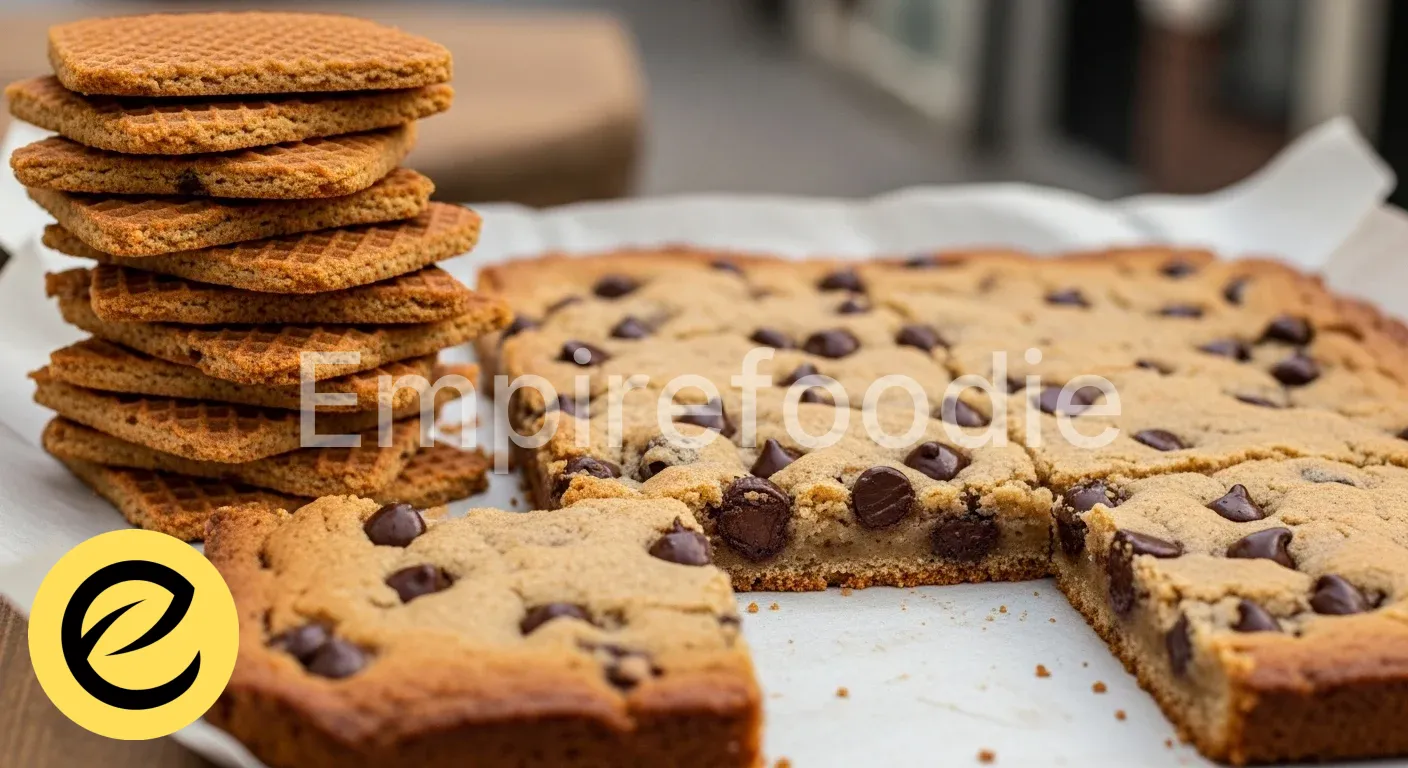
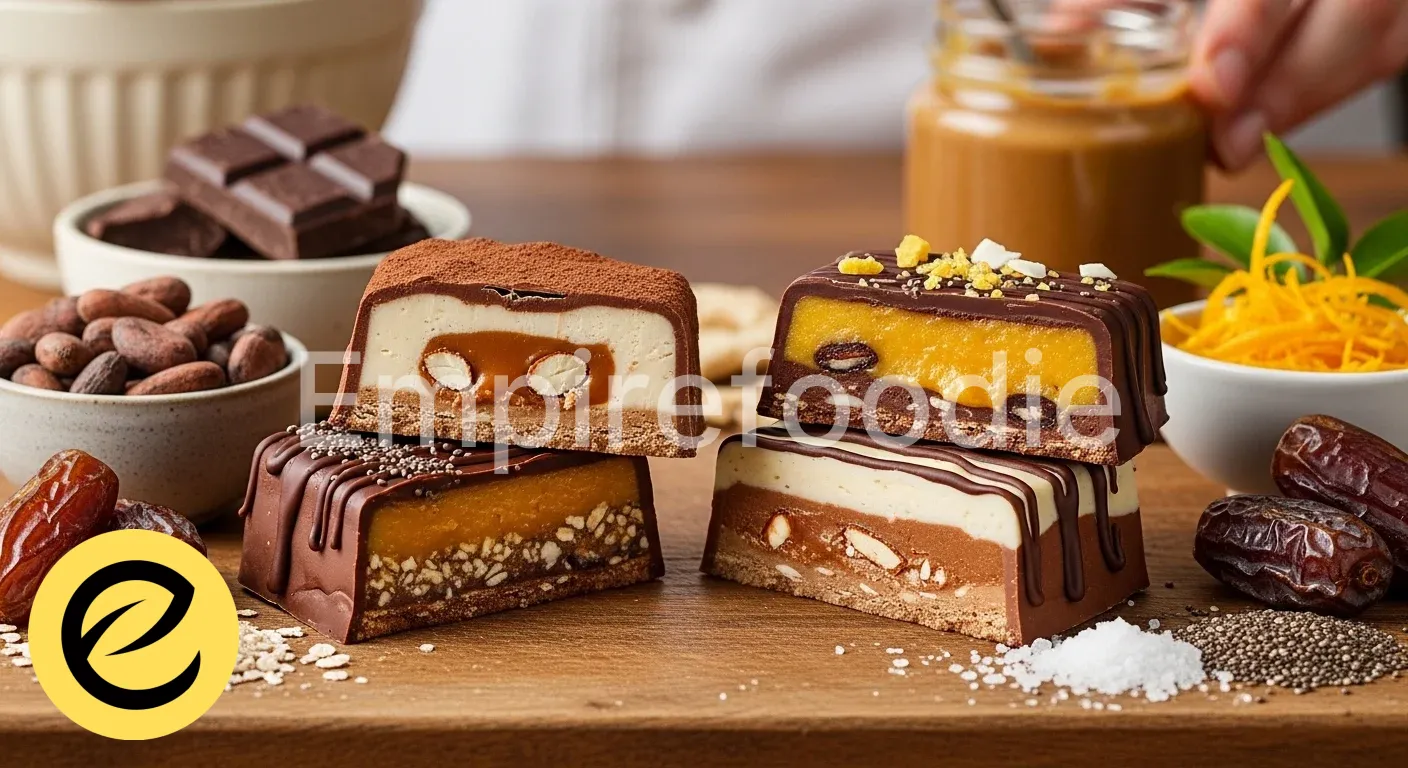
Ever dreamt of crafting those irresistible, rich, and perfectly textured chocolate candy bars right in your own kitchen? Wassim here, and I’m about to show you how to transform simple ingredients into gourmet homemade chocolate candy bars that taste like they’ve traveled the world.
Forget the bland store-bought versions; these are packed with incredible flavor and a satisfying chewiness that will transport your taste buds. Get ready for a high-speed culinary adventure to create the best chocolate candy bars you’ve ever had!
Table of Contents
Why You’ll Love This Recipe
- Global Flavor Fusion: Experience a unique blend of sweet and savory notes, reminiscent of exciting street food finds.
- Lightning Fast Prep: My signature culinary hacks ensure these gourmet chocolate candy bars are ready in record time, perfect for busy schedules.
- Healthier Indulgence: Crafted with wholesome ingredients, these offer a guilt-free way to enjoy your favorite sweet treat.
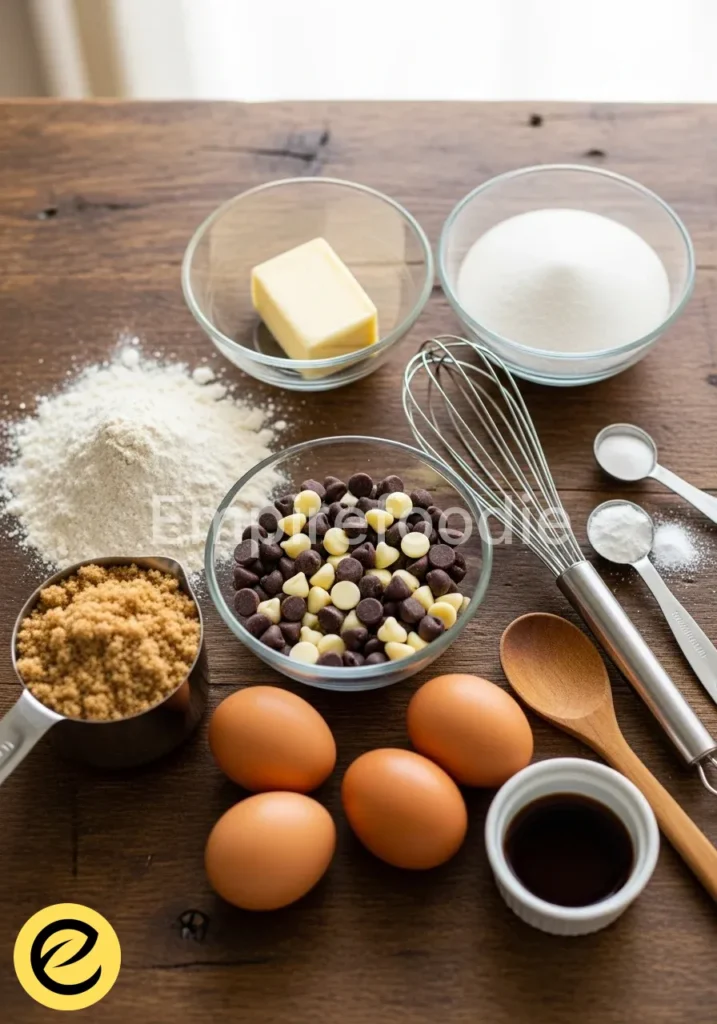
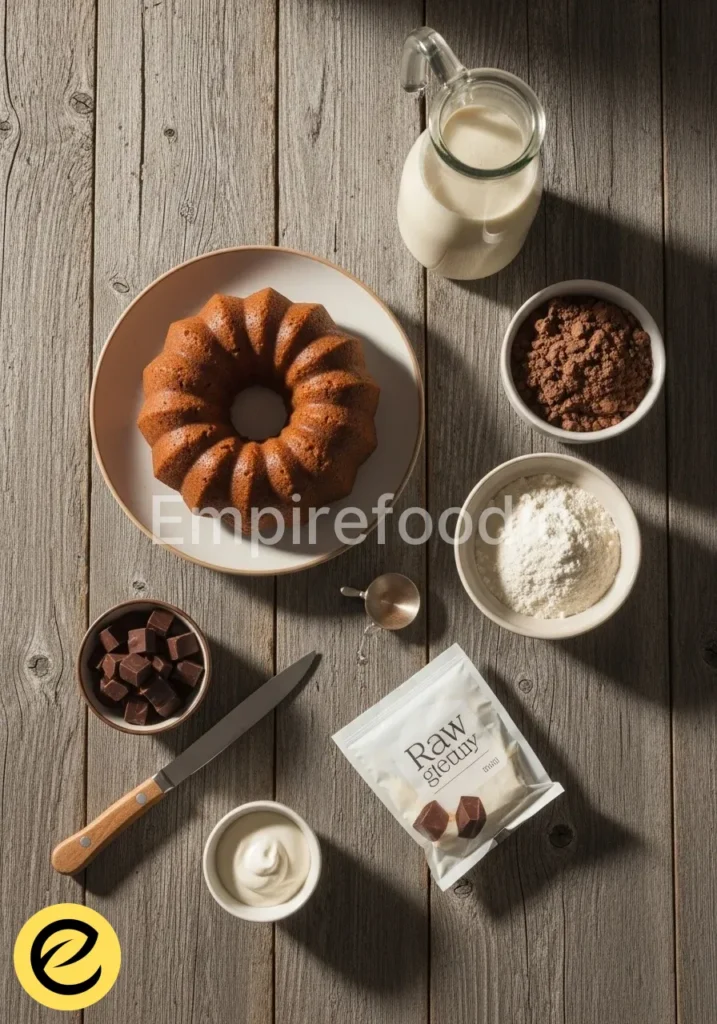
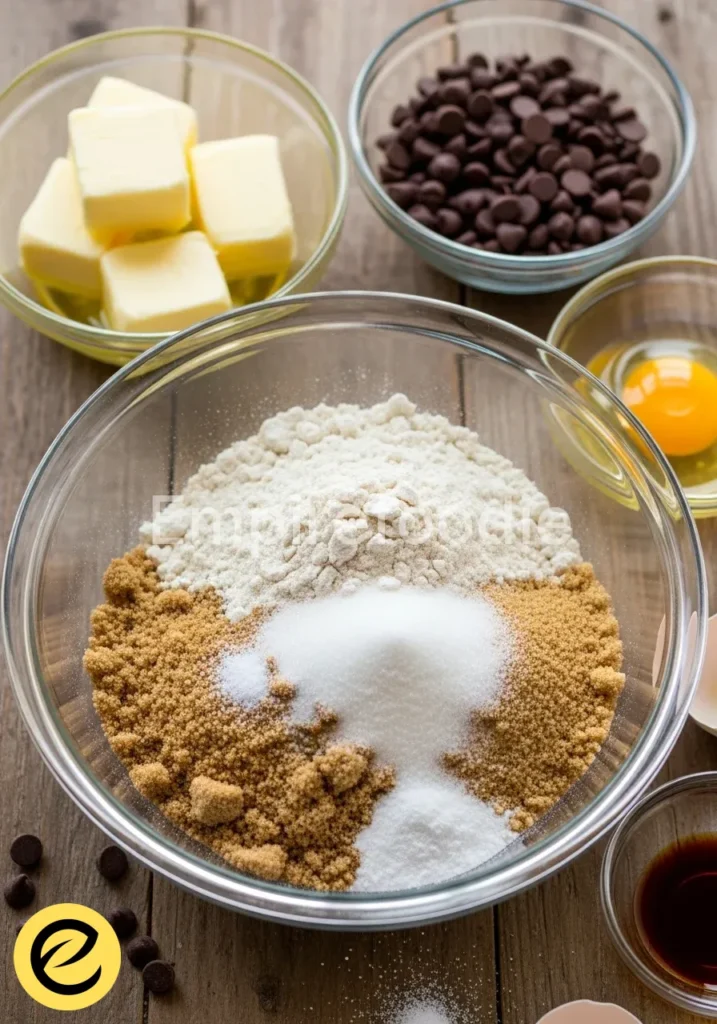
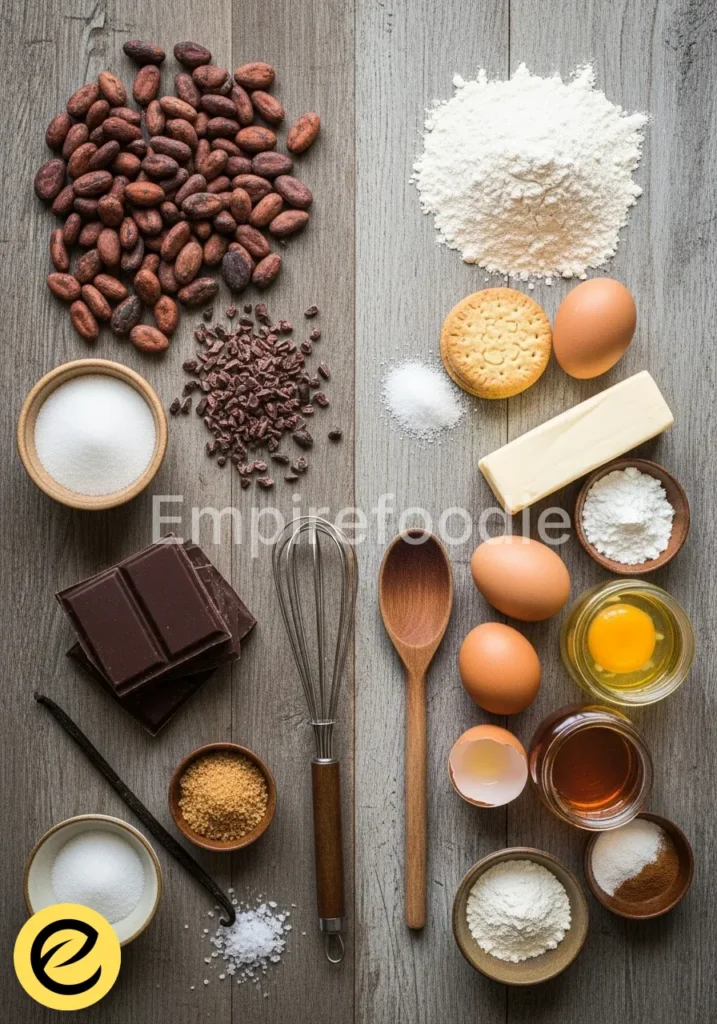
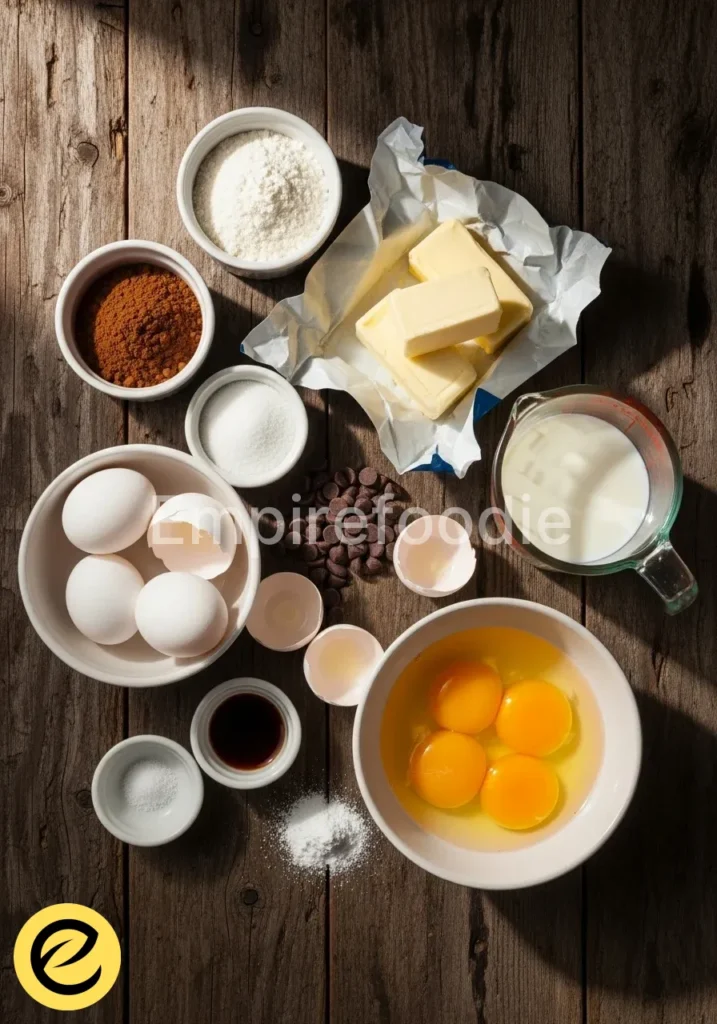
Ingredients You’ll Need

Quality ingredients are the backbone of any exceptional dish, especially when creating something as universally loved as chocolate candy bars. Opt for the best you can find to truly elevate the flavor profile. Think of it as sourcing the freshest produce from a bustling global market, but for your pantry!
- 2 cups (340g) High-Quality Dark Chocolate Chips: I recommend a 70% cacao content for a rich, deep flavor that isn’t overly sweet. This is your canvas for creating truly spectacular chocolate candy bars.
- 1/2 cup (120ml) Full-Fat Coconut Milk: The creamy foundation, adding a subtle tropical hint and luxurious texture. Opt for the canned variety, not the refrigerated drink.
- 1/4 cup (60ml) Maple Syrup or Agave Nectar: Natural sweeteners that provide depth and balance, avoiding any refined sugars. Adjust to your sweetness preference; remember, we’re aiming for balanced chocolate candy bars.
- 1/2 cup (80g) Creamy Almond Butter (or Peanut Butter): For that classic chewy, nutty center. Make sure it’s natural, with no added sugars or oils, for the purest flavor.
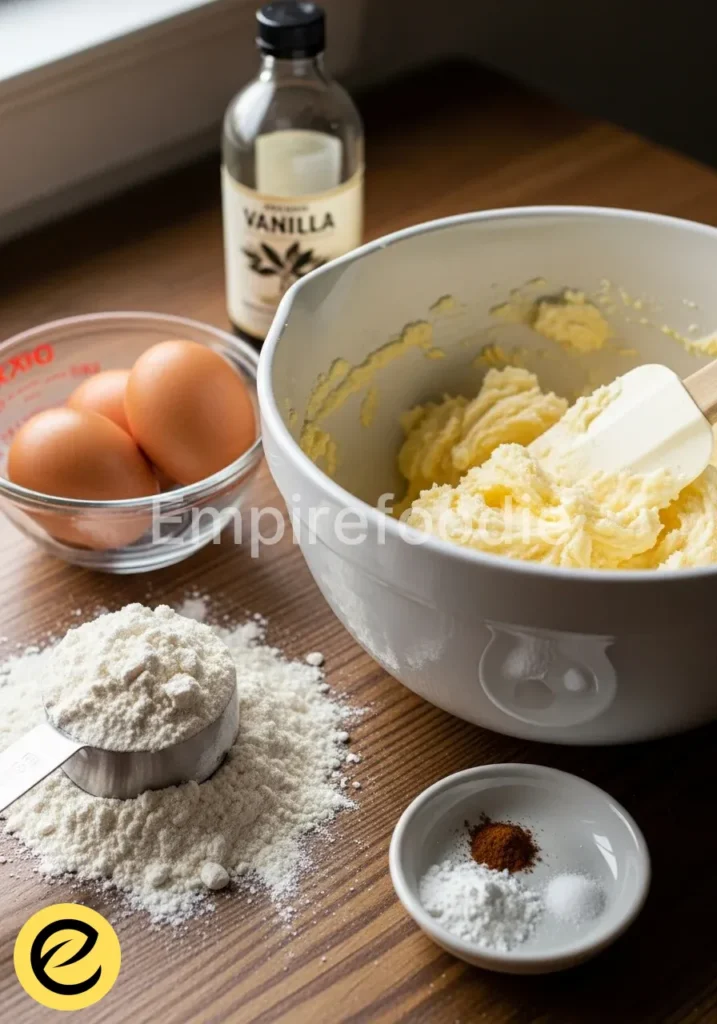
- 1 teaspoon Vanilla Extract: A splash of warmth and aromatic complexity, essential for any top-tier chocolate creation.
- 1/4 teaspoon Sea Salt: A crucial ingredient! It amplifies the chocolate’s depth and balances the sweetness, just like a sprinkle of seasoning elevates any street food dish. Don’t skip this for truly dynamic chocolate candy bars.
- 1/2 cup (60g) Chopped Roasted Nuts: Almonds, peanuts, or cashews add a delightful crunch and extra protein. Toasting them yourself brings out maximum flavor.
- Optional Toppings: Flaky sea salt, shredded coconut, cacao nibs, or a drizzle of white chocolate for artistic flair.
Substitutions & Variations
[ra_display_video url=”https://www.youtube.com/watch?v=DMkm68LxTNw”]
Embrace the spirit of culinary exploration with these healthy twists! Just like adapting street food finds to your pantry, these swaps let you customize your chocolate candy bars. Craving a different texture?
Swap out the almond butter for cashew butter or even sunflower seed butter for a nut-free option. For an extra protein punch, you could blend in a scoop of plant-based protein powder into the nut butter mixture, slightly increasing the coconut milk to maintain consistency. If you’re looking to reduce carbs, consider erythritol or stevia drops as a sweetener alternative.
You can also vary the nuts; pistachios or walnuts introduce unique flavor profiles and a different kind of crunch. Feel free to get creative with your chocolate candy bars, making them truly your own!
As you explore the creative ways to customize your chocolate candy bars, consider adding hints of sweetness with some delightful chocolate chip biscuits for a unique texture and flavor twist.
Equipment You’ll Need
Don’t fret over fancy gadgets; most of these tools are standard kitchen workhorses, much like a good wok is to a street food vendor!
- 8×8 inch (20×20 cm) Baking Pan: Or a similar size, lined with parchment paper. This is key for easy removal of your delightful chocolate candy bars.
- Medium Heat-Proof Bowl: For melting your glorious chocolate.
- Small Saucepan: For creating the creamy base.
- Spatula or Whisk: For smooth mixing.
- Measuring Cups and Spoons: Precision is your friend, even in high-speed cooking.
- Sharp Knife: For cutting your bars into perfect, uniform chocolate candy bars.
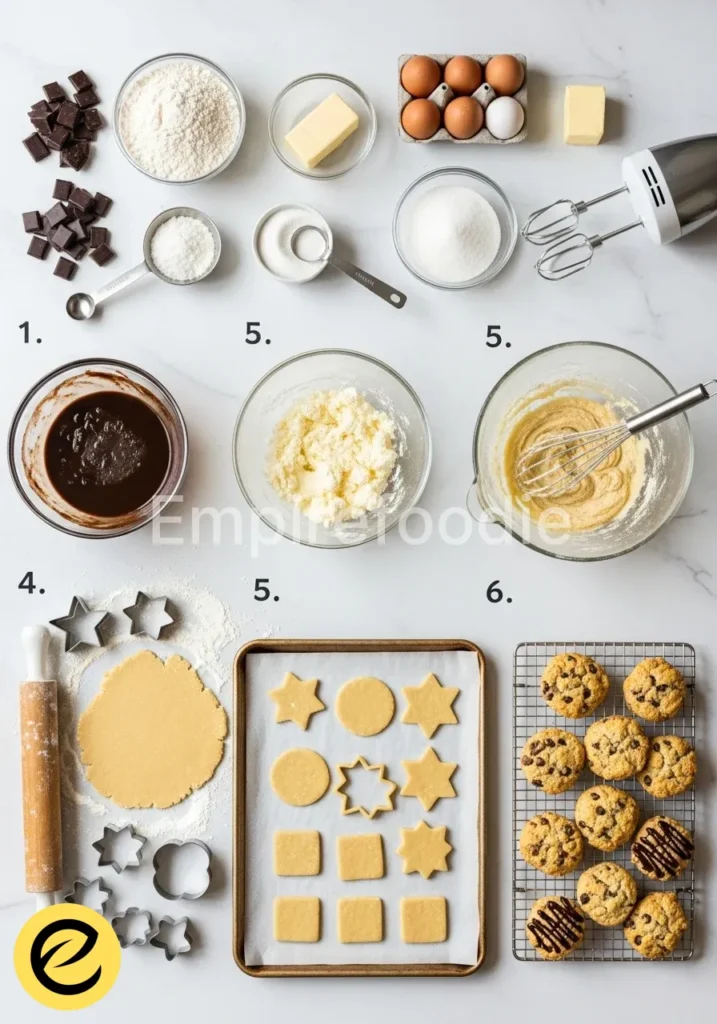
Step-by-Step Instructions

Get ready for a rapid-fire culinary journey! These steps are designed for efficiency, ensuring you get from zero to delicious homemade chocolate candy bars in no time. Think of it as a well-choreographed dance, each move leading to a spectacular finale.
- Prepare Your Pan: Line an 8×8 inch (20×20 cm) baking pan with parchment paper, leaving an overhang on the sides. This makes lifting out your finished chocolate candy bars a breeze. Set aside.
- Melt the Chocolate (First Layer): In a heat-proof bowl set over a small saucepan of simmering water (ensure the bowl doesn’t touch the water), melt 1 cup (170g) of dark chocolate chips. Stir occasionally until smooth and glossy. Alternatively, microwave in 30-second intervals, stirring between each, until melted. This forms the decadent base of your chocolate candy bars.
- Create the Chocolate Base: Pour the melted chocolate into your prepared pan. Use a spatula to spread it evenly across the bottom. Place the pan in the freezer for about 10-15 minutes, or until the chocolate is firm. This quick chill sets the stage for the next layer.
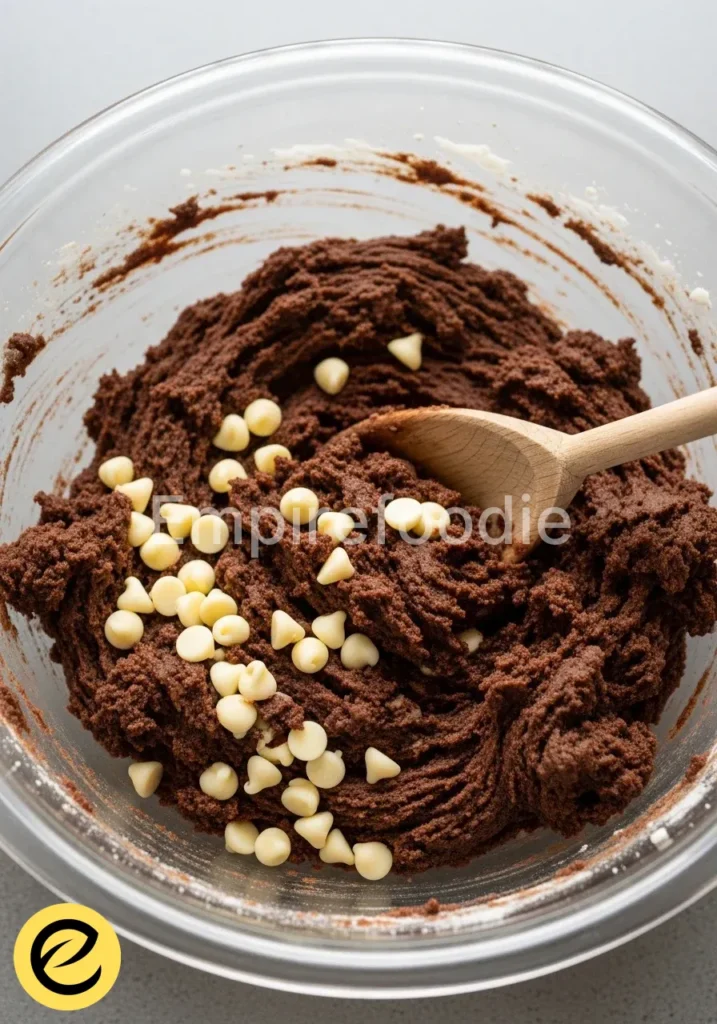
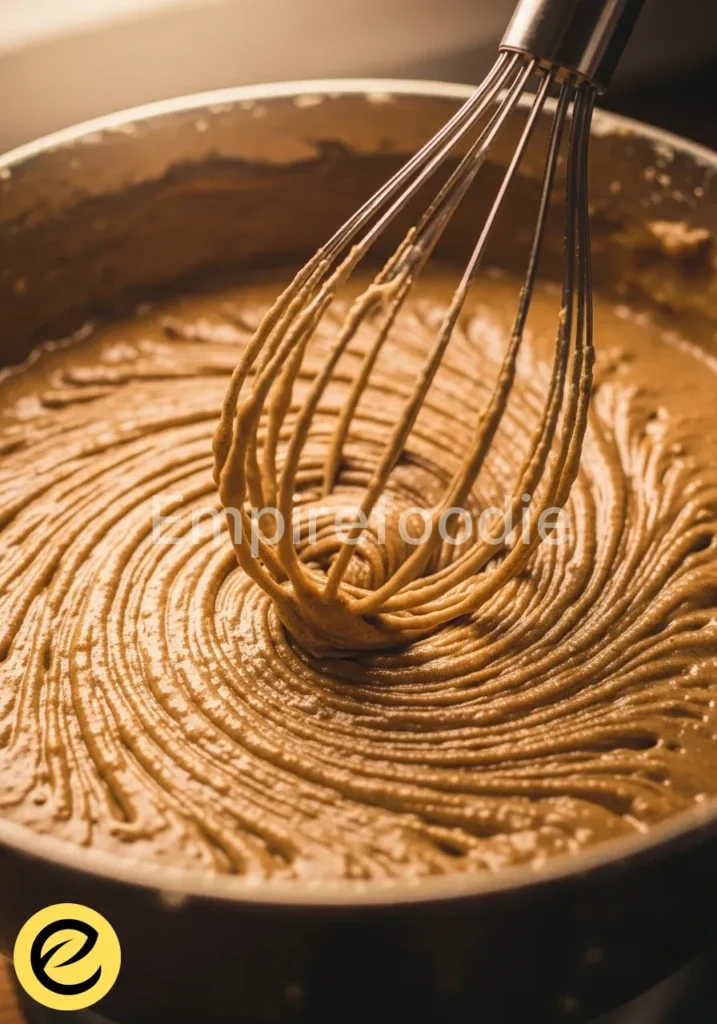
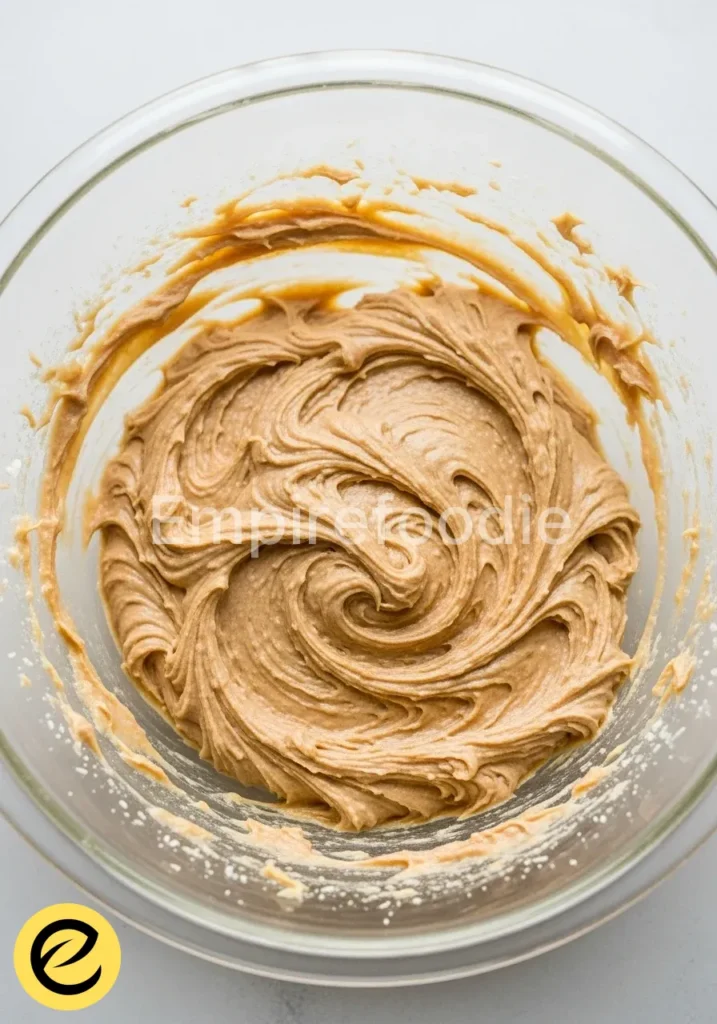
- Prepare the Filling: While the base chills, combine the almond butter, coconut milk, maple syrup (or agave), vanilla extract, and sea salt in a small saucepan. Heat over low-medium heat, stirring constantly, until the mixture is smooth, warm, and well combined. This is the heart of your chocolate candy bars – a luscious, flavorful center.
- Add the Crunch: Remove the saucepan from the heat and stir in the chopped roasted nuts. Mix thoroughly until the nuts are evenly distributed throughout the creamy filling.
- Layer the Filling: Retrieve the pan with the firm chocolate base from the freezer. Carefully pour the warm nut butter filling over the chocolate layer, spreading it evenly with your spatula. Return the pan to the freezer for another 20-30 minutes, or until the filling is firm enough to handle.
- Melt the Chocolate (Top Layer): While the filling sets, melt the remaining 1 cup (170g) of dark chocolate chips using the same method as before.
- Create the Top Layer: Once the filling is firm, remove the pan from the freezer. Pour the second batch of melted chocolate over the filling layer, spreading it gently and evenly to cover completely. This seals in all the deliciousness, creating the perfect cap for your chocolate candy bars.
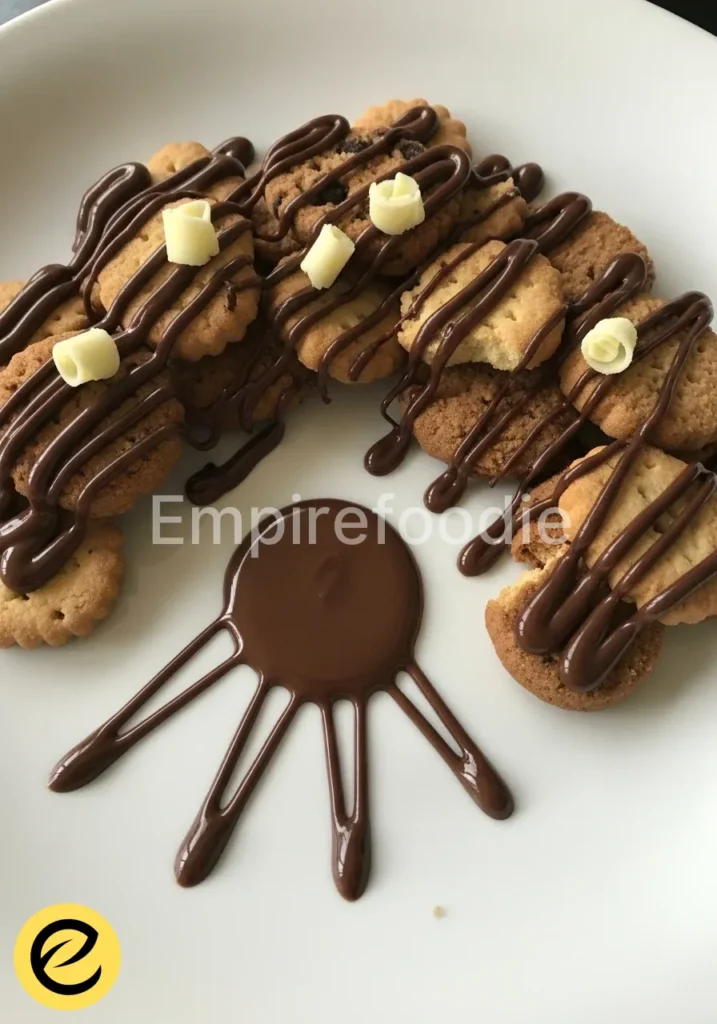
- Add Optional Toppings: If using, sprinkle your desired toppings (flaky sea salt, shredded coconut, cacao nibs) over the wet chocolate layer immediately.
- Final Chill: Place the pan back into the freezer for at least 30 minutes, or until the entire slab of chocolate candy bars is completely firm. This final chill is crucial for clean cuts.
- Cut and Serve: Once fully firm, lift the entire block of chocolate candy bars out of the pan using the parchment paper overhang. Place it on a cutting board. Using a sharp, warm knife (run it under hot water and wipe dry), carefully cut the slab into desired bar sizes. Now, stand back and admire your homemade chocolate candy bars!
Your culinary experience doesn’t have to stop at chocolate candy bars; try whipping up some chocolate cookies with white chips for another quick and delicious treat that pairs well with your creations.
Pro Tips for Success
These aren’t just tips; they’re my secret hacks, honed from countless kitchen adventures across continents, to make your chocolate candy bars truly exceptional.
- Tempering for Shine: For truly professional-looking chocolate candy bars with a beautiful snap and sheen, consider tempering your chocolate. It’s a bit more advanced but worth the effort. Alternatively, simply ensure your melting chocolate doesn’t get too hot (above 115°F / 46°C for dark chocolate) to prevent it from becoming dull or grainy.
- Even Spreading is Key: When spreading layers, work quickly and evenly. This ensures each bite of your chocolate candy bars offers a consistent texture and flavor. A slightly warmed spatula can help with the chocolate layers.
- Salt Balance: The sea salt in the filling is non-negotiable. It’s the secret ingredient that elevates the chocolate and nut butter, making your chocolate candy bars taste richer and more complex, much like a perfectly seasoned street food dish.
- Clean Cuts: To achieve perfectly neat chocolate candy bars, use a very sharp knife. Warm it under hot water and wipe it dry between each cut. This prevents the chocolate from cracking and gives you those satisfying, clean edges.
- Ingredient Quality Matters: As with all my recipes inspired by global flavors, the quality of your core ingredients – especially the chocolate and nut butter – will profoundly impact the final taste of your homemade chocolate candy bars. Invest in good stuff!
Storage & Reheating Tips
Keeping your homemade chocolate candy bars fresh is simple, ensuring every bite is as delicious as the first. Think of it as preserving a precious culinary souvenir!
- Airtight Container: Store your chocolate candy bars in an airtight container at room temperature for up to 5-7 days. If your kitchen is particularly warm, pop them in the fridge.
- Refrigeration: For longer storage, or if you prefer a firmer texture, keep them in the refrigerator for up to 2 weeks.
- Freezing for Longevity: These chocolate candy bars freeze beautifully! Wrap individual bars tightly in plastic wrap, then place them in a freezer-safe bag or container. They can last for up to 2-3 months. Thaw at room temperature for about 15-20 minutes before enjoying. No “reheating” required, just a gentle return to optimal temperature.
To ensure your chocolate candy bars remain delightful, you might also enjoy experimenting with raspberry white chocolate cookies as a fresh and fruity addition to your dessert lineup.
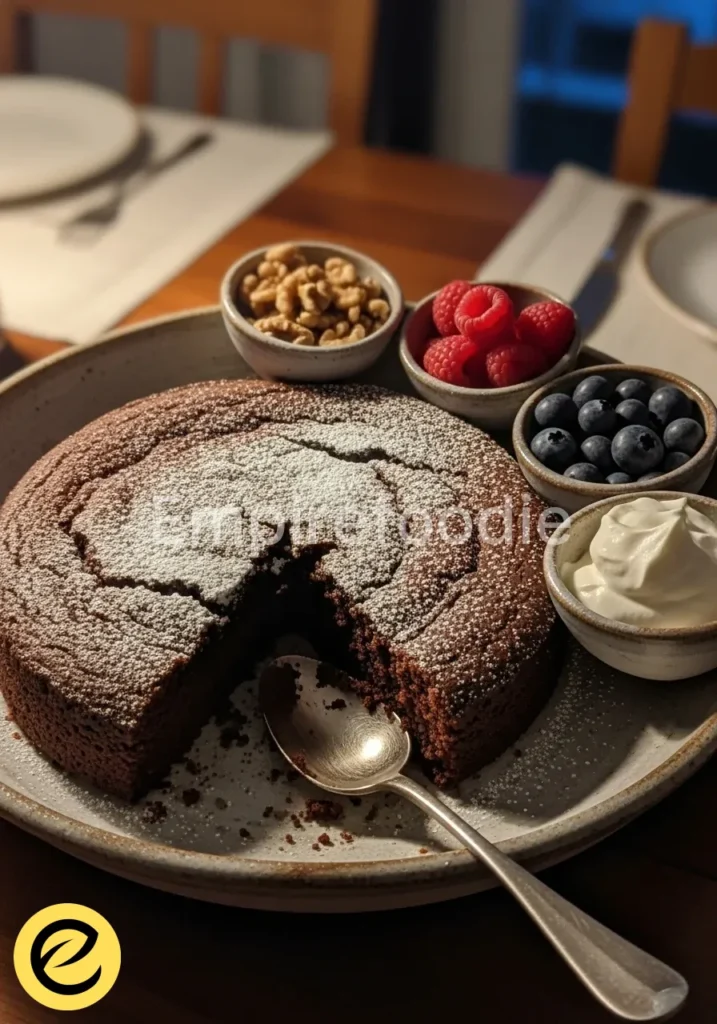
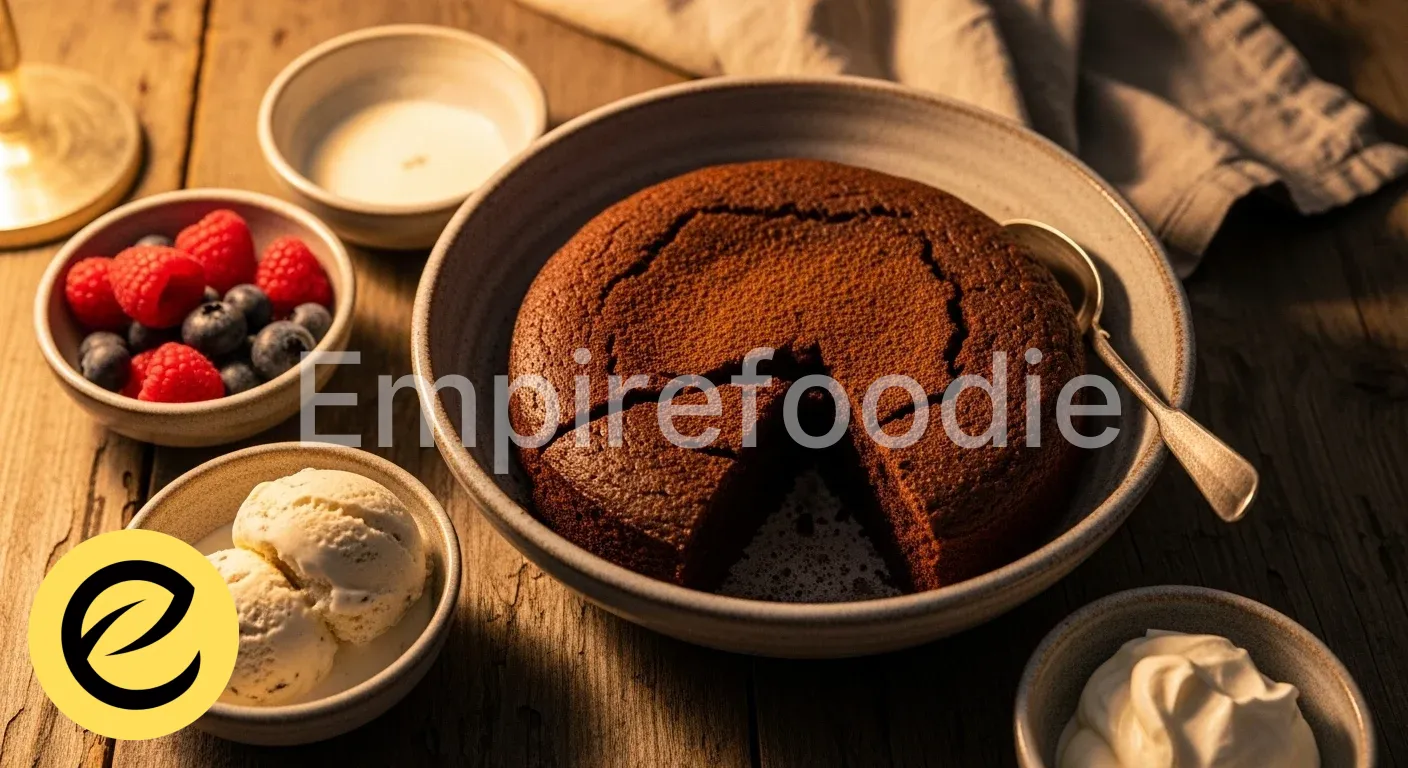
What to Serve With This Recipe

While these chocolate candy bars are a stellar standalone treat, pairing them thoughtfully can enhance the experience, much like a perfectly balanced meal from a bustling market stall. Think about contrasts in flavor and texture, but always leaning towards nourishing options!
- Fresh Fruit Platter: Complement the richness of the chocolate candy bars with a vibrant array of sliced berries, kiwi, or mandarins. The natural sweetness and acidity provide a refreshing counterpoint.
- Herbal Tea or Coffee: A warm cup of unsweetened herbal tea (like peppermint or chamomile) or a robust black coffee makes for a sophisticated pairing, allowing the complex flavors of the chocolate candy bars to shine.
- Greek Yogurt with Honey: A dollop of plain Greek yogurt, perhaps with a drizzle of local honey, offers a creamy, tangy balance that can be wonderfully refreshing alongside your sweet treat.
- Small Green Salad with Light Vinaigrette: For a truly unconventional but surprisingly delightful pairing, a small, crisp green salad with a very light, citrusy vinaigrette can cleanse the palate between bites, readying you for the next indulgent moment of your chocolate candy bars.
Frequently Asked Questions (FAQ)
Can I use milk chocolate instead of dark chocolate for these candy bars?
Absolutely! While I prefer the depth of dark chocolate for these chocolate candy bars, you can certainly use milk chocolate if that’s your preference. Just be aware that milk chocolate is sweeter and has a different melting point, so keep a close eye on it to prevent scorching. The flavor profile of your homemade chocolate candy bars will be notably sweeter.
How can I make these chocolate candy bars vegan?
Great news – this recipe is already very vegan-friendly! Ensure your dark chocolate chips are certified vegan (check for dairy-free ingredients), and use maple syrup or agave nectar as your sweetener. All other ingredients listed are typically plant-based, making these delicious chocolate candy bars accessible for everyone.
Why did my chocolate seize when melting?
Chocolate seizing is often due to even a tiny drop of water or overheating. When melting chocolate over a double boiler, ensure no steam or water touches the chocolate. If using a microwave, stir frequently to prevent hot spots. Once seized, it’s hard to recover, so prevention is key for smooth chocolate candy bars!
Chocolate candy bars are a popular sweet treat that combine rich chocolate with various fillings or inclusions, making them a versatile dessert enjoyed worldwide. Their unique flavors and textures can also be explored through different recipes and combinations, offering something for every chocolate lover, as seen in this Chocolate article.
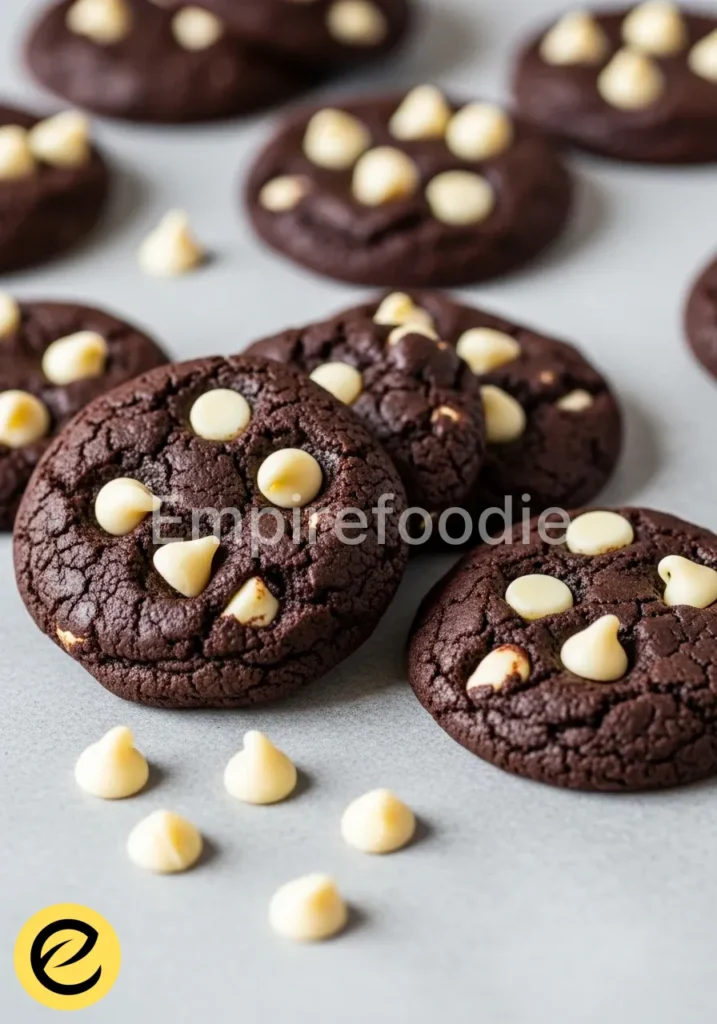
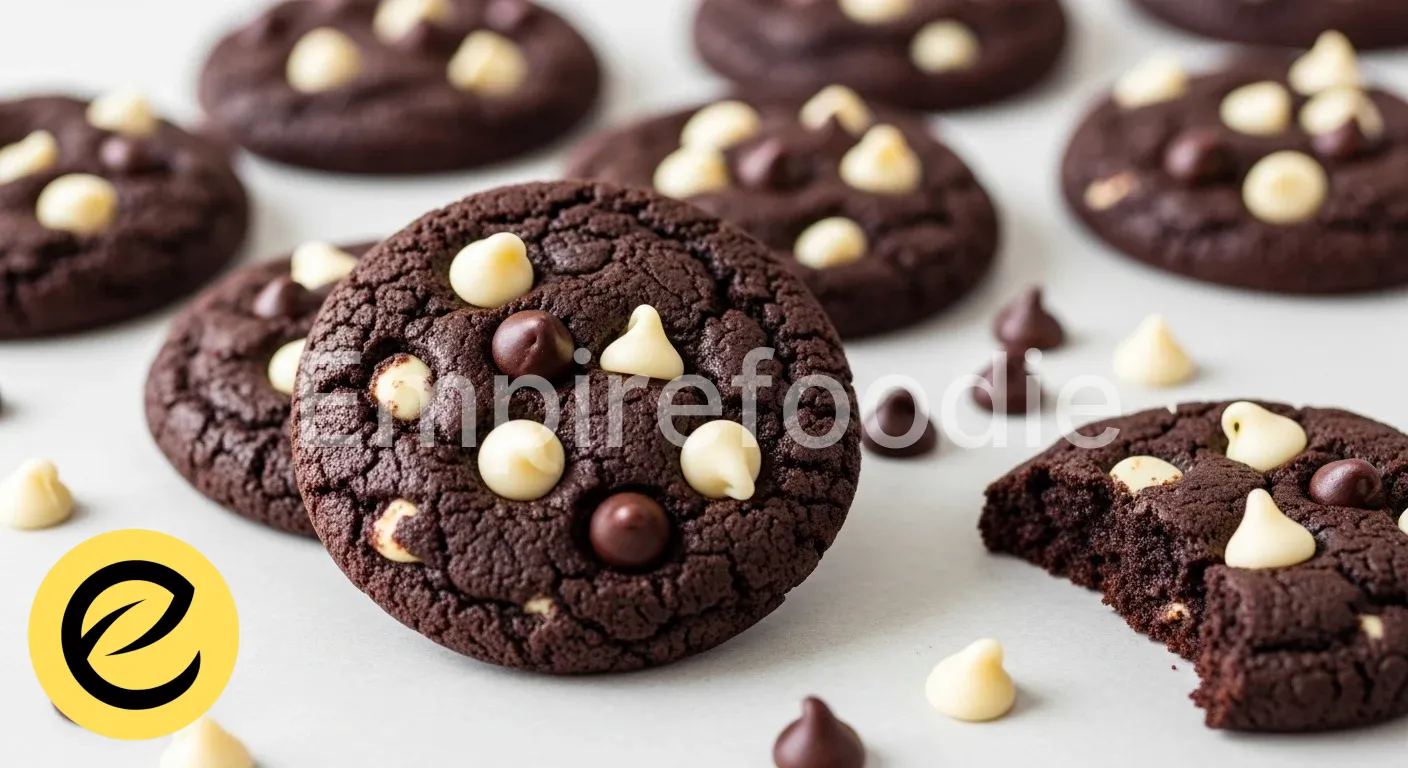
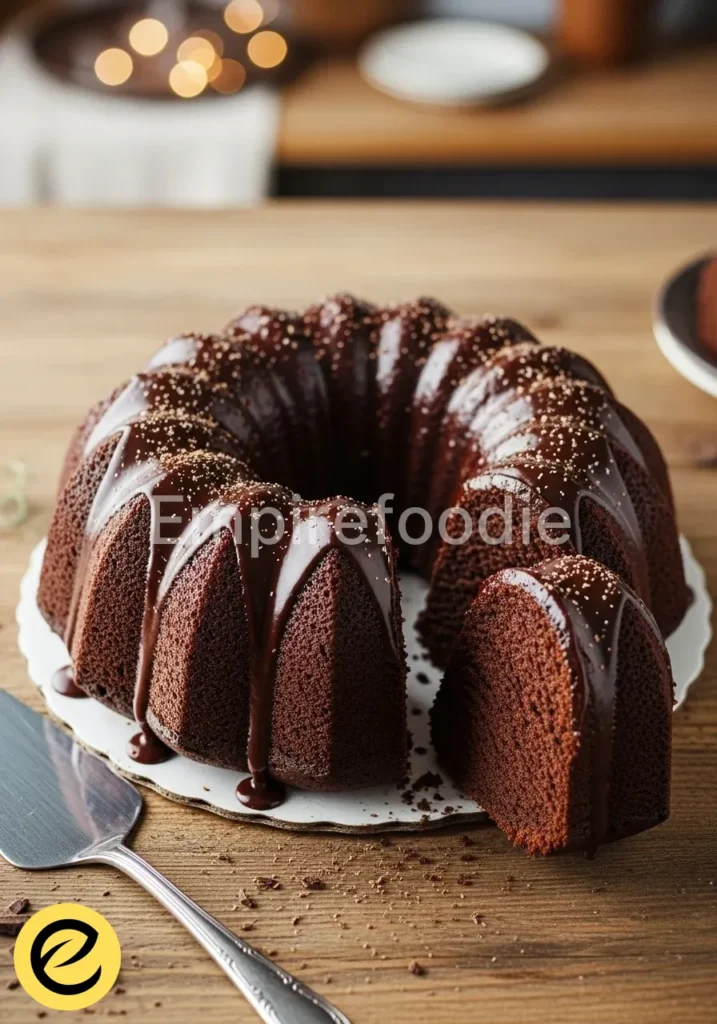
Final Thoughts
Creating these chocolate candy bars is more than just baking; it’s a journey. From sourcing quality ingredients to seeing the final, perfect cut, each step is a moment of delicious discovery. Enjoy the rich satisfaction of homemade goodness, a true global treat crafted right in your kitchen. These truly are exceptional chocolate candy bars!
Nutrition Information (per serving)
Please note: Nutritional values are approximate and can vary based on specific brands and ingredient substitutions. This is a general guide for a serving size of one bar (assuming 16 bars per 8×8 pan).
| Calories | ~250-300 |
| Total Fat | ~20-25g |
| Saturated Fat | ~10-12g |
| Total Carbohydrates | ~15-20g |
| Dietary Fiber | ~3-5g |
| Sugars | ~10-15g |
| Protein | ~5-7g |
chocolate candy bars
Ingredients
- 2 cups (340g) High-Quality Dark Chocolate Chips
- 1/2 cup (120ml) Full-Fat Coconut Milk
- 1/4 cup (60ml) Maple Syrup or Agave Nectar
- 1/2 cup (80g) Creamy Almond Butter (or Peanut Butter)
- 1 teaspoon Vanilla Extract
- 1/4 teaspoon Sea Salt
- 1/2 cup (60g) Chopped Roasted Nuts
- Optional Toppings (Flaky sea salt, shredded coconut, cacao nibs, white chocolate)
Instructions
- Prepare Your Pan: Line an 8×8 inch baking pan with parchment paper.
- Melt the Chocolate (First Layer): Melt 1 cup of dark chocolate chips in a bowl over simmering water.
- Create the Chocolate Base: Pour the melted chocolate into the pan and spread evenly. Freeze for 10-15 minutes.
- Prepare the Filling: Heat almond butter, coconut milk, maple syrup, vanilla extract, and sea salt in a saucepan until smooth.
- Add the Crunch: Stir in chopped roasted nuts into the filling mixture.
- Layer the Filling: Pour the filling over the chilled chocolate base and freeze for 20-30 minutes.
- Melt the Chocolate (Top Layer): Melt the remaining 1 cup of dark chocolate chips.
- Create the Top Layer: Pour the melted chocolate over the filling layer and spread evenly.
- Add Optional Toppings: Sprinkle desired toppings over the wet chocolate layer.
- Final Chill: Freeze for at least 30 minutes until firm.
- Cut and Serve: Lift from the pan, cut into bars with a warm knife, and enjoy.