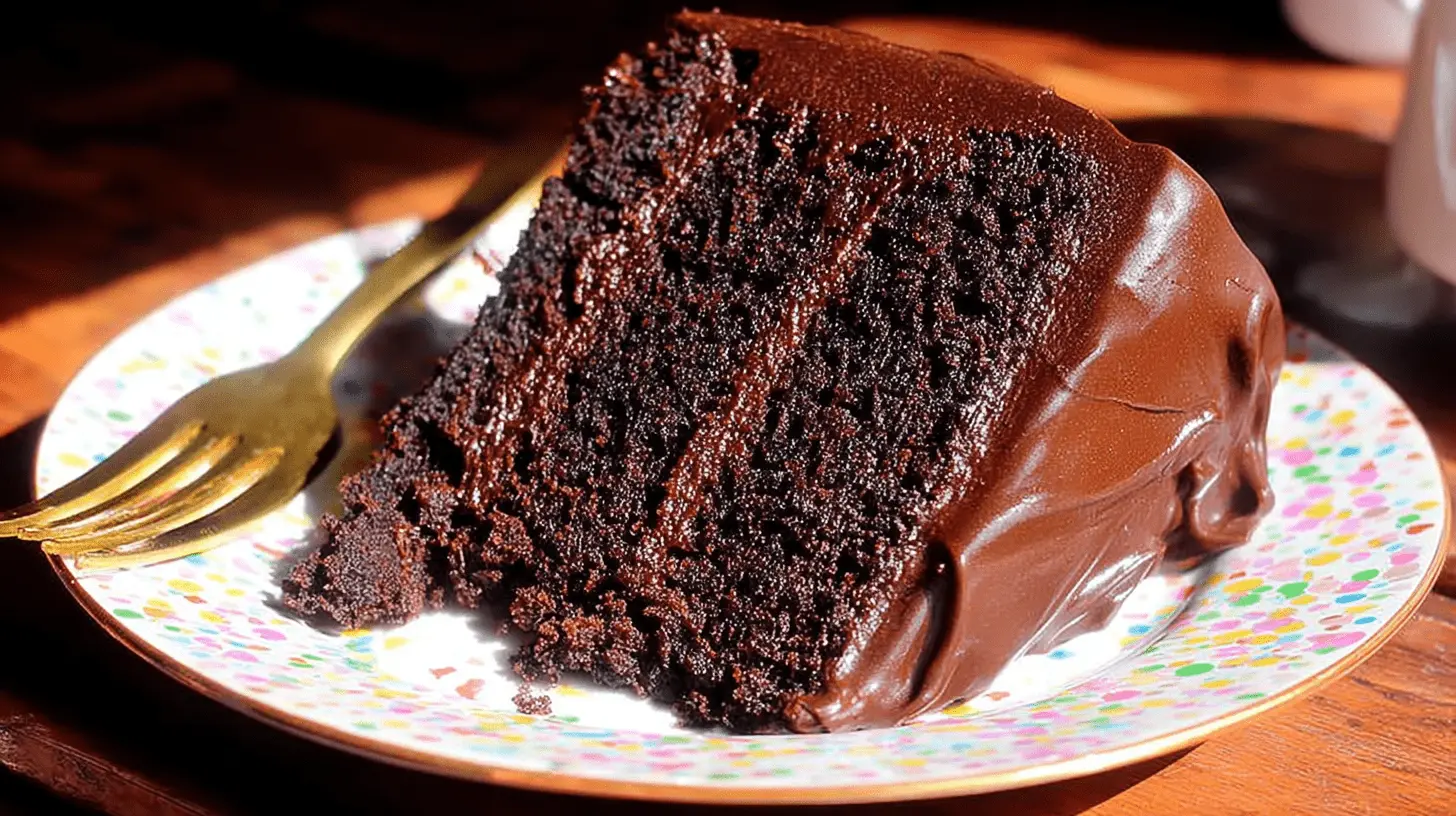
Indulge in the sublime richness of our Guinness chocolate cake. It offers an incredibly moist, velvety texture with deep cocoa notes, subtly enhanced by stout. This sophisticated yet comforting dessert is perfect for any gathering. Prepare for pure indulgence with every delectable slice.
Table of Contents
Why You’ll Love This Recipe
Here’s why this Guinness chocolate cake will become your new favorite:
- Deep, complex chocolate flavor with a unique stout richness.
- Consistently moist, tender crumb; stays fresh for days.
- Surprisingly easy to prepare, welcoming for all skill levels.
- An impressive, comforting dessert for any special occasion.
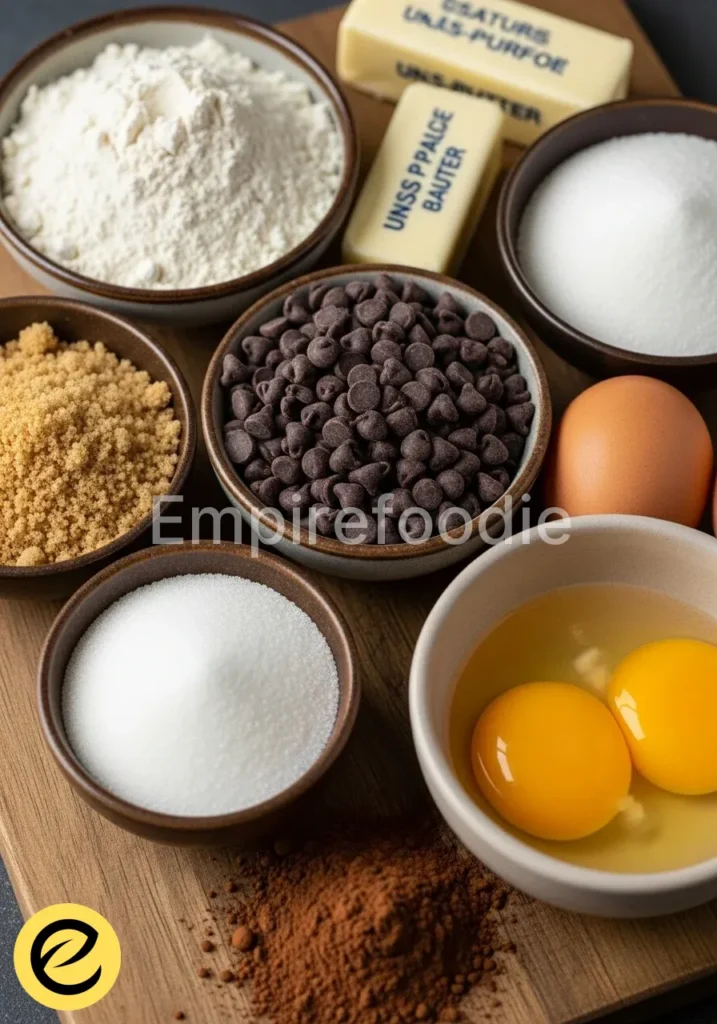
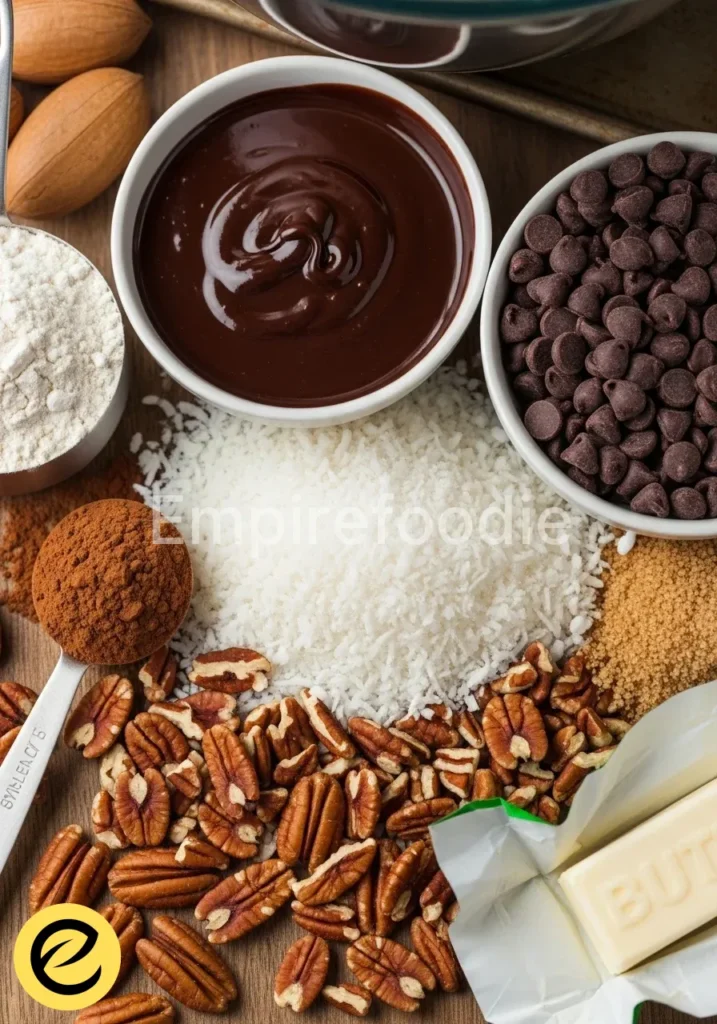
Ingredients You’ll Need

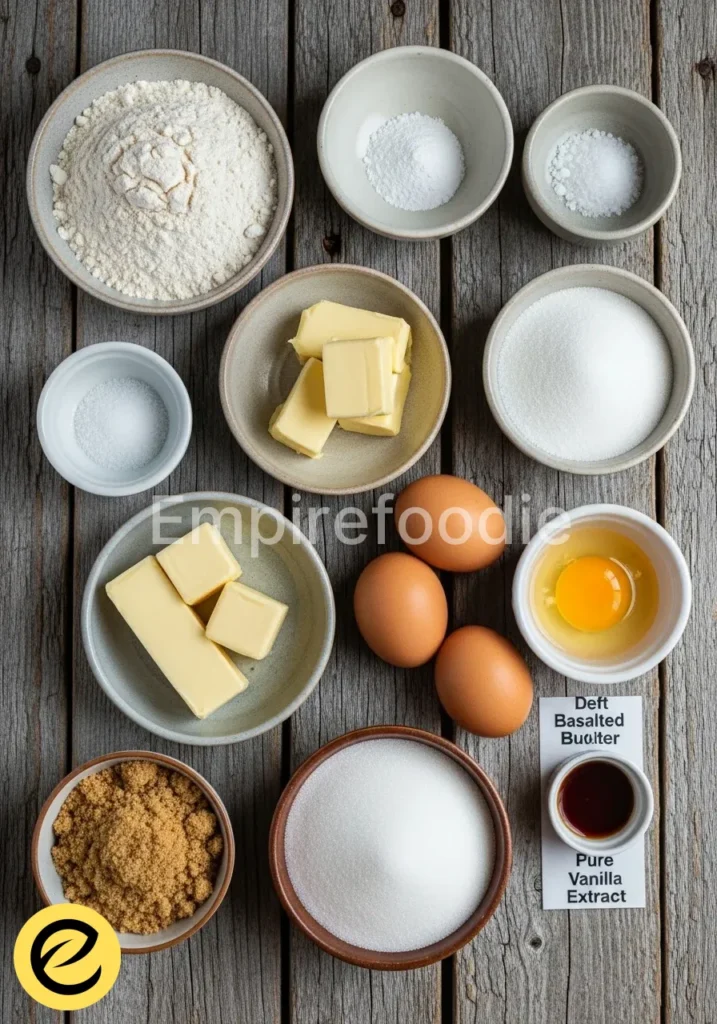
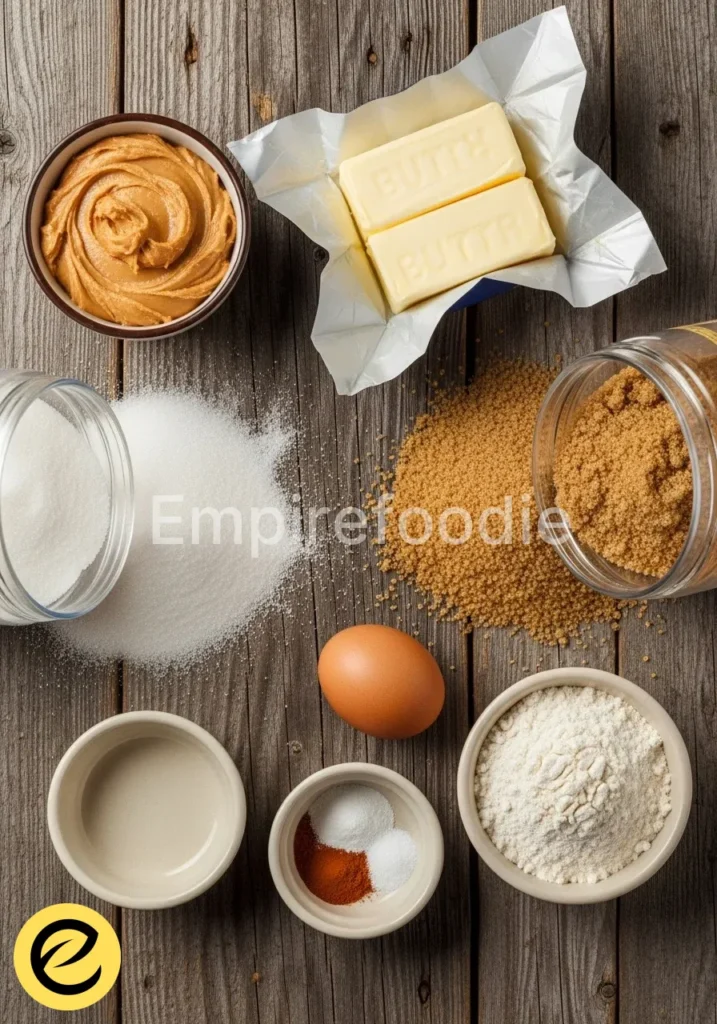
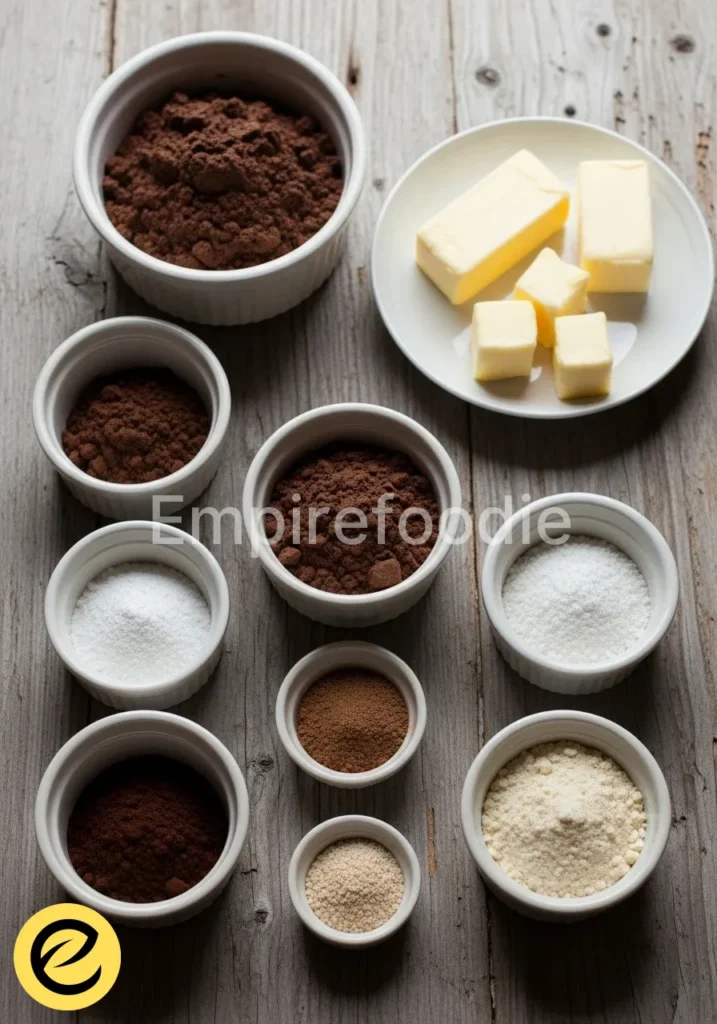
Baking, my dears, truly begins with the quality of your ingredients. Just as my grandmother always taught, fresh is best, and a good cake is built from the ground up with love and the finest provisions. For this heartwarming Guinness chocolate cake, gather these essentials:
- For the Cake:
- 1 cup (2 sticks) unsalted butter, softened
- 1 cup Guinness stout (dark beer)
- ¾ cup unsweetened cocoa powder (Dutch-processed for a darker cake)
- 2 cups all-purpose flour
- 2 cups granulated sugar
- 1 ½ teaspoons baking soda
- ½ teaspoon salt
- 2 large eggs, at room temperature
- ¾ cup sour cream, at room temperature
- 1 teaspoon vanilla extract (pure extract, please!)
- For the Cream Cheese Frosting:
- 8 ounces cream cheese, softened
- ½ cup (1 stick) unsalted butter, softened
- 4 cups powdered sugar, sifted
- 1 teaspoon vanilla extract
- 1-2 tablespoons milk or cream (if needed for consistency)
Each ingredient plays its part in crafting the rich, deep flavors of this magnificent Guinness chocolate cake. The quality of your cocoa, the freshness of your eggs, and the richness of the stout truly make all the difference.
Substitutions & Variations
[ra_display_video url=”https://www.youtube.com/watch?v=ujNypsUX4iE”]
While this Guinness chocolate cake recipe is perfect as is, sometimes we need to adapt! For a slightly lighter touch, try substituting half the butter with unsweetened applesauce in the cake batter, or use whole wheat pastry flour for a portion of the all-purpose flour.
You can also experiment with a non-dairy stout and milk alternatives for a dairy-free version. Feel free to infuse your cake with a shot of espresso for an even deeper mocha flavor, or add a pinch of cinnamon for a hint of warmth.
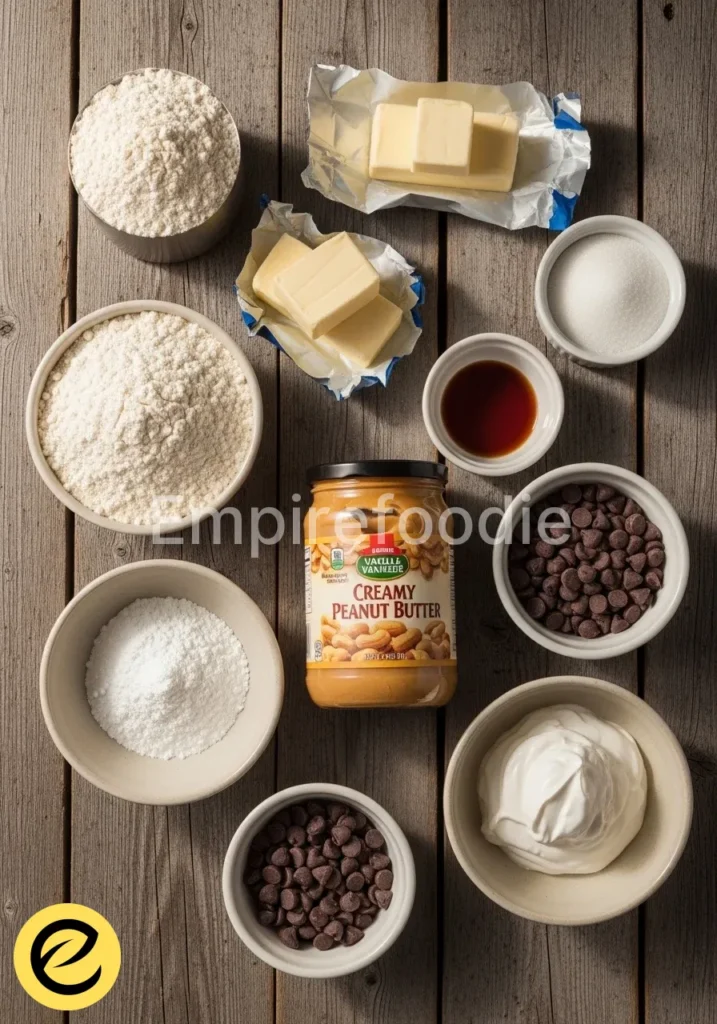
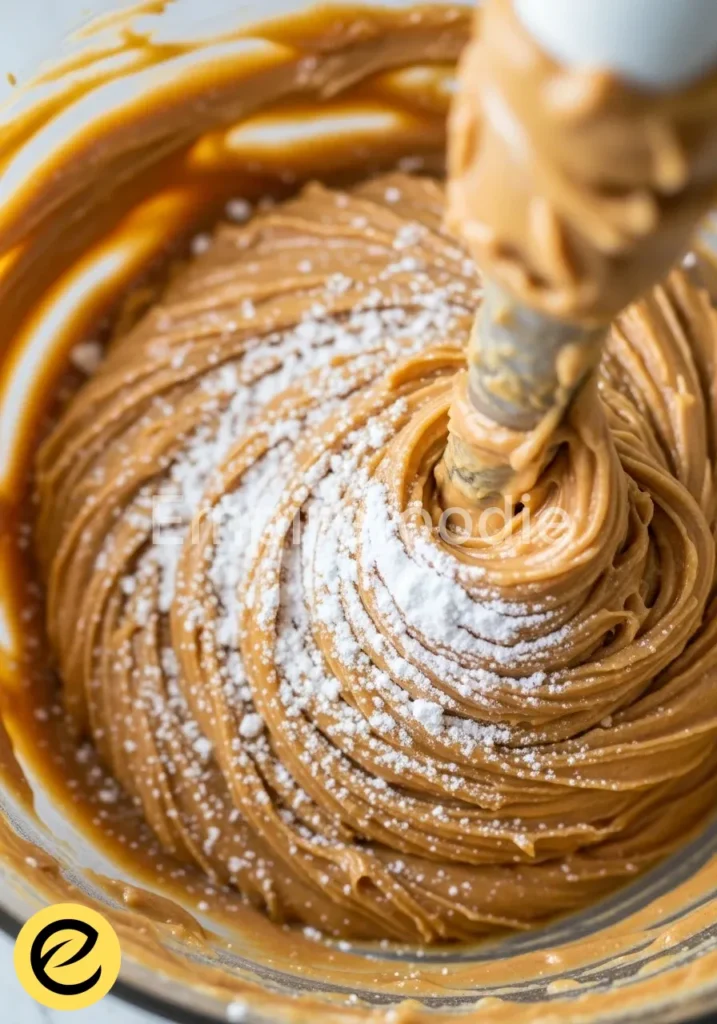
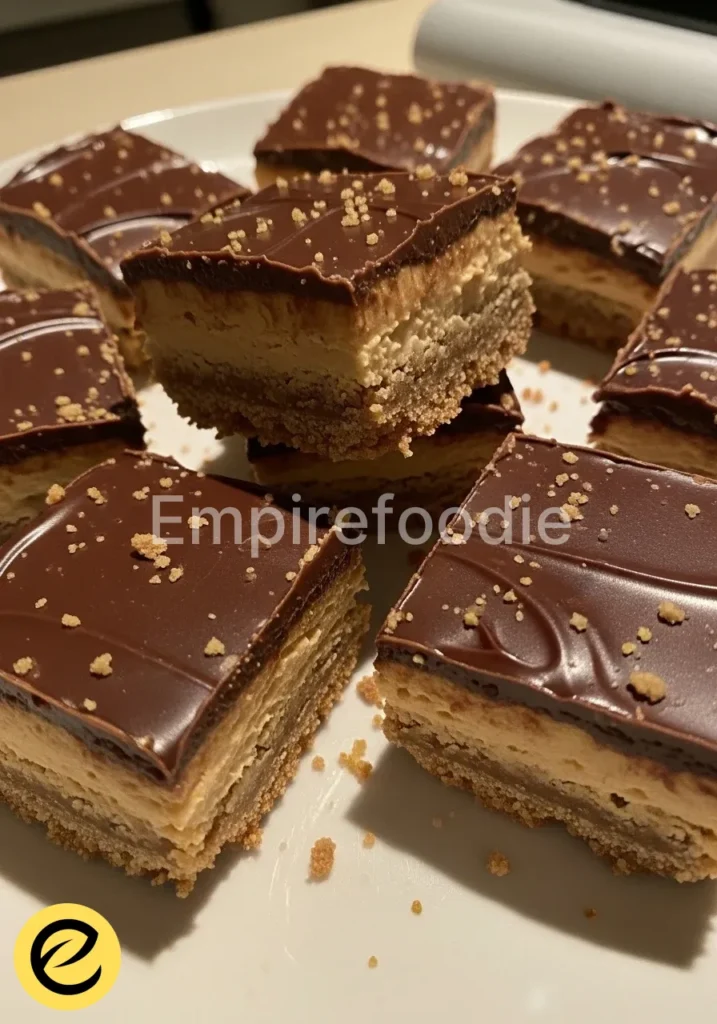
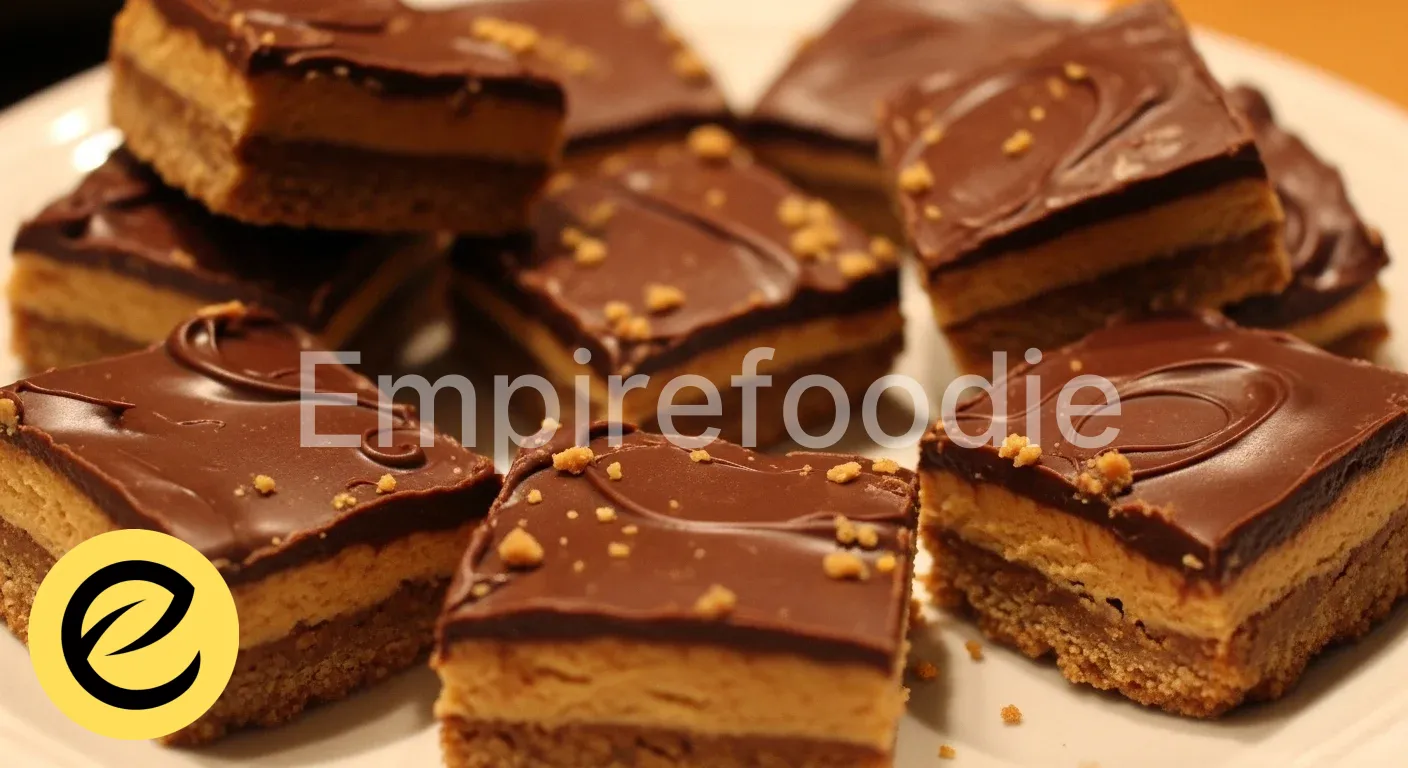
If you’re looking to lighten up your baking, consider experimenting with what you have on hand. For example, while making this cake, you could try using peanut butter bars as a delicious alternative or addition to your dessert repertoire by checking out Peanut Butter Bars.
Equipment You’ll Need
Just as my mama had her trusty tools, you’ll want to gather a few reliable pieces for this delightful baking adventure. You don’t need anything fancy for this comforting Guinness chocolate cake, just the basics that make farmhouse baking a joy:
- 9-inch springform pan (or two 8-inch round cake pans)
- Parchment paper
- Large mixing bowls (at least two)
- Whisk
- Rubber spatula
- Electric mixer (stand mixer or hand mixer)
- Measuring cups and spoons
- Fine-mesh sieve (for cocoa and powdered sugar)
- Cooling rack
Step-by-Step Instructions
Now, let’s get our hands dusty and bring this beautiful Guinness chocolate cake to life! Imagine yourself in my warm kitchen, following these steps with the same care and love passed down through generations.
- Prepare Your Pan: Preheat your oven to 350°F (175°C). Grease and flour your 9-inch springform pan, then line the bottom with a circle of parchment paper. If using two 8-inch round pans, grease, flour, and line both. This ensures your beautiful cake releases perfectly.
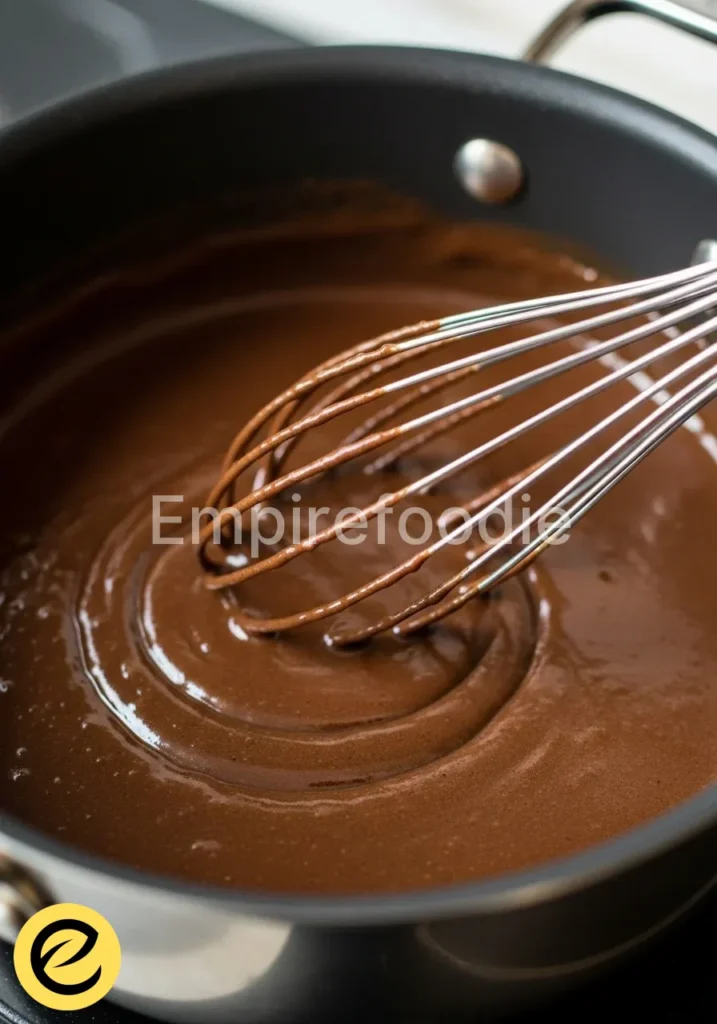
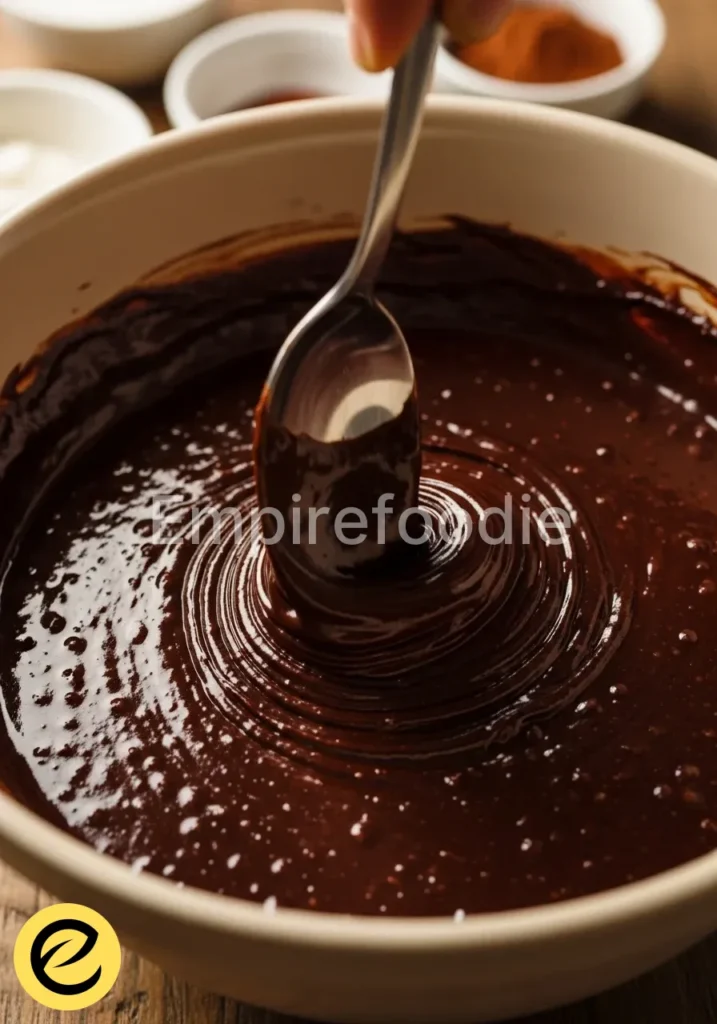
- Melt & Infuse: In a medium saucepan, combine the Guinness stout and butter. Heat gently over medium-low heat until the butter melts completely. Remove from heat and whisk in the cocoa powder until smooth. Set aside to cool slightly.
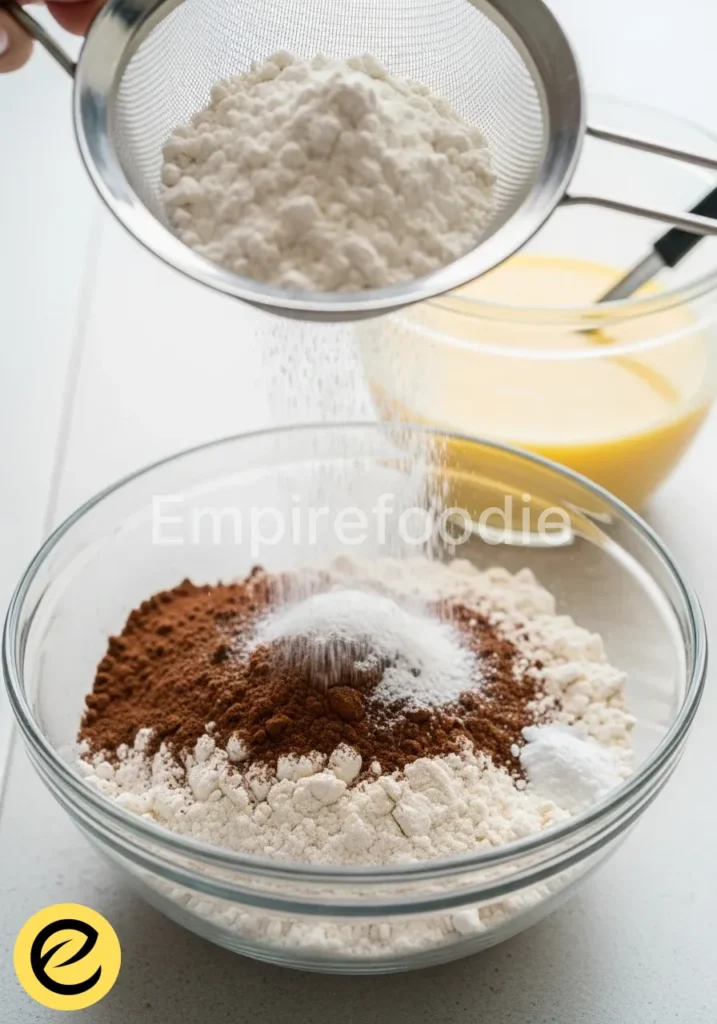
- Combine Dry Ingredients: In a large mixing bowl, whisk together the all-purpose flour, granulated sugar, baking soda, and salt. Make sure everything is well combined; this lays the foundation for your fluffy cake.
- Mix Wet Ingredients: In a separate medium bowl, whisk the eggs, sour cream, and vanilla extract until smooth. Sour cream is our secret for that incredibly moist texture in this Guinness chocolate cake.
- Combine Wet and Dry: Pour the slightly cooled Guinness-cocoa mixture into the dry ingredients. Stir gently with your spatula until just combined. Do not overmix; we want a tender crumb.
- Add Egg Mixture: Fold in the egg-sour cream mixture. Continue to mix gently until no streaks of flour remain. The batter for this Guinness chocolate cake will be fairly thin, and that’s perfectly normal.
- Bake the Cake: Pour the batter evenly into your prepared springform pan. Bake for 45-55 minutes, or until a wooden skewer inserted into the center comes out clean. If using two 8-inch pans, bake for 30-35 minutes.
- Cool Completely: Allow the cake to cool in the pan on a wire rack for about 15-20 minutes before carefully removing the sides of the springform pan. Let the cake cool completely on the wire rack before frosting. This is crucial for a stable, beautiful finish for your Guinness chocolate cake.
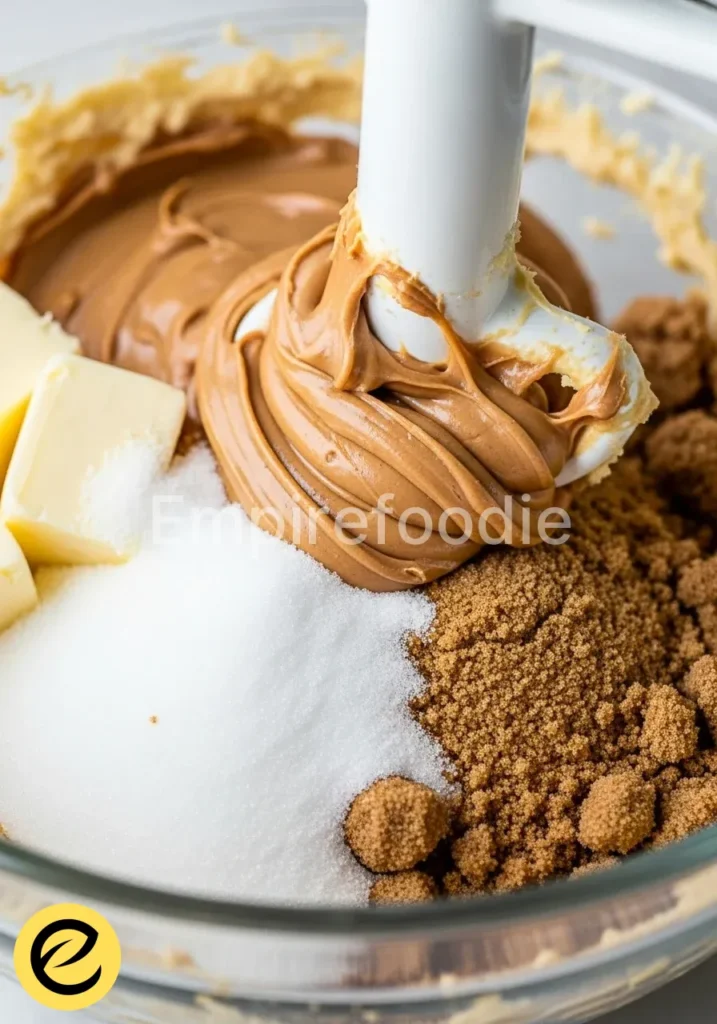
- Prepare the Frosting: While the cake cools, prepare the cream cheese frosting. In a large mixing bowl, beat the softened cream cheese and butter with an electric mixer until light and fluffy. Gradually add the sifted powdered sugar, one cup at a time, beating well after each addition. Stir in the vanilla extract. If the frosting is too thick, add a tablespoon or two of milk or cream until it reaches your desired spreading consistency.
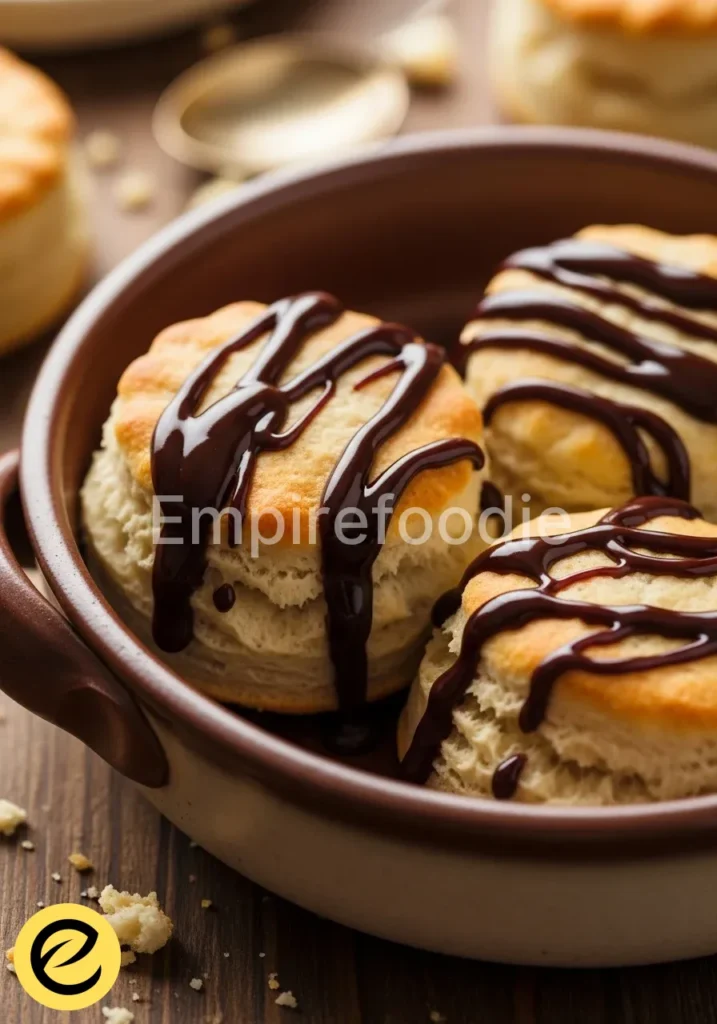
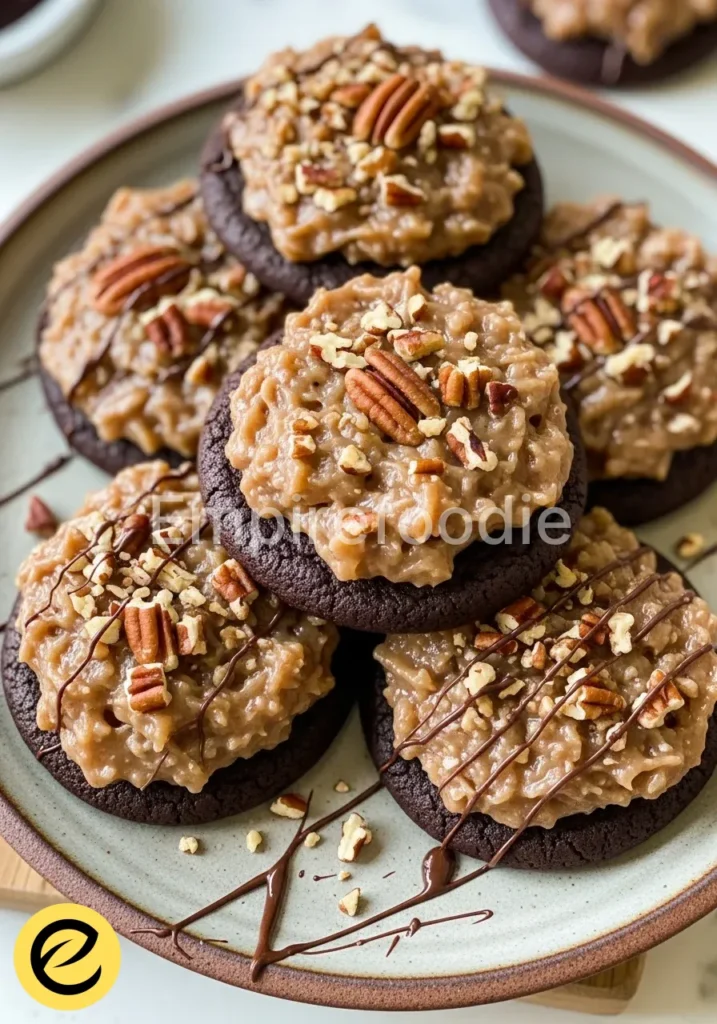
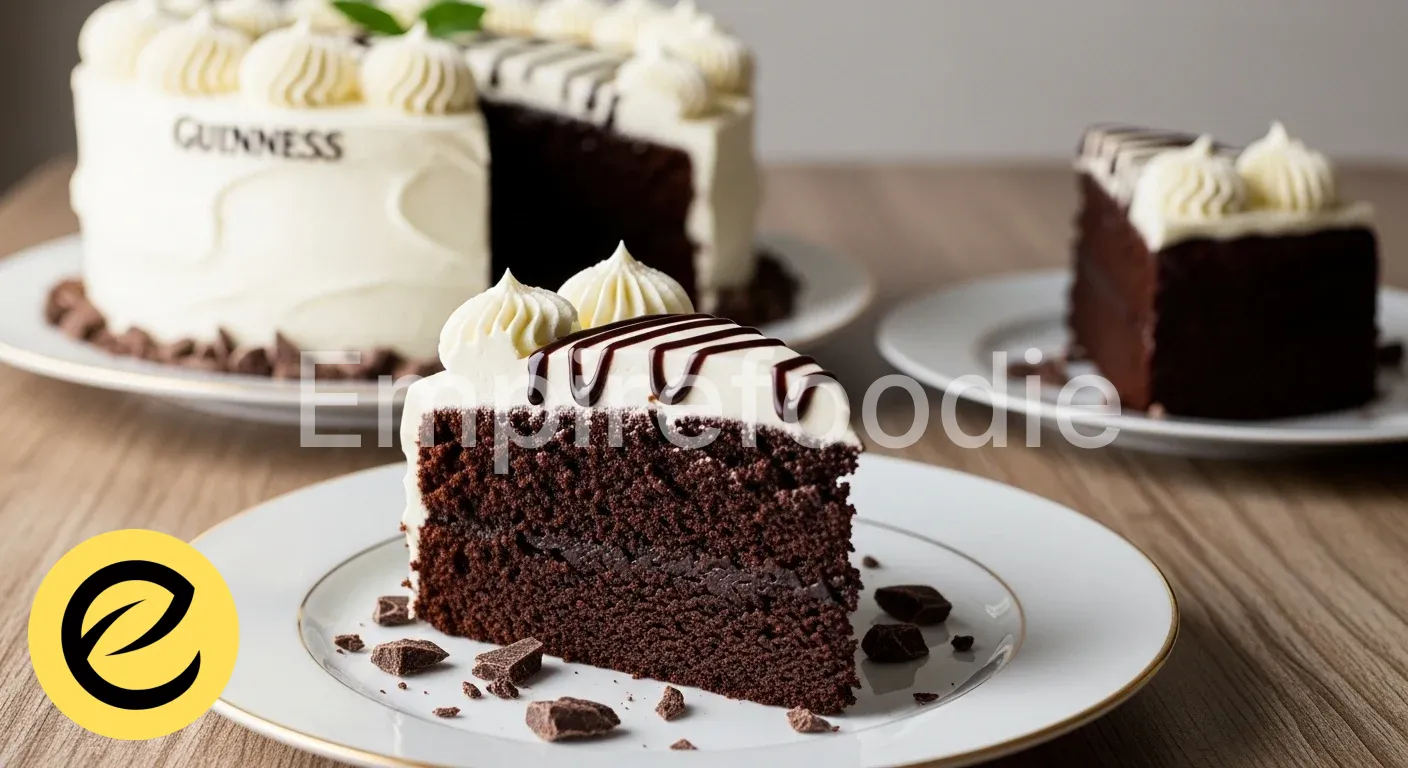
- Frost Your Masterpiece: Once the Guinness chocolate cake is completely cool, spread the luscious cream cheese frosting evenly over the top. You can make elegant swirls for a rustic farmhouse look.
- Serve and Enjoy: Slice and serve your magnificent Guinness chocolate cake! Watch smiles appear as everyone savors this rich, comforting dessert.
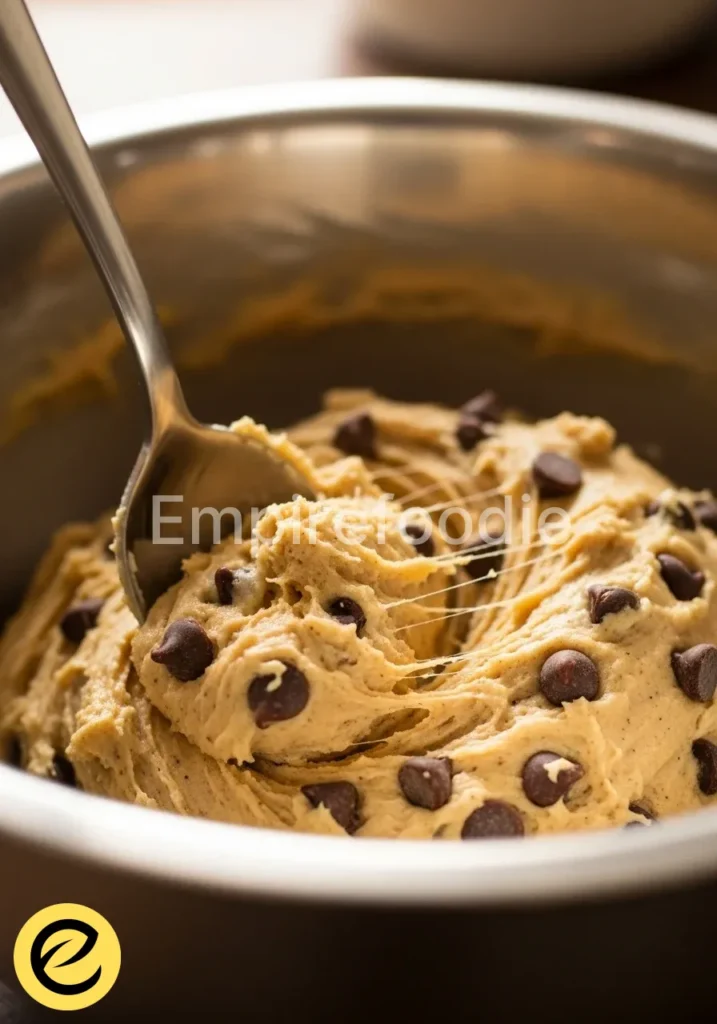
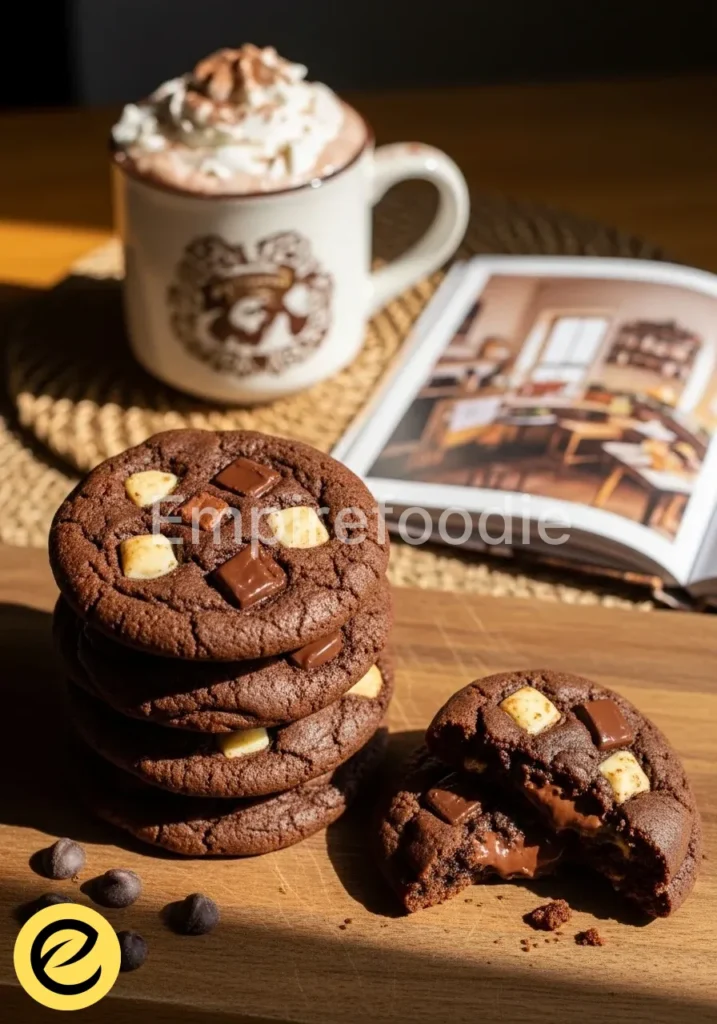
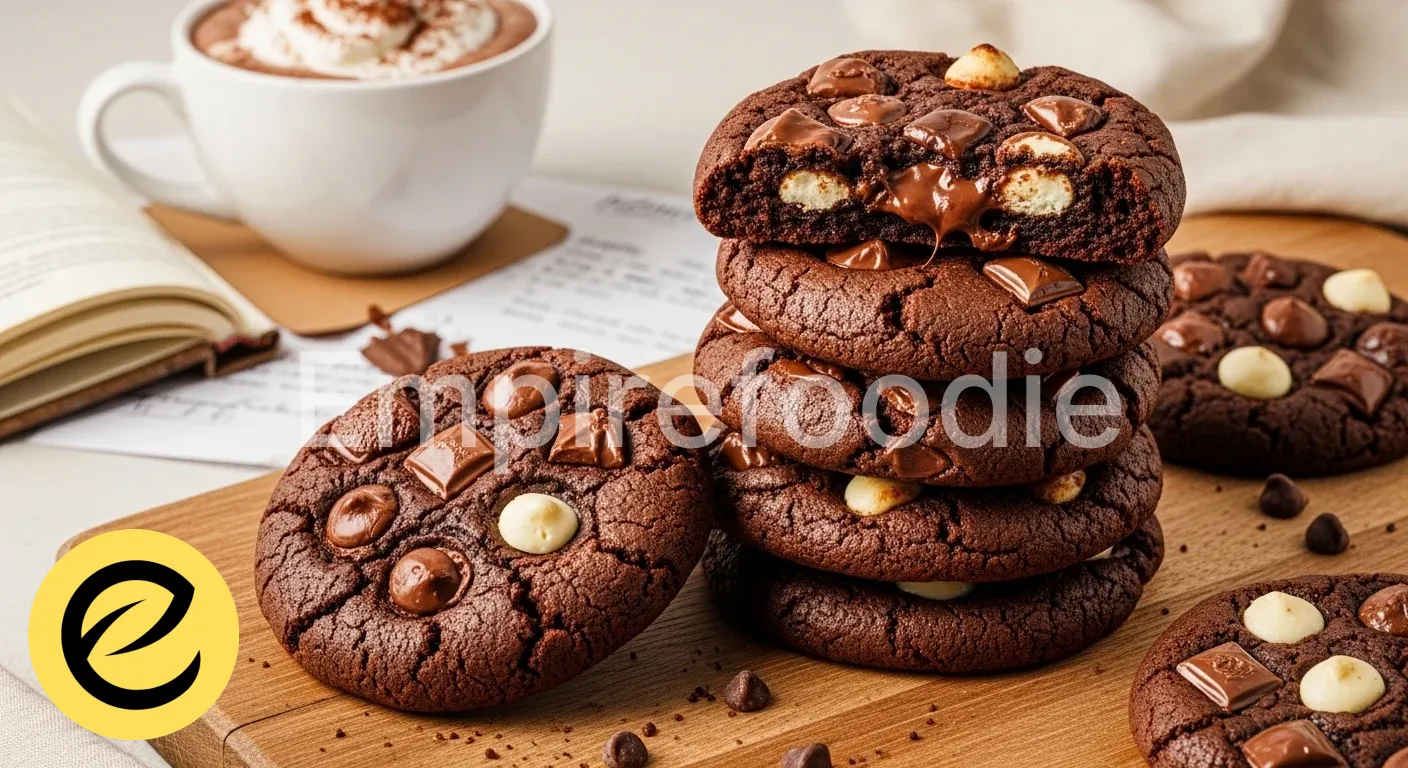
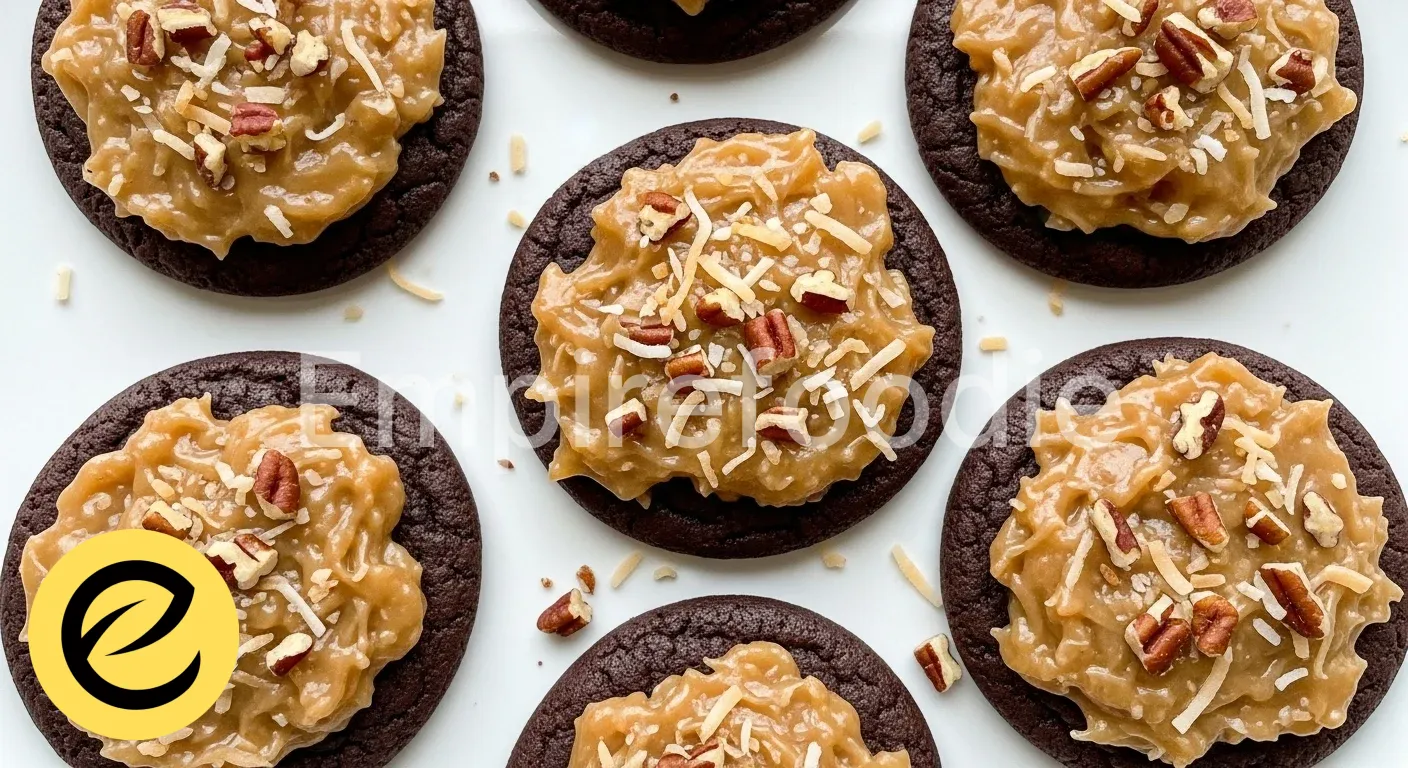
As you dive into making this delectable Guinness chocolate cake, don’t forget that you can also explore other delightful chocolate treats. With a little inspiration from Chocolate Cookies with White Chips, you can satisfy your chocolate cravings even further.
Pro Tips for Success
Every baker, even the most seasoned, has little tricks up their sleeve. Here are some of my own, gathered over years of farmhouse baking, to ensure your Guinness chocolate cake turns out perfect every time:
- Room Temperature Ingredients are Key: Ensure your butter, eggs, and sour cream are at room temperature. This allows them to emulsify properly, creating a smooth, uniform batter and a wonderfully tender crumb in your Guinness chocolate cake.
- Sift Dry Ingredients: Always sift your cocoa powder and powdered sugar, especially for the frosting. This prevents lumps and ensures a silky-smooth texture, making your Guinness chocolate cake even more delightful.
- Do Not Overmix: Overmixing develops the gluten in the flour, leading to a tough, dry cake. Mix just until the ingredients are combined. A few small lumps are better than an overmixed batter.
- Cool Completely: Patience is a virtue, especially in baking! Frosting a warm cake will cause the frosting to melt and slide right off. Let your Guinness chocolate cake cool entirely before adding that glorious cream cheese topping.
- Know Your Oven: Every oven is a little different. Invest in an oven thermometer to ensure your oven is truly at the temperature you set. This can significantly impact baking times and results.
Storage & Reheating Tips
This delectable Guinness chocolate cake is often even better the next day as the flavors meld. Here’s how to keep it fresh and delicious:
- Room Temperature: If unfrosted, store the cooled cake in an airtight container at room temperature for up to 2-3 days.
- Refrigerated: Once frosted with cream cheese frosting, this Guinness chocolate cake should be stored in an airtight container in the refrigerator for up to 4-5 days. Remove it from the fridge about an hour before serving to allow the flavors and frosting to soften to their best consistency.
- Freezing Cake: For longer storage, you can freeze the unfrosted cake. Wrap cooled cake layers tightly in plastic wrap, then in foil. It will keep well in the freezer for up to 2-3 months. Thaw overnight in the refrigerator before frosting.
- Freezing Frosted Cake: You can also freeze slices of frosted Guinness chocolate cake! Place individual slices on a baking sheet to flash freeze for an hour, then wrap each slice tightly and store in an airtight container. Thaw in the refrigerator or at room temperature.
To keep your rich Guinness chocolate cake fresh and delicious for days, try some useful storage tips. You can also draw inspiration from the flavors in Raspberry White Chocolate Cookies to create a sweet companion that pairs beautifully with this dessert.
What to Serve With This Recipe

My dears, a slice of this rich Guinness chocolate cake is a celebration in itself, but a few simple additions can elevate the experience. Think about balancing its deep, comforting flavors with something fresh and light. Here are a few lovely ideas:
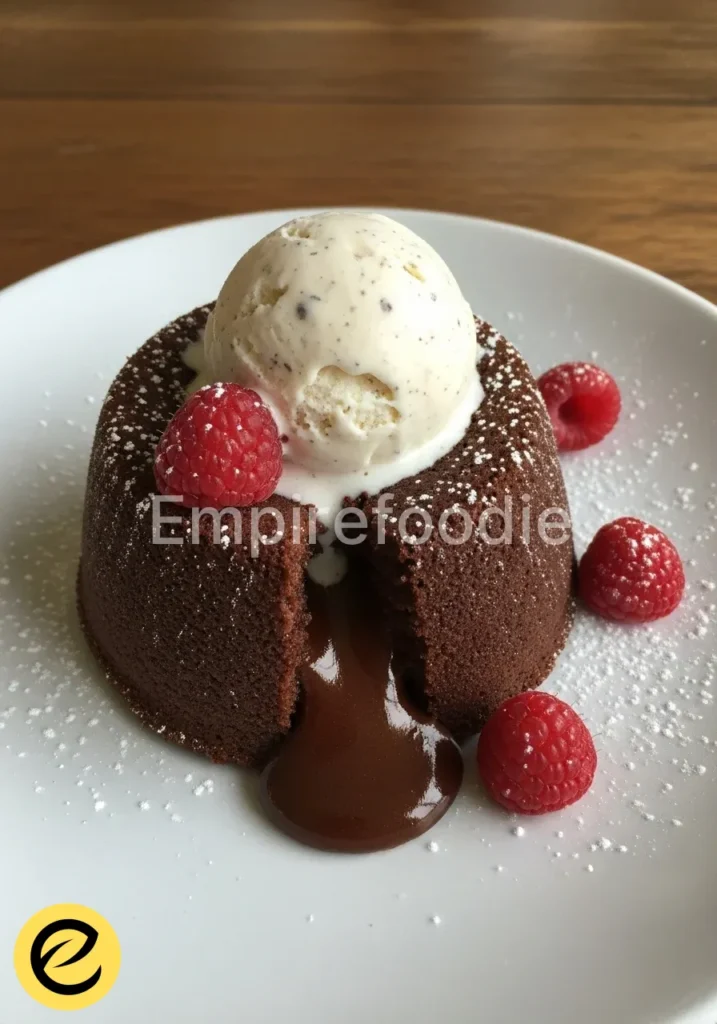
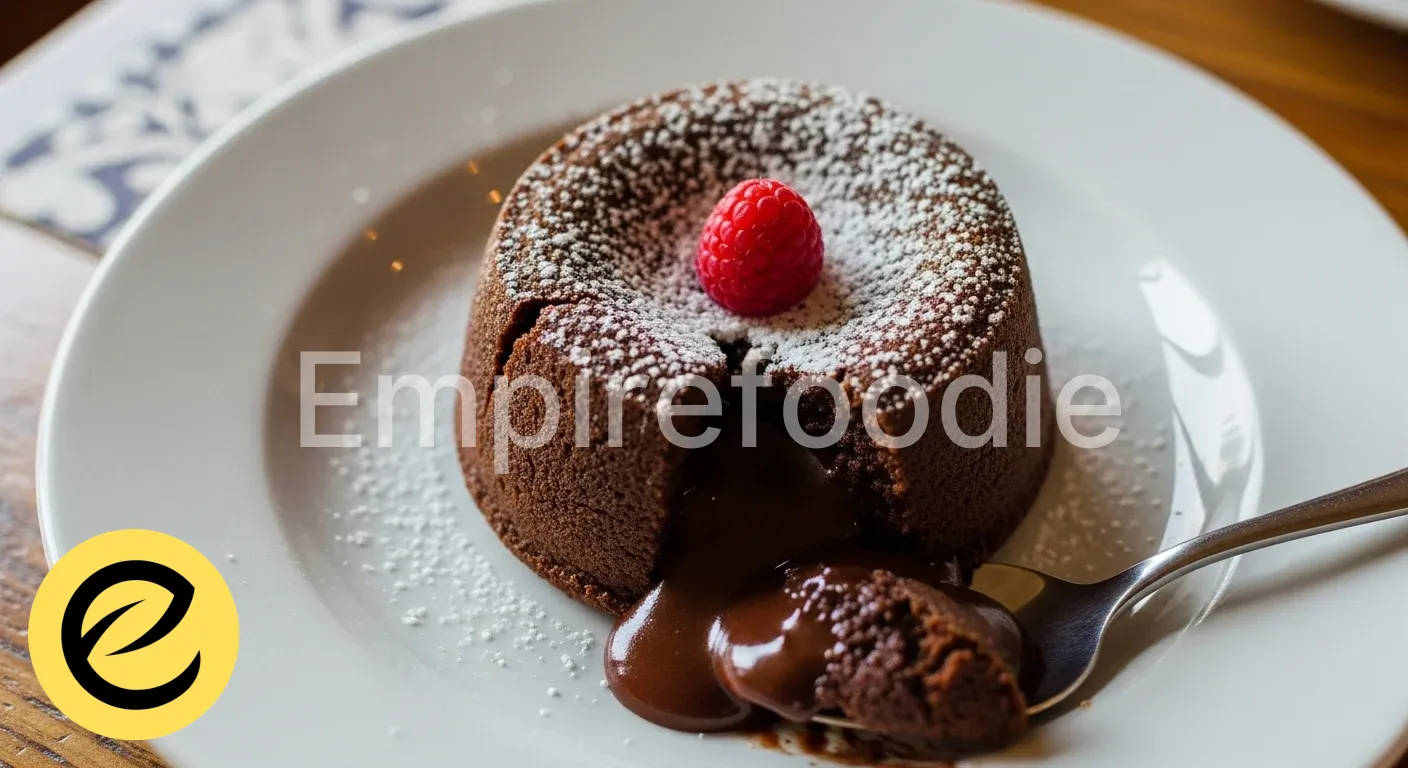
- Fresh Berries: A handful of vibrant raspberries or strawberries offers a delightful tart contrast to the cake’s sweetness and richness.
- Unsweetened Whipped Cream: A dollop of freshly whipped cream, lightly sweetened or even unsweetened, provides a cloud-like texture and balances the density of the Guinness chocolate cake.
- A Warm Beverage: A steaming cup of strong coffee, a classic black tea, or even a creamy latte makes a perfect companion, enhancing the chocolate notes.
- Mint Sprig: A fresh mint sprig not only adds a beautiful visual touch but also a refreshing aroma.
Frequently Asked Questions (FAQ)
Can I make this Guinness chocolate cake ahead of time?
Absolutely! This Guinness chocolate cake is wonderfully suited for making ahead. You can bake the cake layers up to two days in advance, wrap them tightly, and store them at room temperature or even freeze them for longer.
The cream cheese frosting can also be made a day or two in advance and stored in the refrigerator. Assemble and frost the cake just a few hours before serving for the freshest taste.
What if I don’t like Guinness, or want an alcohol-free version?
If you’re hesitant about the Guinness, rest assured, the alcohol bakes out, leaving only a deep, malty flavor that perfectly complements the chocolate, not an overpowering beer taste.
However, if you prefer an alcohol-free version of this Guinness chocolate cake, you can substitute the Guinness with non-alcoholic stout, strong brewed coffee, or even a mix of strong coffee and a little malt extract for a similar depth of flavor. The texture might be slightly different, but it will still be a delicious chocolate cake.
How do I know when the Guinness chocolate cake is perfectly baked?
The best way to tell if your Guinness chocolate cake is done is to insert a wooden skewer or toothpick into the center. If it comes out clean or with only a few moist crumbs attached, your cake is ready. The top should also spring back gently when lightly pressed. Avoid opening the oven door too frequently during baking, especially in the first 30 minutes, as this can cause the cake to sink.
Guinness chocolate cake is a remarkable fusion of flavors that combines the deep richness of chocolate with the unique notes of stout, creating a dessert that is both comforting and sophisticated. This delightful cake has gained popularity for its moist texture and intense flavor, making it a favorite among dessert enthusiasts and bakers alike, as highlighted in its related discussions on cake.
Final Thoughts
Baking this Guinness chocolate cake is more than just a recipe; it’s an act of love, a connection to the warmth of home. Each slice carries the sweet story of generations, a reminder that the best things are shared around a cherished table. May this cake bring as much joy to your home as it does to mine.
Nutrition Information (per serving)
Here’s a general estimate for one generous slice of this decadent Guinness chocolate cake with frosting:
| Calories | Approximately 450-500 kcal |
| Total Fat | Approximately 25-30 g |
| Saturated Fat | Approximately 15-20 g |
| Cholesterol | Approximately 70-80 mg |
| Sodium | Approximately 250-300 mg |
| Total Carbohydrates | Approximately 60-70 g |
| Dietary Fiber | Approximately 2-3 g |
| Total Sugars | Approximately 45-55 g |
| Protein | Approximately 5-6 g |
guinness chocolate cake
Ingredients
- 1 cup (2 sticks) unsalted butter, softened
- 1 cup Guinness stout (dark beer)
- ¾ cup unsweetened cocoa powder (Dutch-processed for a darker cake)
- 2 cups all-purpose flour
- 2 cups granulated sugar
- 1 ½ teaspoons baking soda
- ½ teaspoon salt
- 2 large eggs, at room temperature
- ¾ cup sour cream, at room temperature
- 1 teaspoon vanilla extract (pure extract, please!)
- 8 ounces cream cheese, softened
- ½ cup (1 stick) unsalted butter, softened
- 4 cups powdered sugar, sifted
- 1 teaspoon vanilla extract
- 1-2 tablespoons milk or cream (if needed for consistency)
Instructions
- Preheat your oven to 350°F (175°C). Grease and flour your 9-inch springform pan, then line the bottom with a circle of parchment paper.
- In a medium saucepan, combine the Guinness stout and butter. Heat gently over medium-low heat until the butter melts completely. Whisk in the cocoa powder until smooth.
- In a large mixing bowl, whisk together the all-purpose flour, granulated sugar, baking soda, and salt.
- In a separate bowl, whisk the eggs, sour cream, and vanilla extract until smooth.
- Pour the slightly cooled Guinness-cocoa mixture into the dry ingredients and stir gently until just combined.
- Fold in the egg-sour cream mixture until no streaks of flour remain.
- Pour the batter into the prepared pan and bake for 45-55 minutes, or until a wooden skewer inserted into the center comes out clean.
- Allow the cake to cool in the pan for 15-20 minutes before removing from the pan and letting cool completely on a wire rack.
- For the frosting, beat the softened cream cheese and butter until light and fluffy. Gradually add sifted powdered sugar, beating well after each addition, and stir in the vanilla extract. If thick, add milk or cream as needed.
- Once the cake is completely cool, spread the cream cheese frosting evenly over the top.