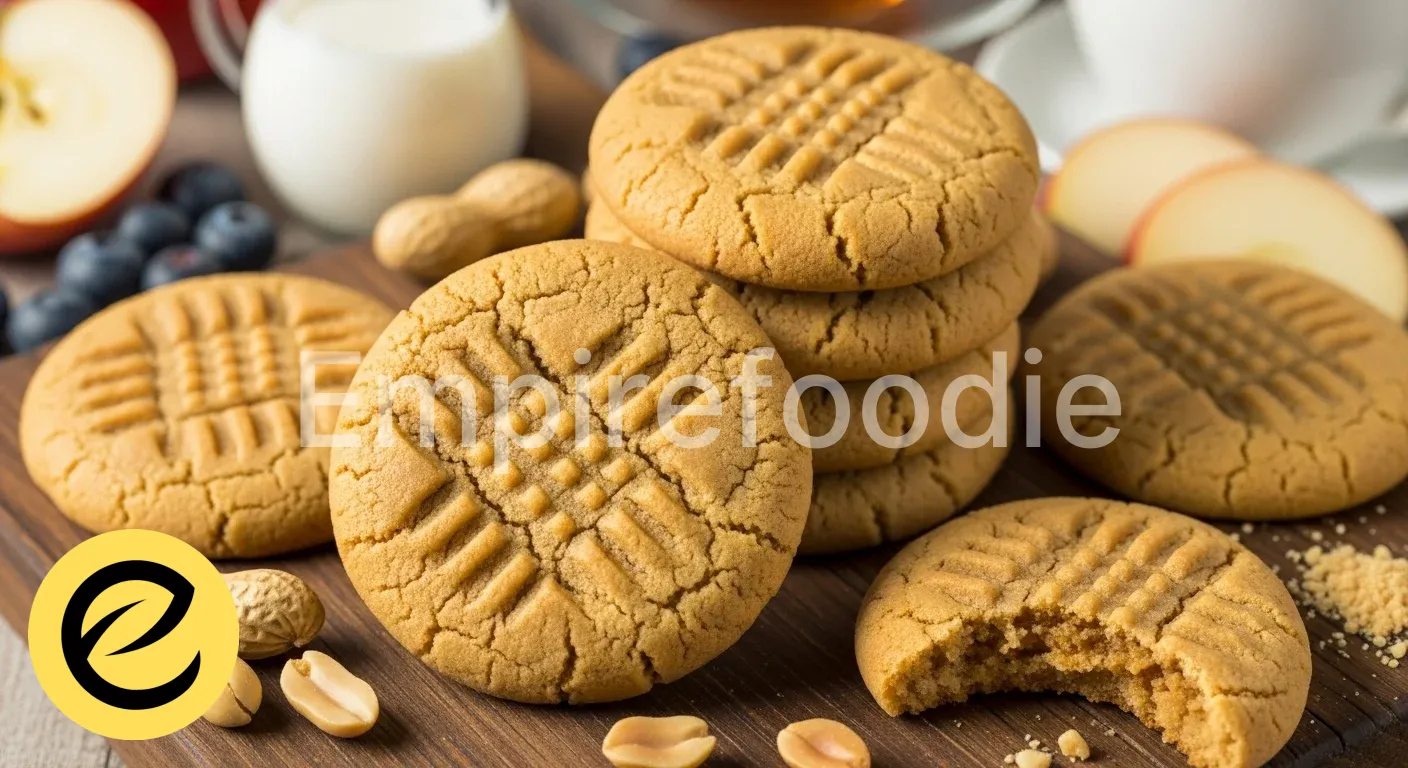
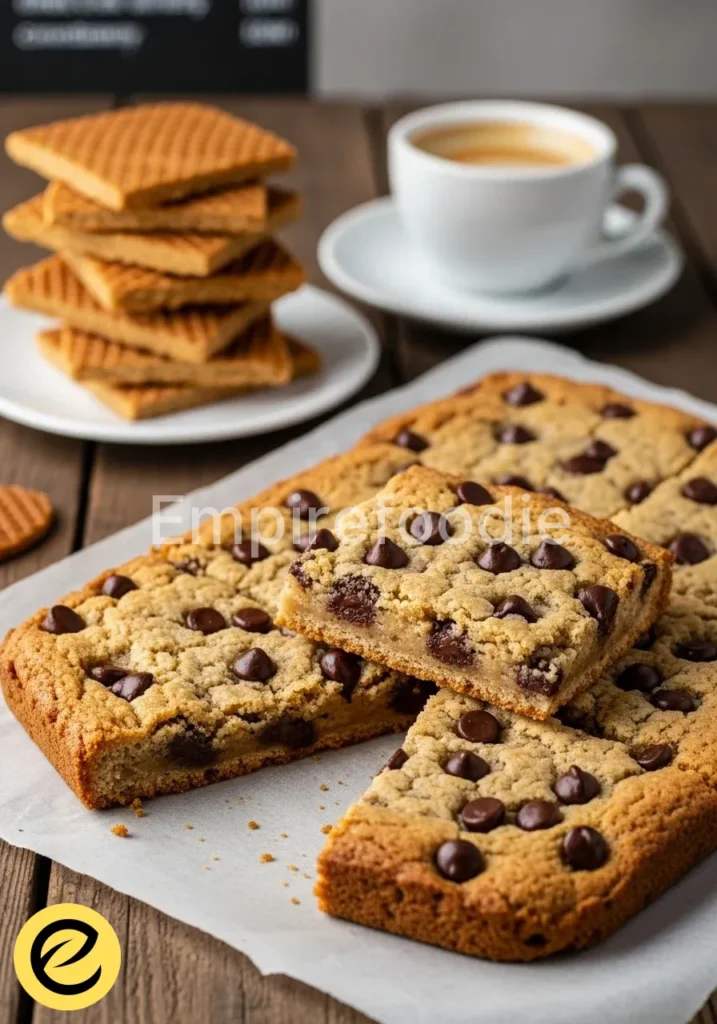
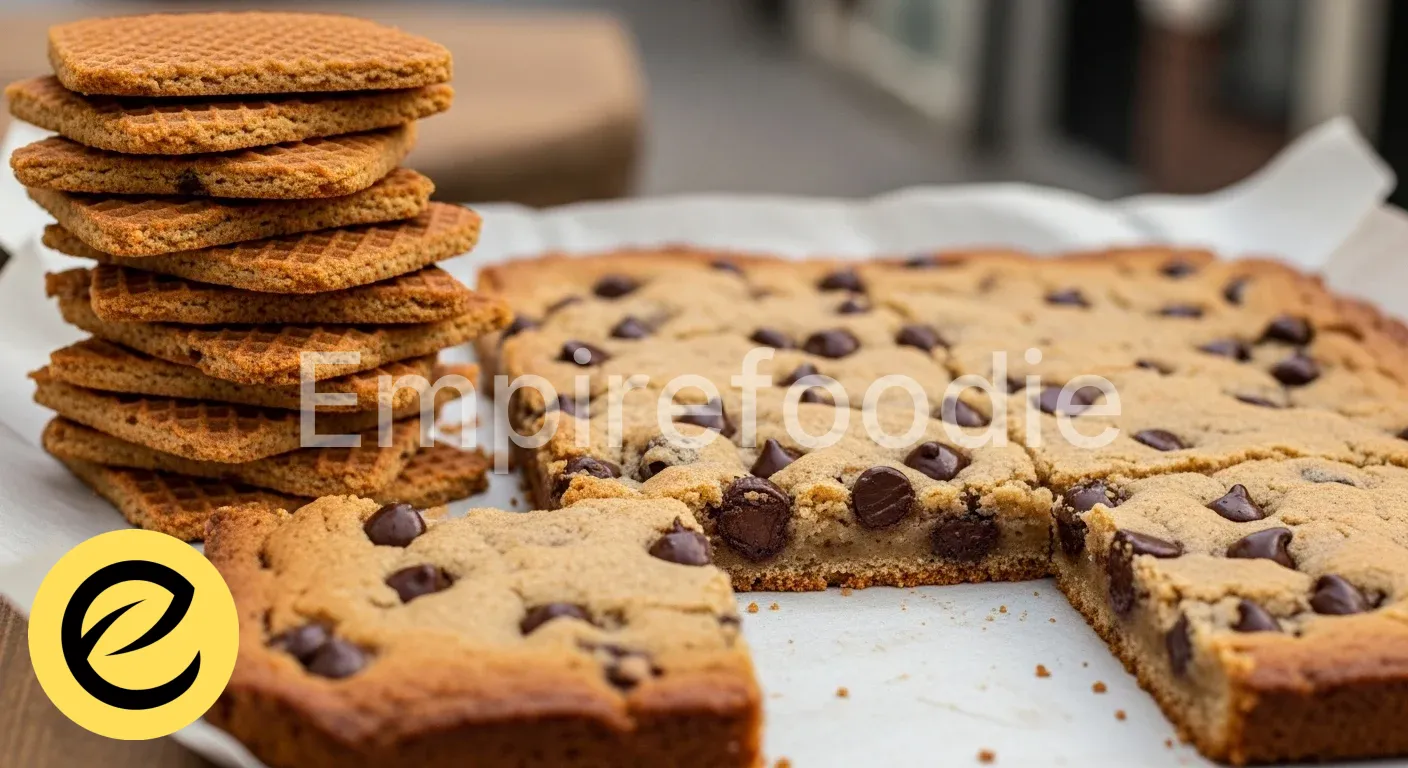
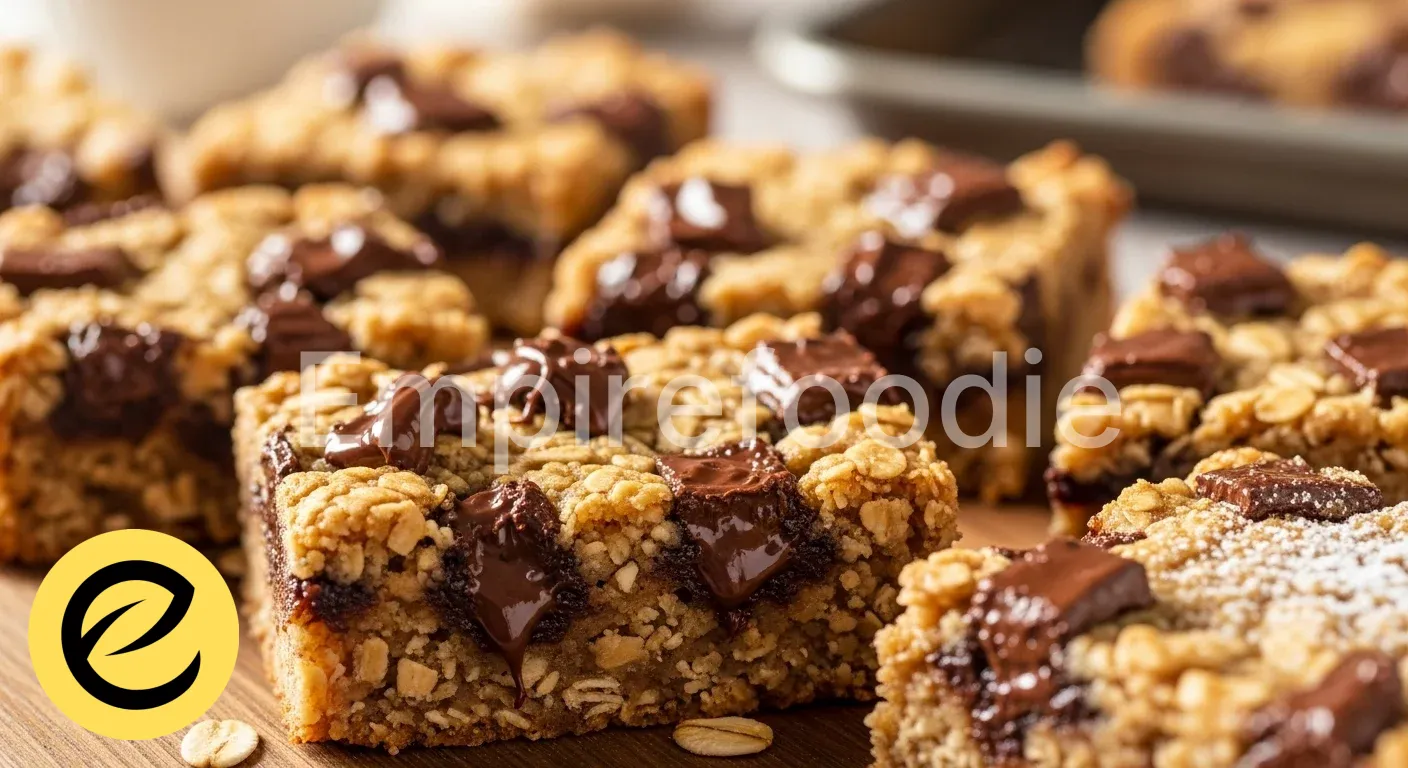
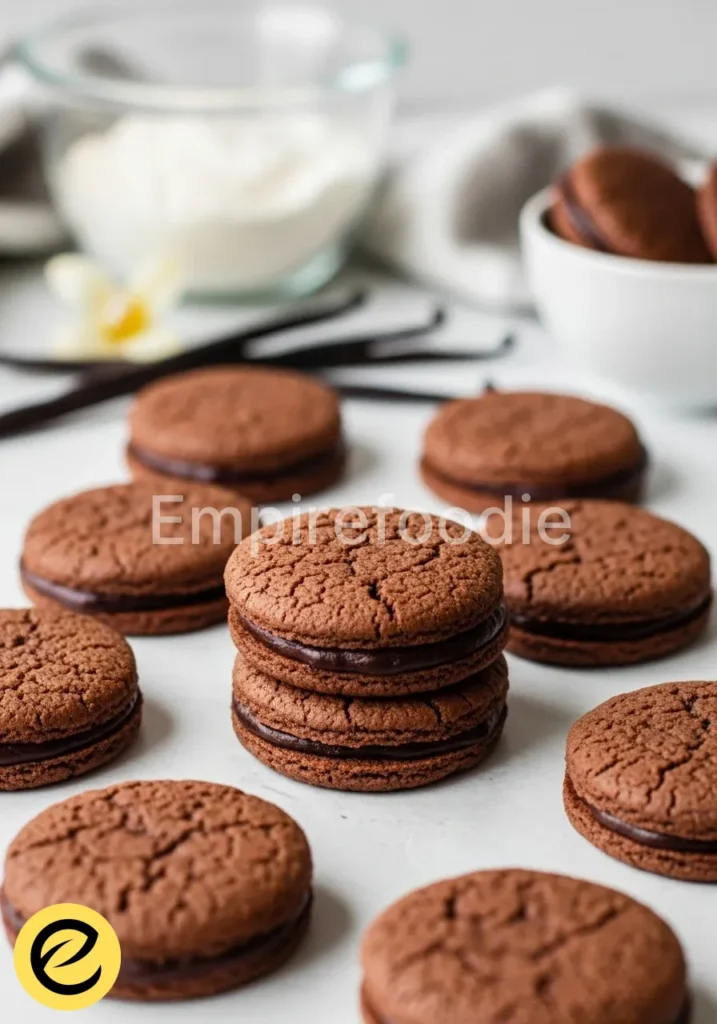
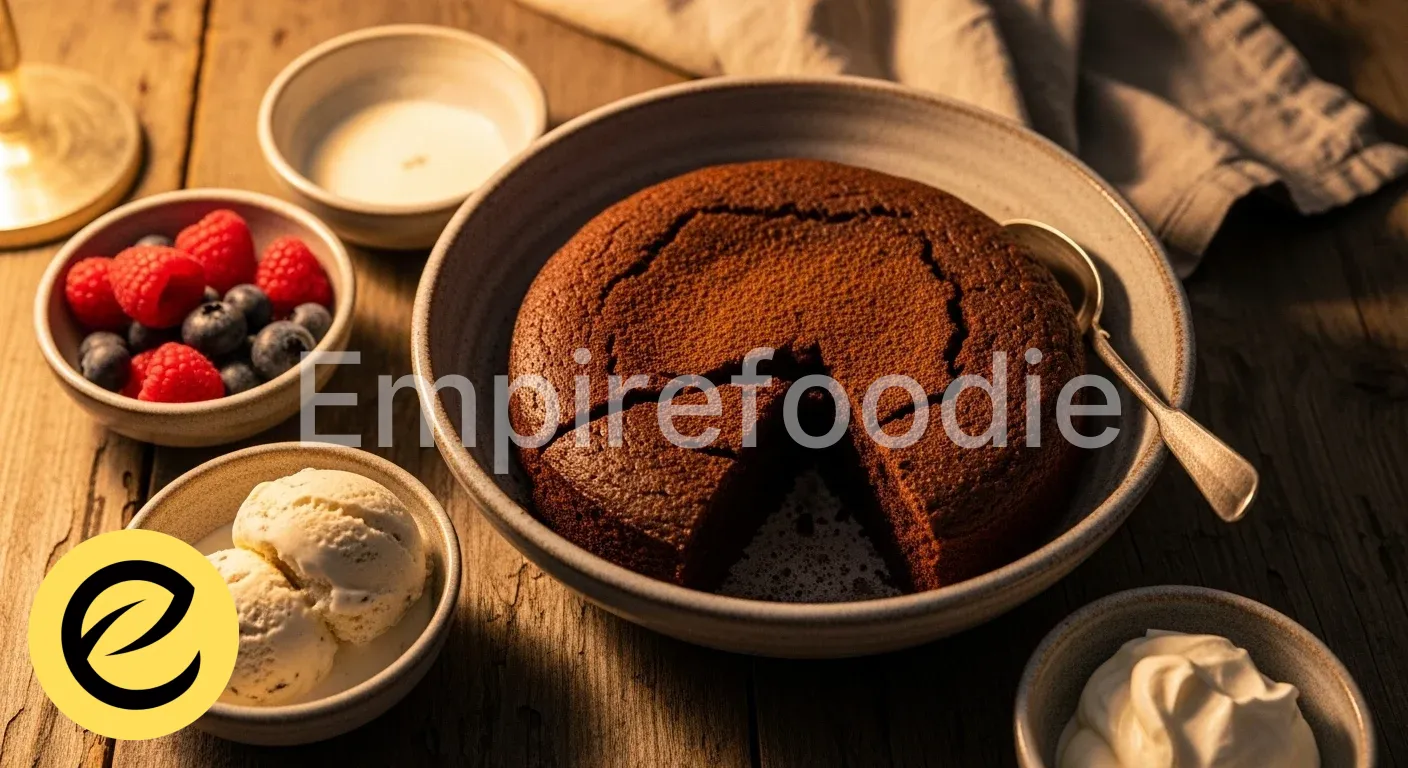
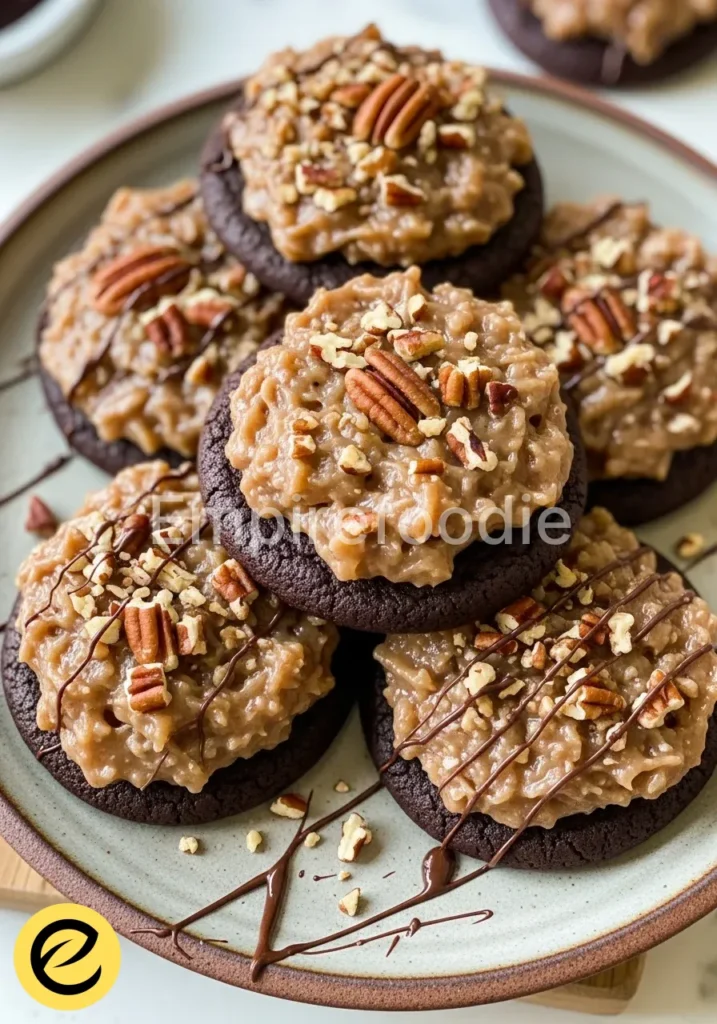
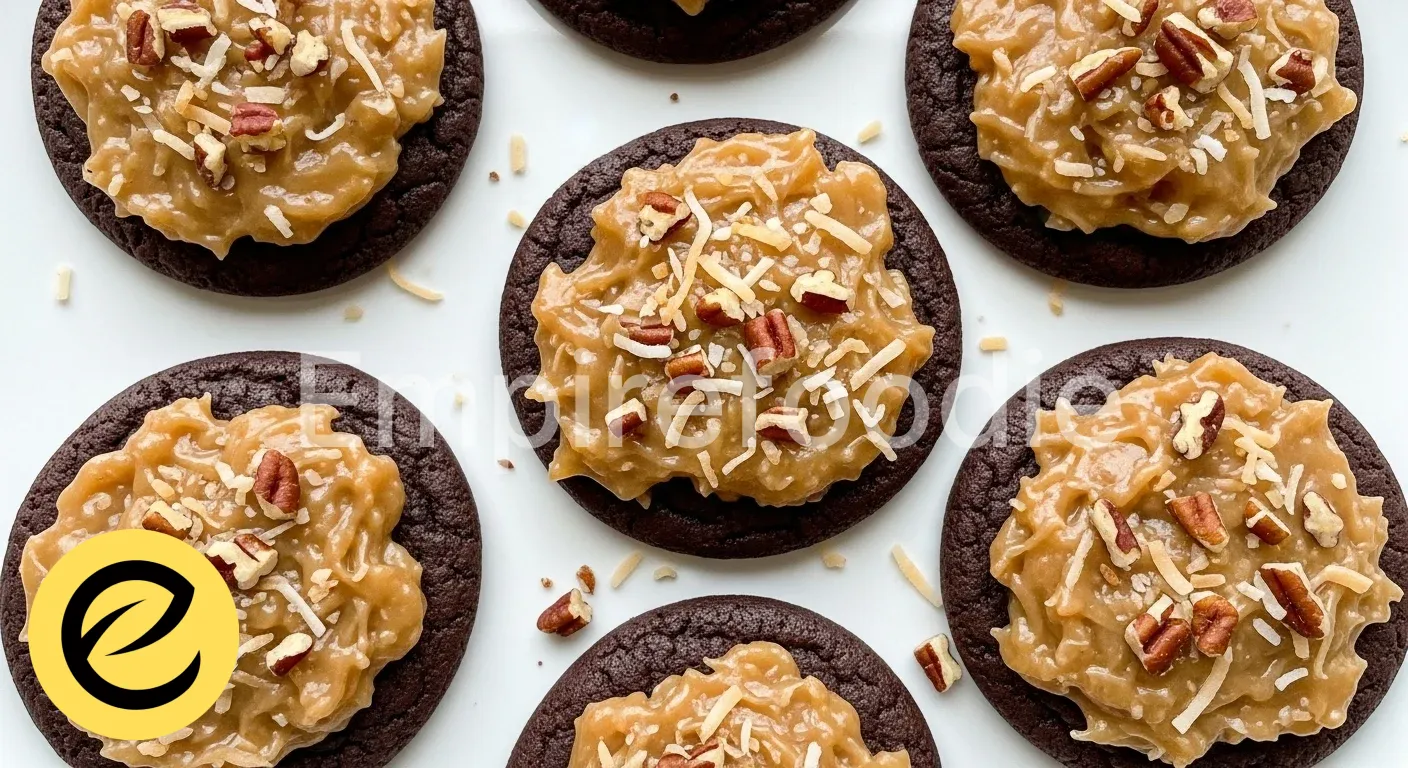
Imagine a cookie that delivers both comforting chewiness and rich chocolate indulgence. These chocolate oatmeal cookies offer exactly that a perfect blend of wholesome oats and decadent cocoa. They strike a harmonious balance, creating a treat that feels both familiar and special. You will find yourself reaching for these satisfyingly chewy chocolate oatmeal cookies time and time again.
Table of Contents
Why You’ll Love These Irresistible Chocolate Oatmeal Cookies
- Unrivaled Comfort: Experience the perfect blend of chewy oats and rich chocolate in every bite.
- Effortless Baking: Simple steps ensure a successful batch, even for novice bakers.
- Wholesome Indulgence: Enjoy a treat incorporating the goodness of oats without sacrificing flavor.
- Versatile & Satisfying: Ideal for snacking, dessert, or a comforting pick-me-up.
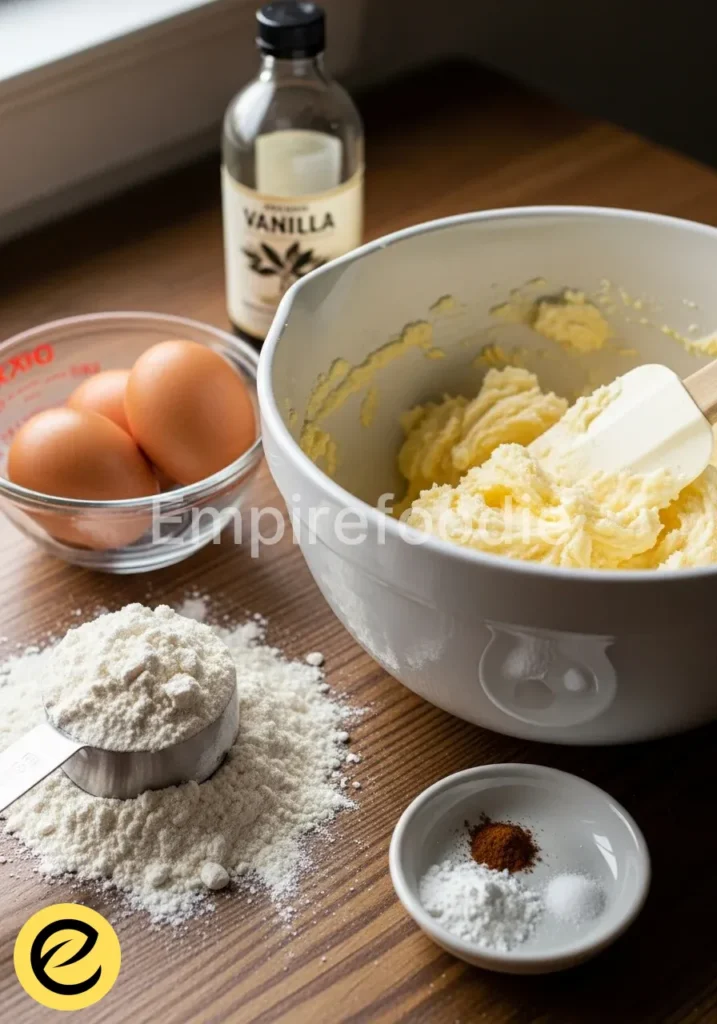
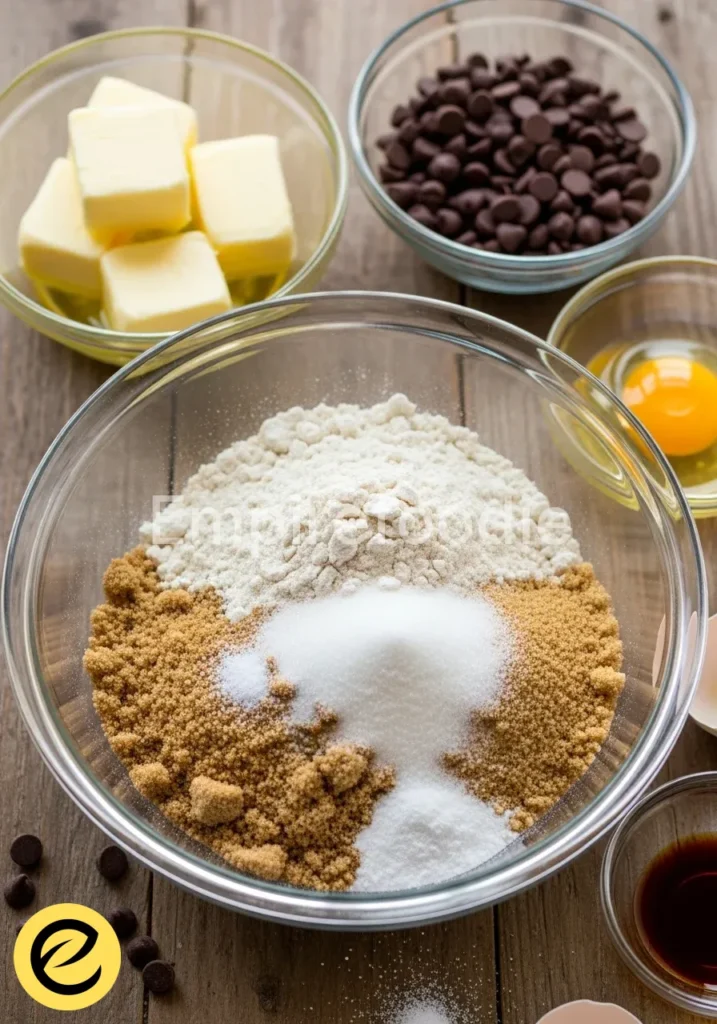
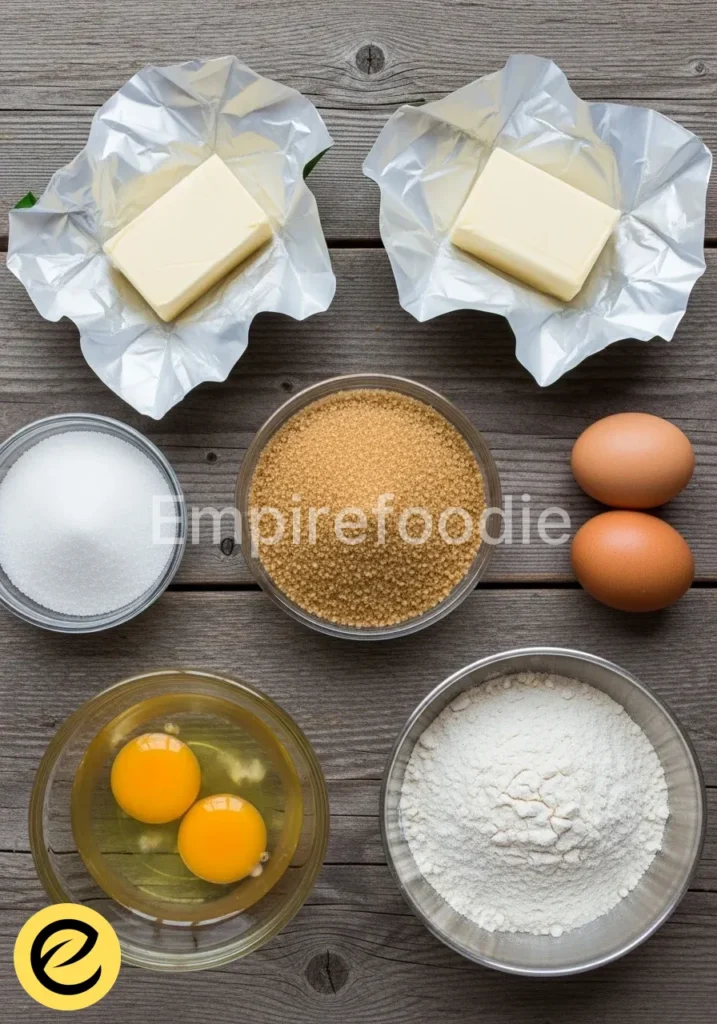
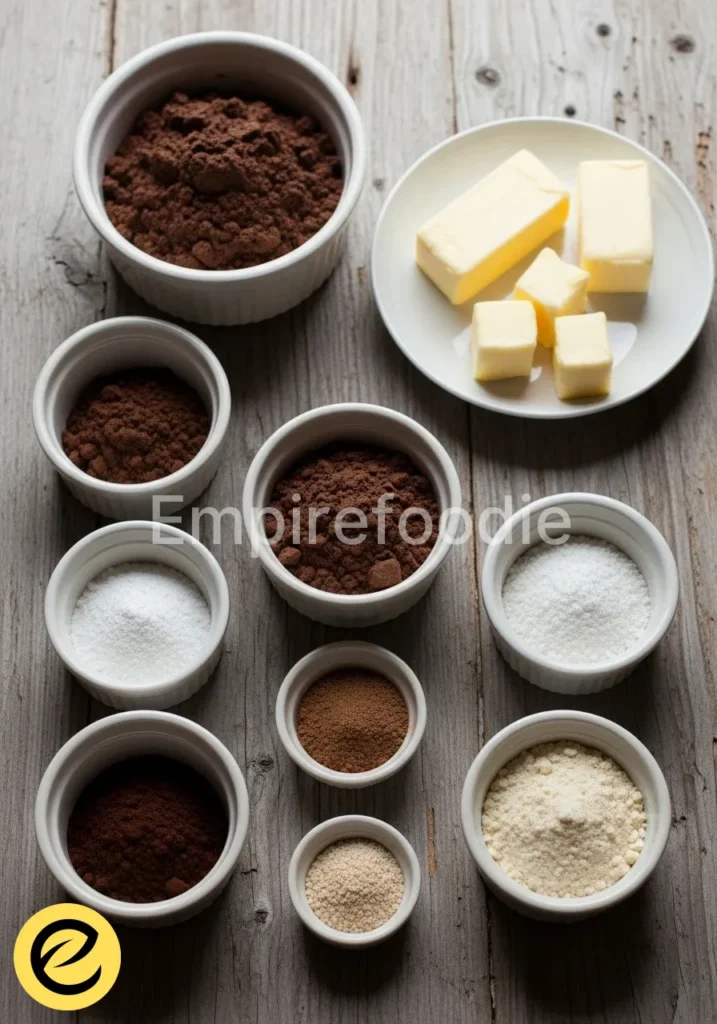
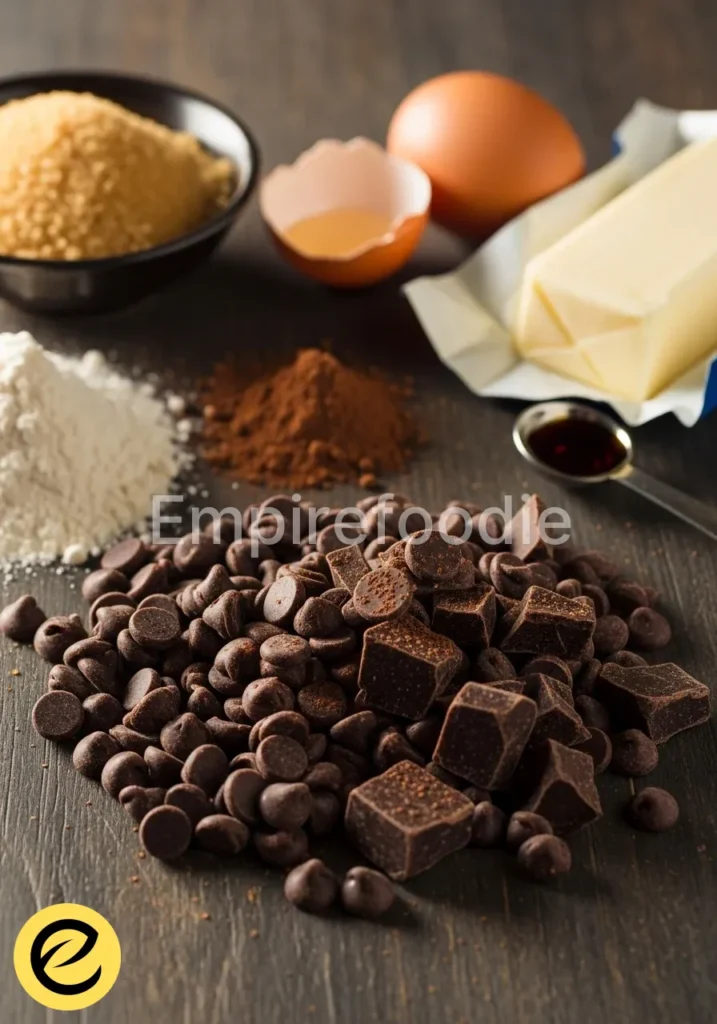
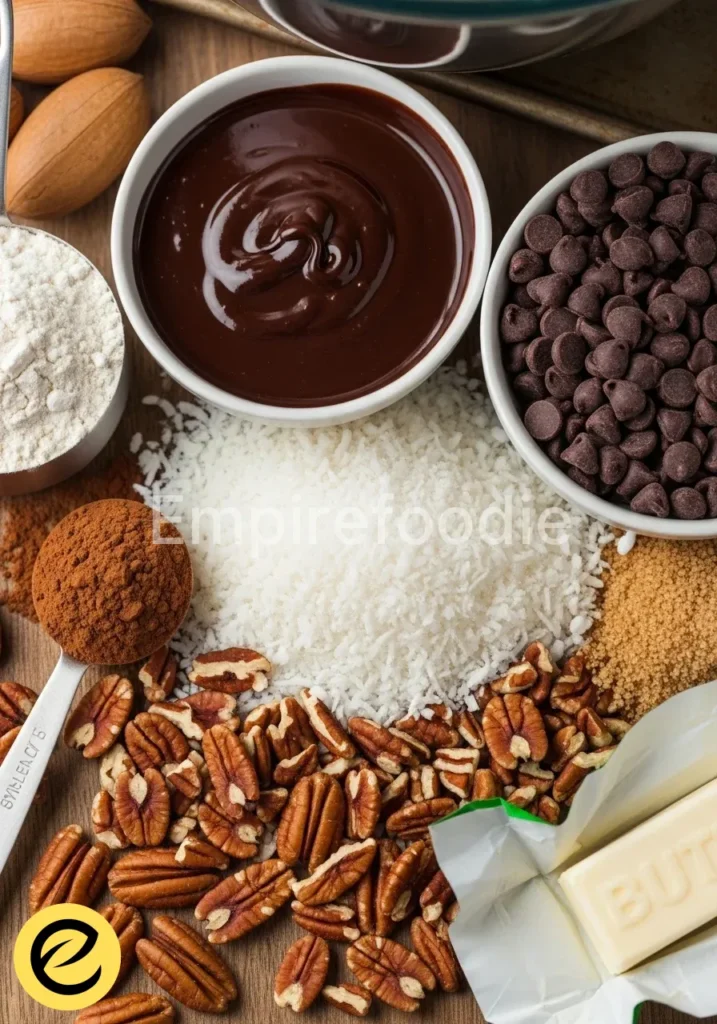
Ingredients You’ll Need
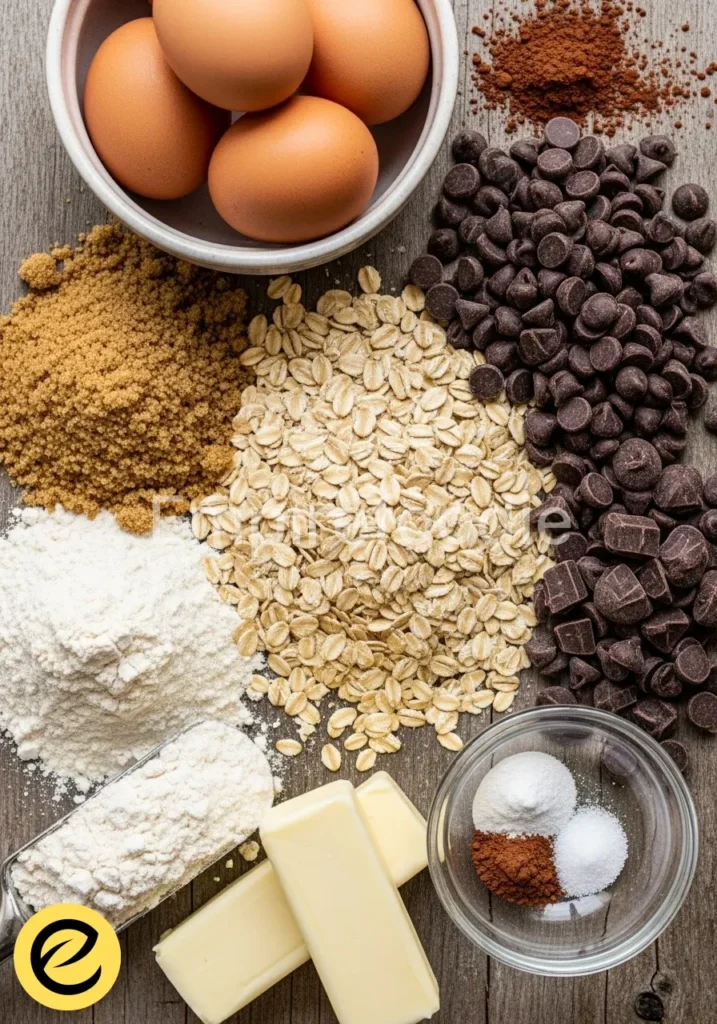
Crafting exceptional chocolate oatmeal cookies begins with quality ingredients. Sourcing the best ensures a superior flavor and texture that truly elevates this classic. As Emma Williams Ava, I always emphasize premium selections to bridge the gap between home baking and pastry art.
- 1 cup (226g) unsalted butter, softened to room temperature
- 1 cup (200g) granulated sugar
- 1 cup (220g) packed light brown sugar
- 2 large eggs, at room temperature
- 2 teaspoons pure vanilla extract
- 1 ¾ cups (210g) all-purpose flour
- ½ cup (45g) unsweetened cocoa powder, Dutch-processed for richer flavor
- 1 teaspoon baking soda
- 1 teaspoon sea salt
- 3 cups (270g) old-fashioned rolled oats (not instant)
- 1 ½ cups (255g) semi-sweet chocolate chips or chunks, high-quality recommended
Substitutions & Variations
[ra_display_video url=”https://www.youtube.com/watch?v=aN9oxJHnBrE”]
Elevate your chocolate oatmeal cookies with healthy swaps. Use whole wheat pastry flour for half the flour for added fiber. Opt for plant-based butter or unsweetened applesauce (half the fat) for dietary considerations.
Introduce chia seeds, flax seeds, or chopped nuts for nutrients. Try dark or sugar-free chocolate chips for a personalized touch in these delectable chocolate oatmeal cookies.
If you’re interested in elevating your chocolate oatmeal cookies even further, you might enjoy trying chocolate chip cookie bars. These bars are an excellent way to explore different textures while still relishing that classic chocolate flavor. Check them out here.
Equipment You’ll Need
Having the right tools simplifies the baking process and helps you achieve professional results with your chocolate oatmeal cookies.
- Large mixing bowls (2)
- Stand mixer with paddle attachment or hand mixer
- Rubber spatula
- Whisk
- Measuring cups and spoons
- Baking sheets (2-3)
- Parchment paper or silicone baking mats
- Cookie scoop (1.5-2 tablespoon size)
- Wire cooling rack
Step-by-Step Instructions

Follow these precise steps to bake perfect chocolate oatmeal cookies every time. Careful execution ensures the ideal texture and flavor.
- Prepare Your Oven: Preheat your oven to 375°F (190°C). Line two baking sheets with parchment paper or silicone baking mats. This prevents sticking and promotes even baking for your chocolate oatmeal cookies.
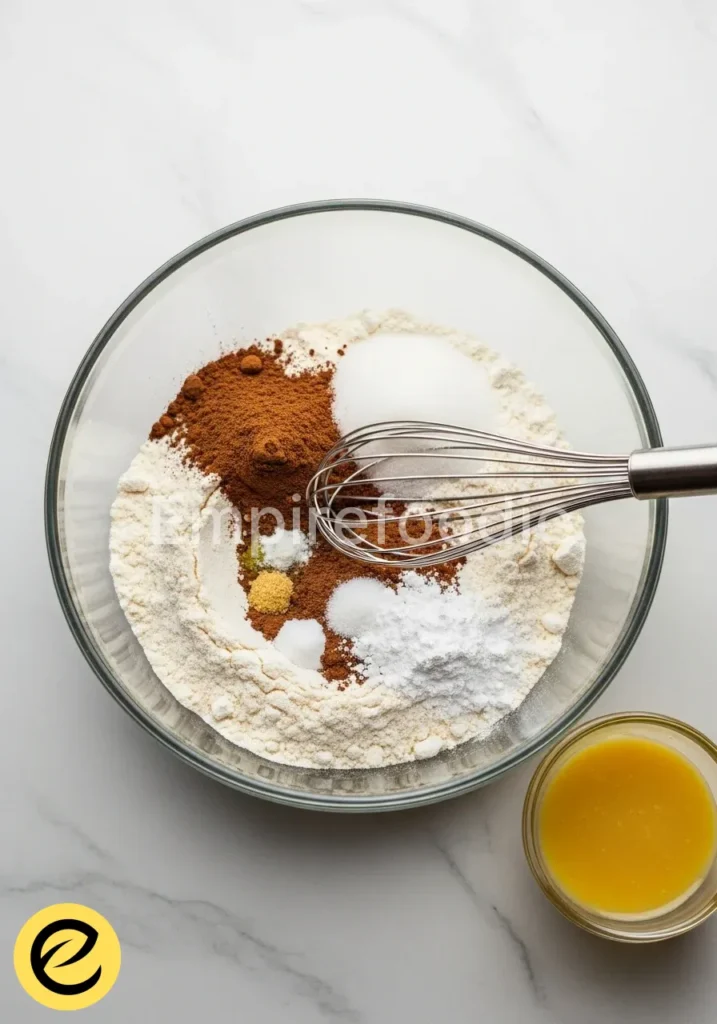
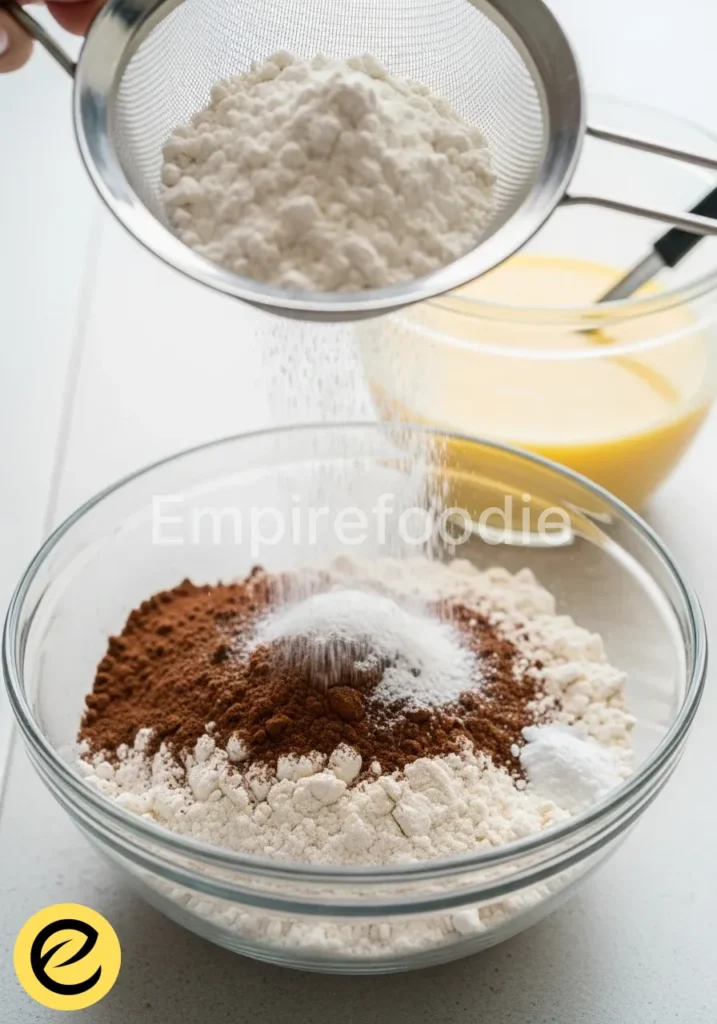
- Combine Dry Ingredients: In a large bowl, whisk together the all-purpose flour, unsweetened cocoa powder, baking soda, and sea salt. Set this mixture aside.
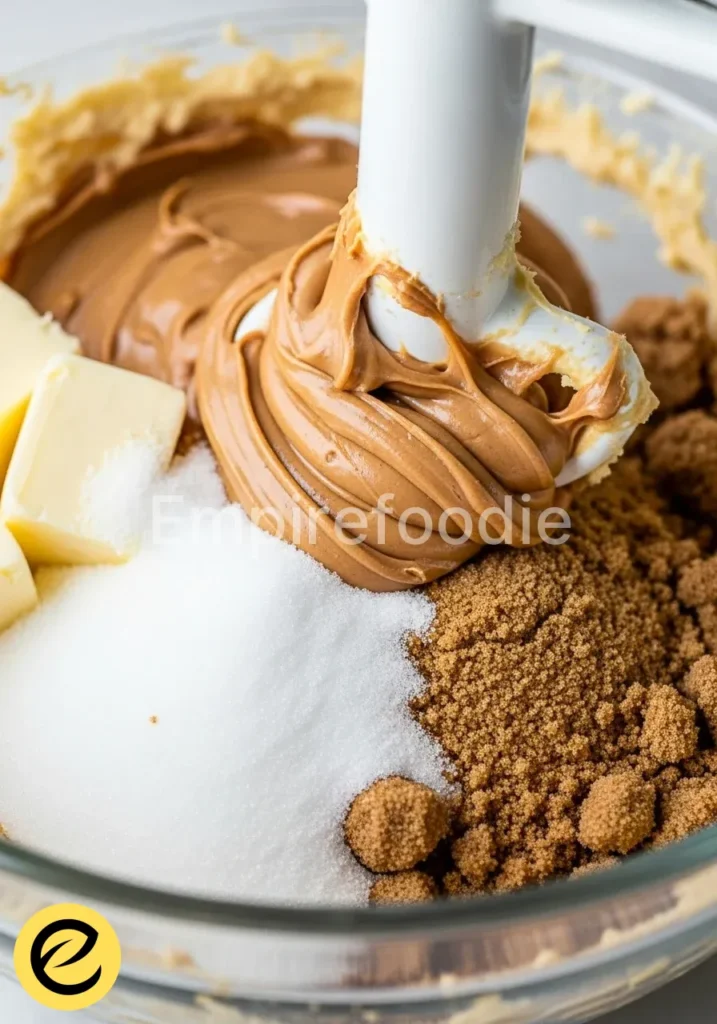
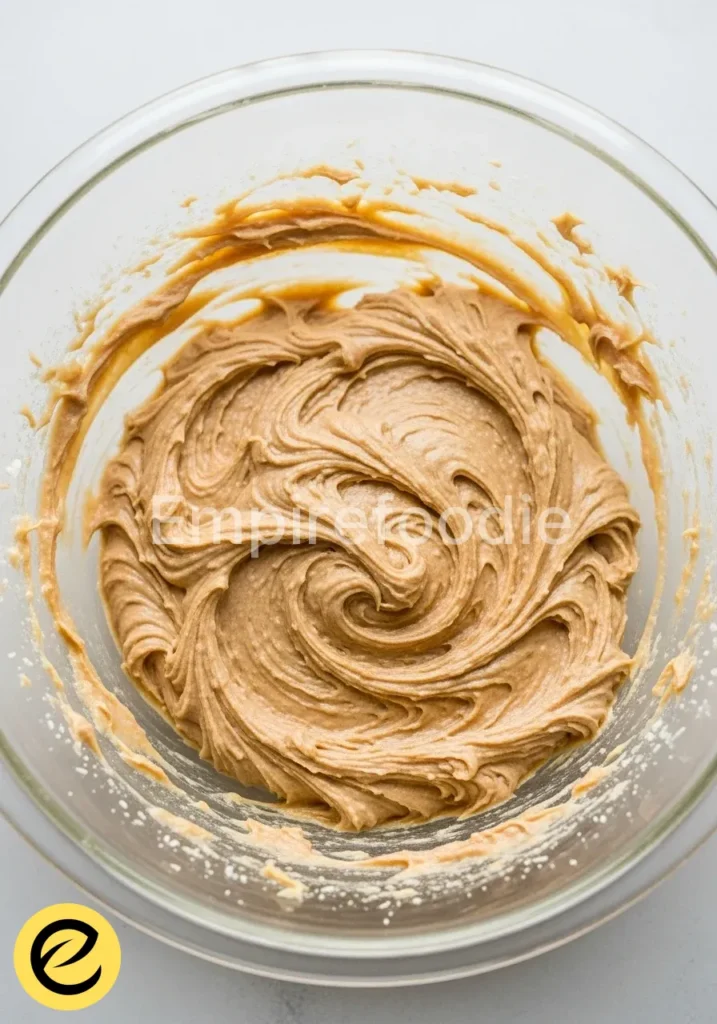
- Cream Butter and Sugars: In the bowl of a stand mixer fitted with the paddle attachment (or using a hand mixer), cream together the softened butter, granulated sugar, and light brown sugar on medium speed until light and fluffy, about 2-3 minutes. Scrape down the sides of the bowl as needed to ensure even mixing.
- Add Eggs and Vanilla: Beat in the eggs one at a time, ensuring each is fully incorporated before adding the next. Stir in the pure vanilla extract. This creates a rich, cohesive base for your chocolate oatmeal cookies.
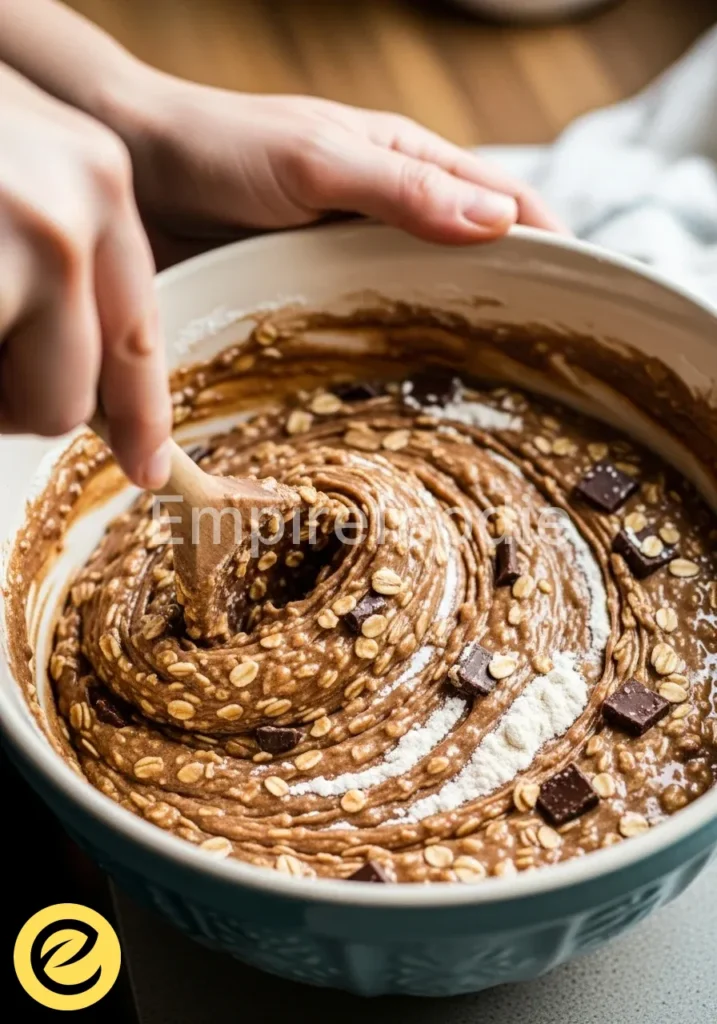
- Incorporate Dry into Wet: Gradually add the dry ingredient mixture to the wet ingredients, mixing on low speed until just combined. Do not overmix; overmixing develops gluten and can make your chocolate oatmeal cookies tough.
- Fold in Oats and Chocolate: Fold in the old-fashioned rolled oats and chocolate chips with a rubber spatula until evenly distributed throughout the dough. Ensure all components are well-incorporated to guarantee delicious chocolate oatmeal cookies in every bite.
- Scoop and Bake: Using a cookie scoop, drop rounded tablespoons of dough onto the prepared baking sheets, leaving about 2 inches between each cookie. This allows for proper spread.
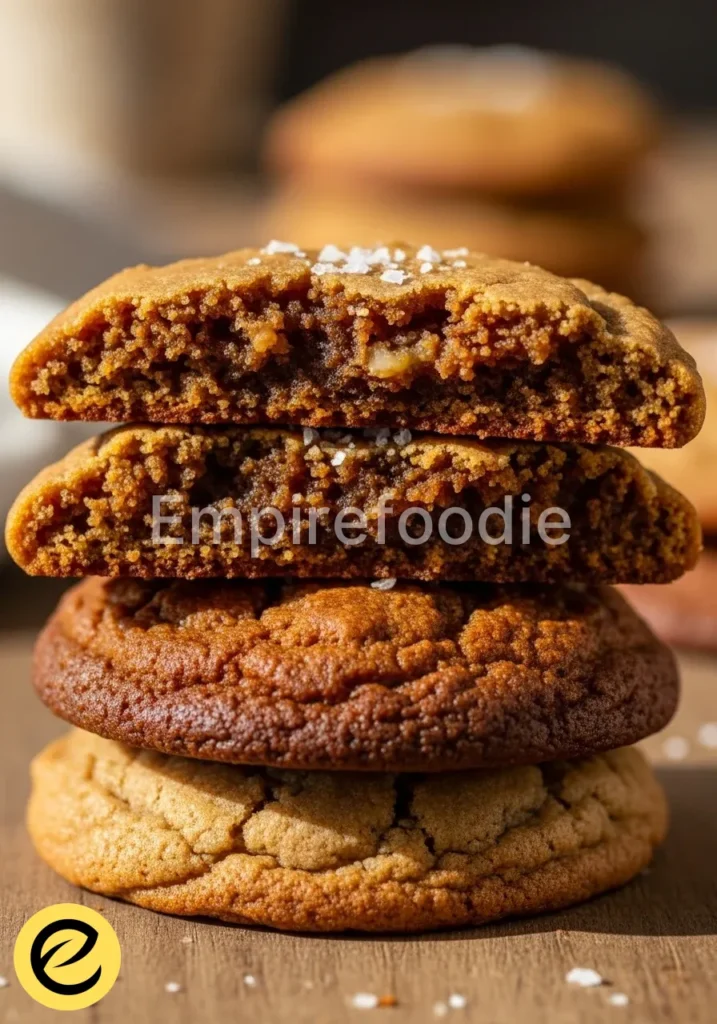
- Bake to Perfection: Bake for 10-12 minutes, or until the edges are set and lightly golden, but the centers still look slightly soft. Remember, the chocolate oatmeal cookies will continue to cook slightly as they cool, so slight underbaking is key to chewiness.
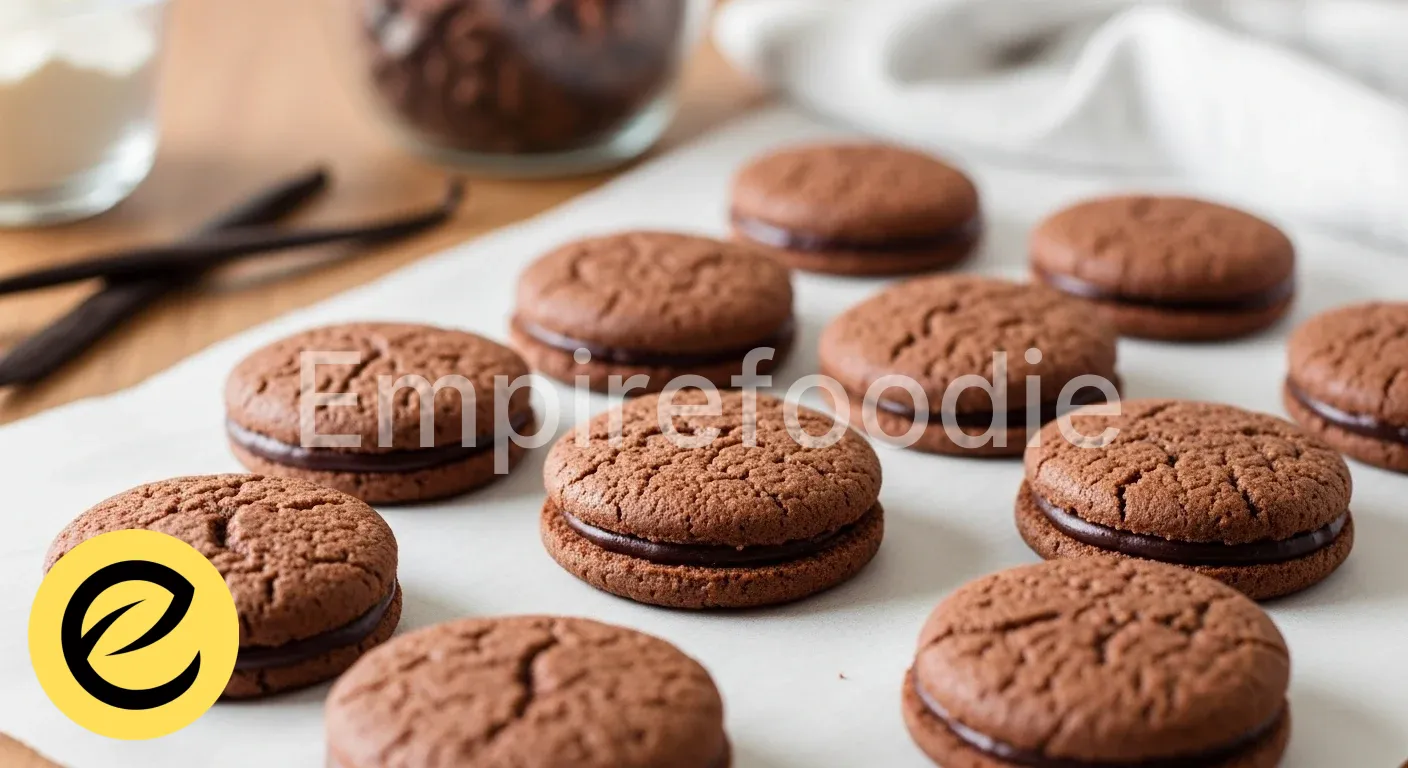
- Cool Properly: Remove the baking sheets from the oven and let the chocolate oatmeal cookies cool on the sheets for 5 minutes before transferring them to a wire rack to cool completely. This prevents them from breaking apart and allows them to set properly.
To achieve the perfect texture and flavor in your chocolate oatmeal cookies, precise baking steps are essential. For an extra indulgence, consider pairing your cookies with some delicious milk chocolate bars to enhance that cocoa experience.
Pro Tips for Success
Achieving consistently exceptional chocolate oatmeal cookies requires a few professional insights:
- Room Temperature Ingredients: Ensure butter and eggs are at room temperature. This creates a smoother, more emulsified batter, leading to a superior texture in your chocolate oatmeal cookies.
- Do Not Overmix: Once you add the dry ingredients, mix only until just combined. Overmixing develops gluten, resulting in tougher, less tender chocolate oatmeal cookies.
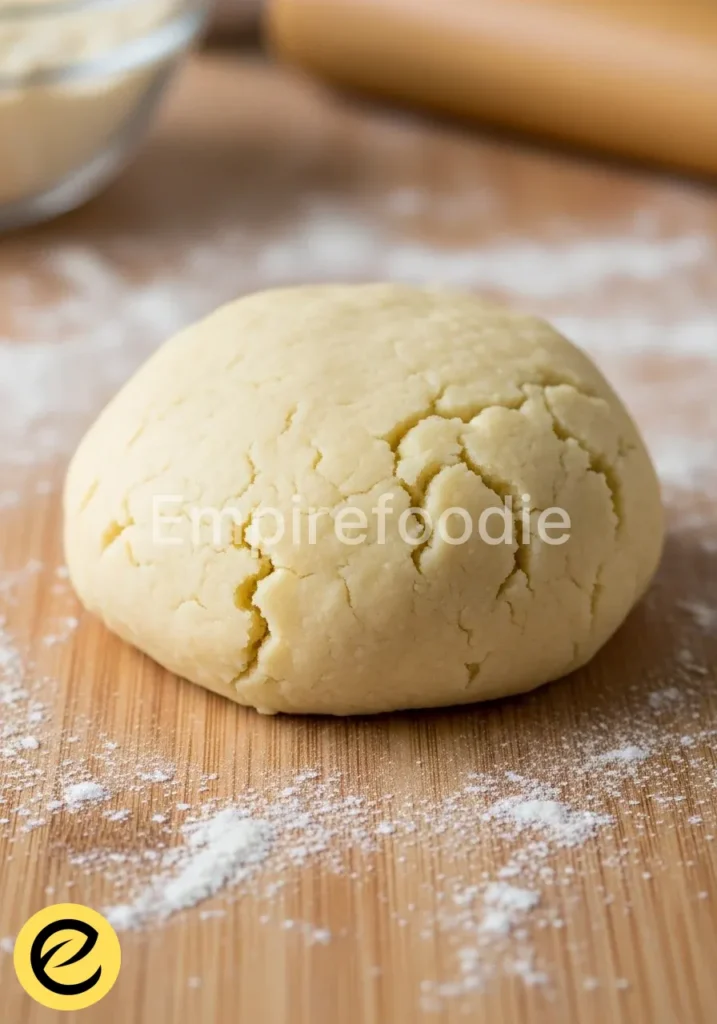
- Chill the Dough (Optional but Recommended): For thicker, chewier chocolate oatmeal cookies and enhanced flavor, chill the dough for at least 30 minutes, or up to 24 hours. This allows the flavors to meld and prevents excessive spreading.
- Use a Cookie Scoop: A consistent scoop size ensures even baking, so all your chocolate oatmeal cookies are perfectly cooked at the same time.
- Do Not Overbake: Watch your cookies carefully. They should still look slightly underbaked in the center when you pull them out. This guarantees soft, chewy chocolate oatmeal cookies, not hard ones.
- Quality Chocolate: Invest in good quality chocolate chips or chunks. It genuinely makes a difference in the overall flavor of your chocolate oatmeal cookies, providing a richer, more satisfying experience.
Storage & Reheating Tips
Proper storage ensures your chocolate oatmeal cookies remain delicious for days. Store baked chocolate oatmeal cookies in an airtight container at room temperature for up to 3-4 days. For longer freshness, you can place them in the refrigerator for up to a week.
To extend their life further, freeze the baked chocolate oatmeal cookies. Arrange them in a single layer on a baking sheet until solid, then transfer to a freezer-safe bag or container for up to 3 months.
Thaw at room temperature or gently warm them in a microwave for 10-15 seconds for that fresh-baked feel. You can also freeze raw cookie dough balls; simply bake from frozen, adding a minute or two to the baking time for delicious chocolate oatmeal cookies anytime you crave them.
Proper storage solutions can help extend the delightful freshness of your chocolate oatmeal cookies. To learn about the delectable relationship between chocolate and biscuits, read more here.
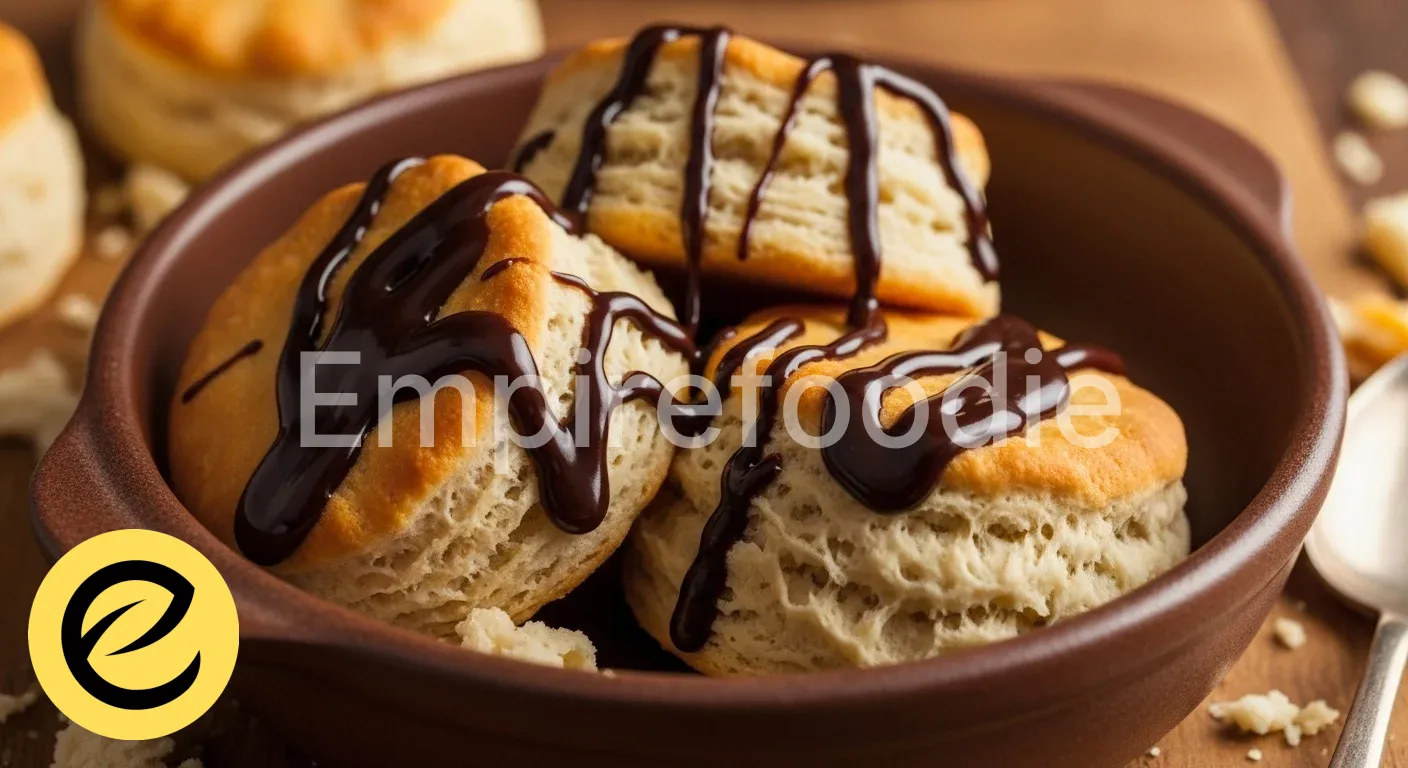
What to Serve With This Recipe

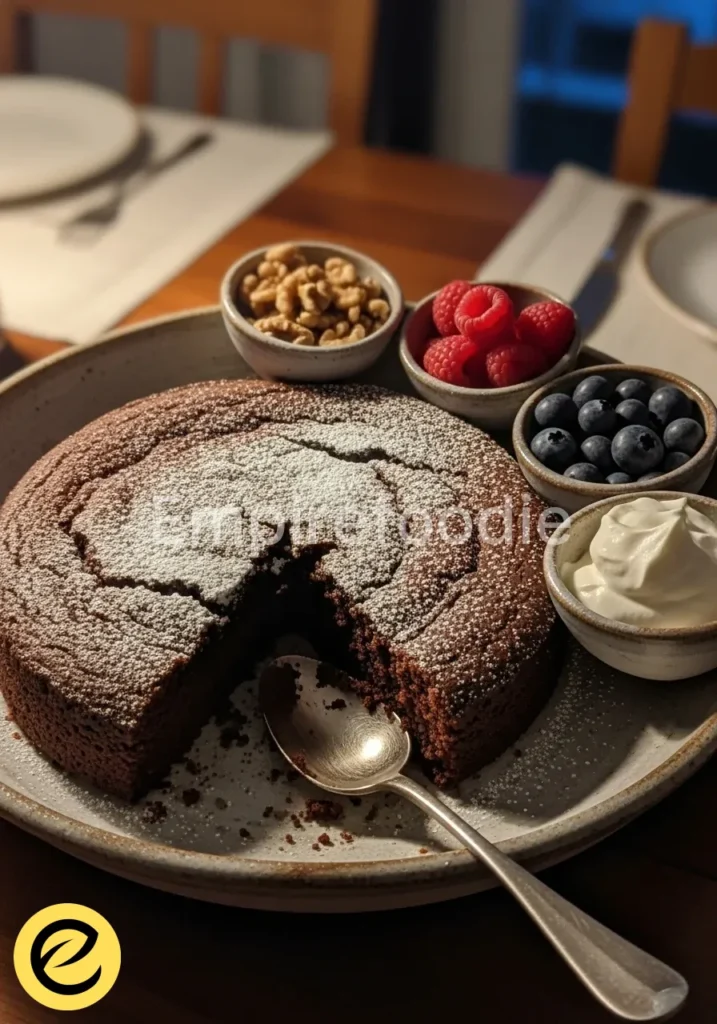
These versatile chocolate oatmeal cookies pair beautifully with a variety of wholesome accompaniments, elevating your snacking experience.
- A Glass of Milk: Classic and comforting, whether dairy or a plant-based alternative. This timeless pairing enhances the richness of the chocolate oatmeal cookies.
- Fresh Fruit Salad: The bright, crisp flavors of berries, melon, or citrus offer a delightful contrast to the rich sweetness of these chocolate oatmeal cookies.
- Greek Yogurt: A dollop of plain Greek yogurt provides a creamy, tangy, and protein-rich complement that balances the cookie’s indulgence.
- Hot Tea or Coffee: For an elevated moment of quiet indulgence, a warm beverage is perfect with these chocolate oatmeal cookies. A black tea or a rich coffee provides a sophisticated pairing.
- Smoothie: A fruit-and-veg packed smoothie makes a balanced and refreshing pairing, offering nutrients alongside your sweet treat.
Frequently Asked Questions (FAQ)
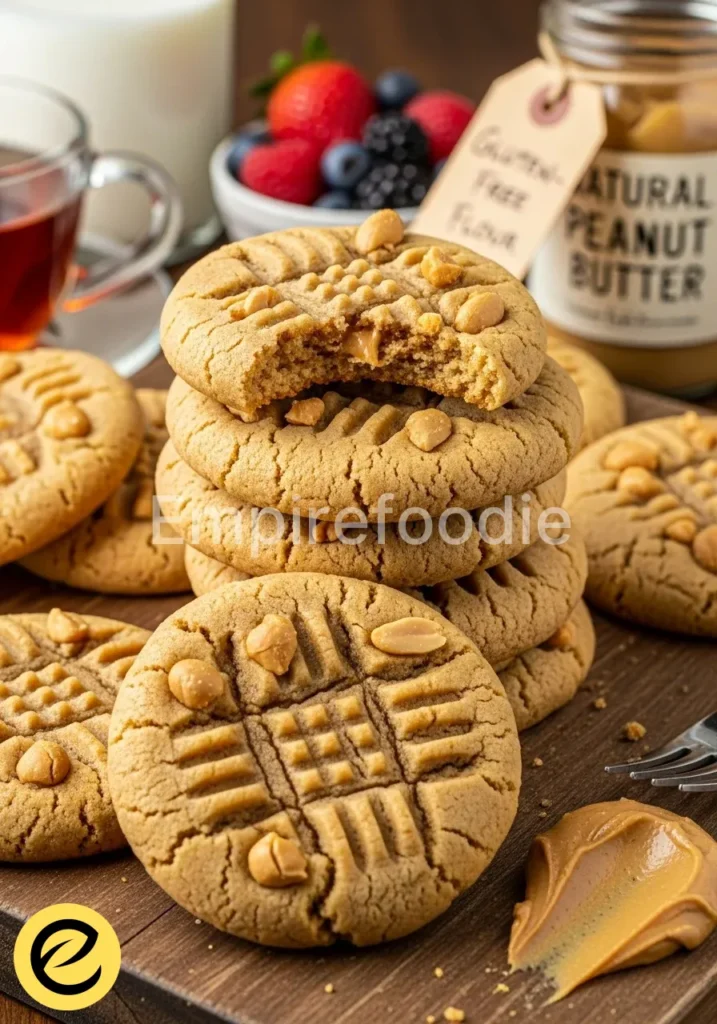
Can I make these chocolate oatmeal cookies gluten-free?
Absolutely! Simply substitute the all-purpose flour with a 1:1 gluten-free baking flour blend that contains xanthan gum. Ensure your oats are certified gluten-free, as some brands process oats on shared equipment with wheat. These adjustments make delicious gluten-free chocolate oatmeal cookies that everyone can enjoy.
How long do these chocolate oatmeal cookies stay fresh?
When stored in an airtight container at room temperature, your chocolate oatmeal cookies will remain fresh and chewy for 3 to 4 days. In the refrigerator, they can last up to a week. For optimal freshness and to preserve their just-baked quality, consider freezing them for longer storage.
Can I freeze the dough for these chocolate oatmeal cookies?
Yes, freezing the dough is an excellent idea for fresh-baked chocolate oatmeal cookies on demand! Scoop the dough into balls and freeze them on a baking sheet until solid. Then, transfer the frozen dough balls to a freezer-safe bag.
They will keep for up to 3 months. Bake from frozen, adding a couple of extra minutes to the baking time, usually 12-15 minutes.
Chocolate oatmeal cookies are a delightful combination of wholesome oats and rich chocolate, providing a uniquely satisfying treat. Often enjoyed as a snack or dessert, these cookies showcase how simple ingredients can create a beloved classic, making them a staple in many households. For more information on cookies, visit this page.
Final Thoughts
These chocolate oatmeal cookies offer more than just a sweet escape; they’re a warm embrace. Crafting them at home allows you to infuse each bite with joy and care, creating lasting memories. Share these comforting treats and savor the delightful experience, knowing you’ve mastered a truly elevated classic.
Nutrition Information (per serving)
(Estimated values for 1 of 24 cookies)
| Calories: | ~250 kcal |
| Total Fat: | ~12g |
| Saturated Fat: | ~7g |
| Cholesterol: | ~30mg |
| Sodium: | ~110mg |
| Total Carbohydrates: | ~32g |
| Dietary Fiber: | ~2g |
| Total Sugars: | ~20g |
| Protein: | ~3g |

chocolate oatmeal cookies
Ingredients
- 1 cup (226g) unsalted butter, softened to room temperature
- 1 cup (200g) granulated sugar
- 1 cup (220g) packed light brown sugar
- 2 large eggs, at room temperature
- 2 teaspoons pure vanilla extract
- 1 ¾ cups (210g) all-purpose flour
- ½ cup (45g) unsweetened cocoa powder, Dutch-processed
- 1 teaspoon baking soda
- 1 teaspoon sea salt
- 3 cups (270g) old-fashioned rolled oats
- 1 ½ cups (255g) semi-sweet chocolate chips or chunks
Instructions
- Preheat your oven to 375°F (190°C) and line two baking sheets with parchment paper.
- In a large bowl, whisk together the flour, cocoa powder, baking soda, and sea salt. Set aside.
- In a stand mixer, cream together the softened butter, granulated sugar, and light brown sugar until light and fluffy.
- Beat in the eggs one at a time, then stir in the vanilla extract.
- Gradually add the dry ingredients to the wet ingredients, mixing on low speed until just combined.
- Fold in the oats and chocolate chips with a rubber spatula.
- Using a cookie scoop, drop rounded tablespoons of dough onto the prepared baking sheets, leaving space between each cookie.
- Bake for 10-12 minutes or until edges are set. Cool on baking sheets for 5 minutes before transferring to a wire rack to cool completely.